Yellow Submarine

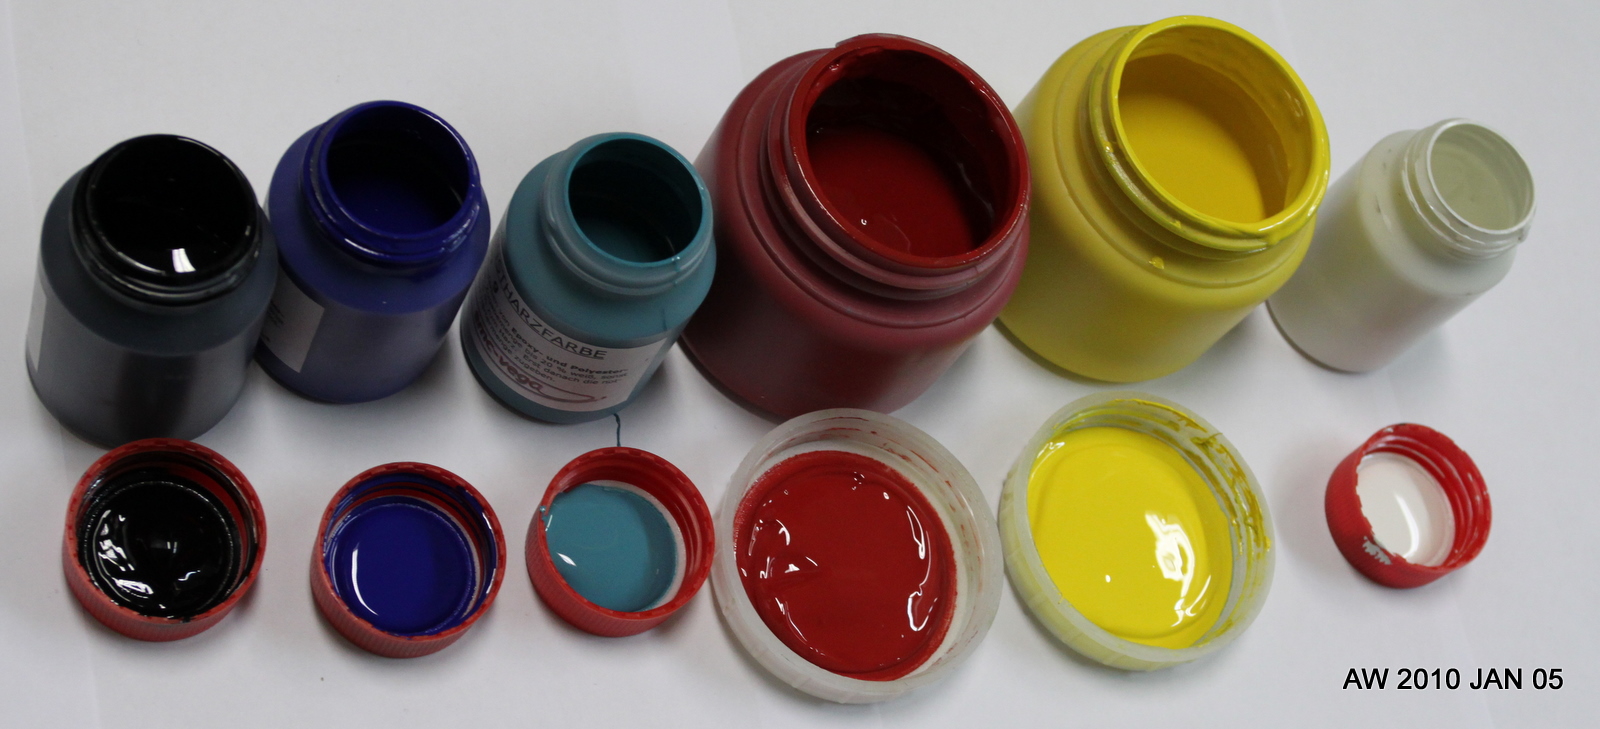
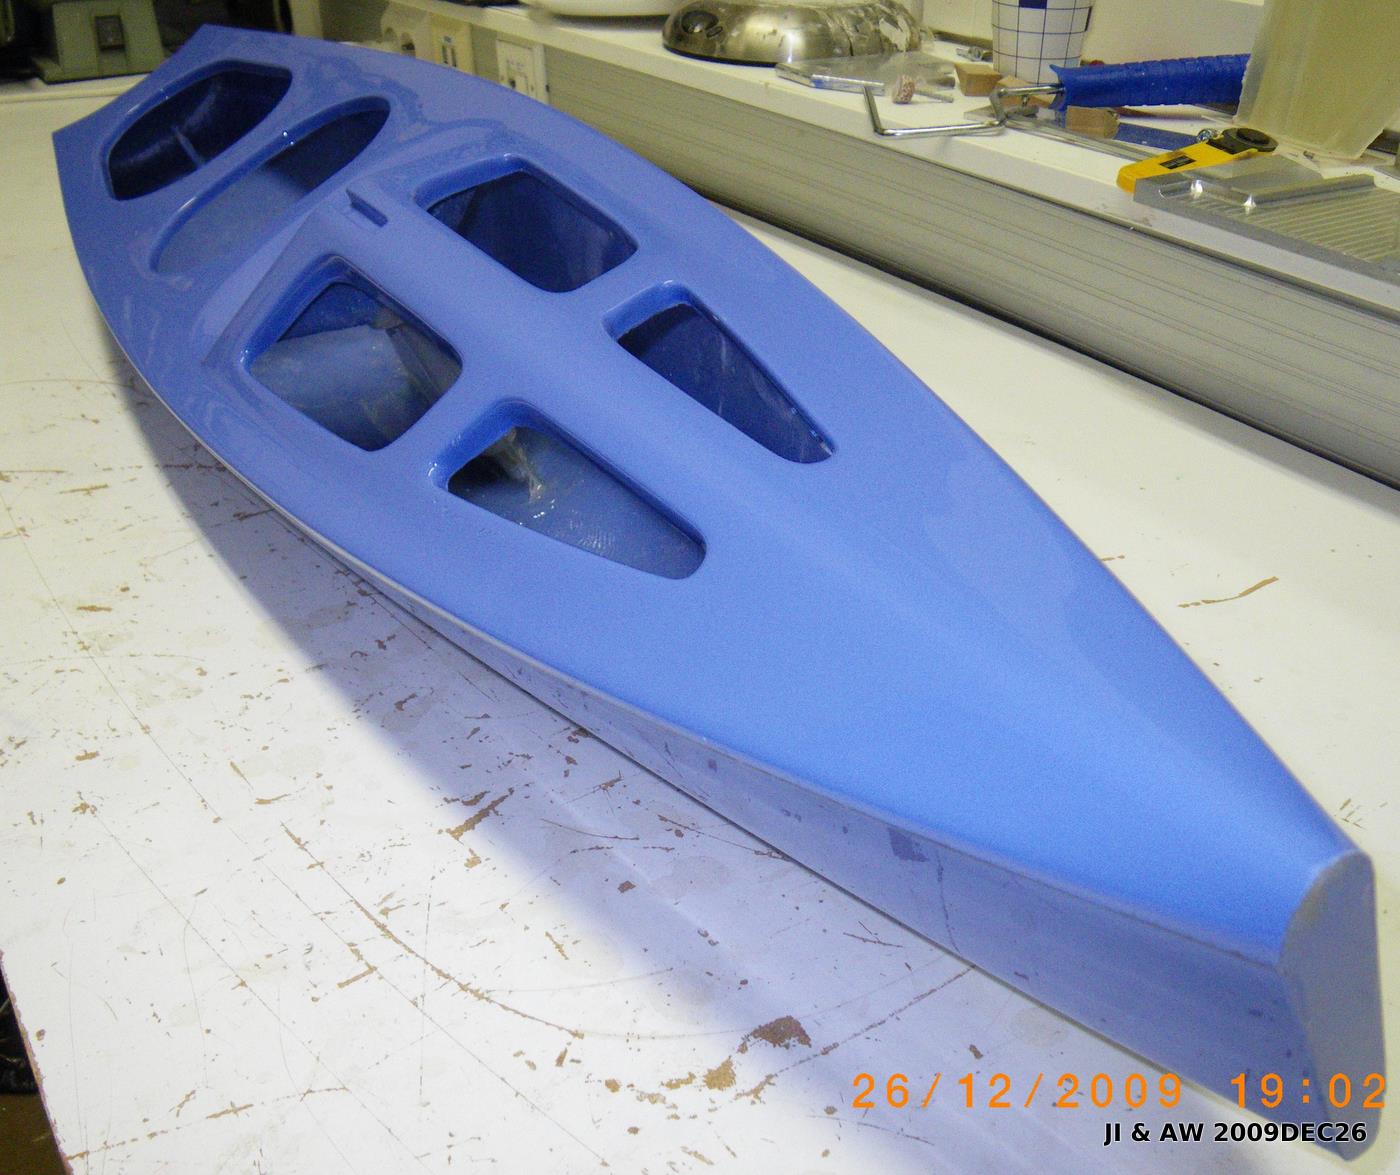
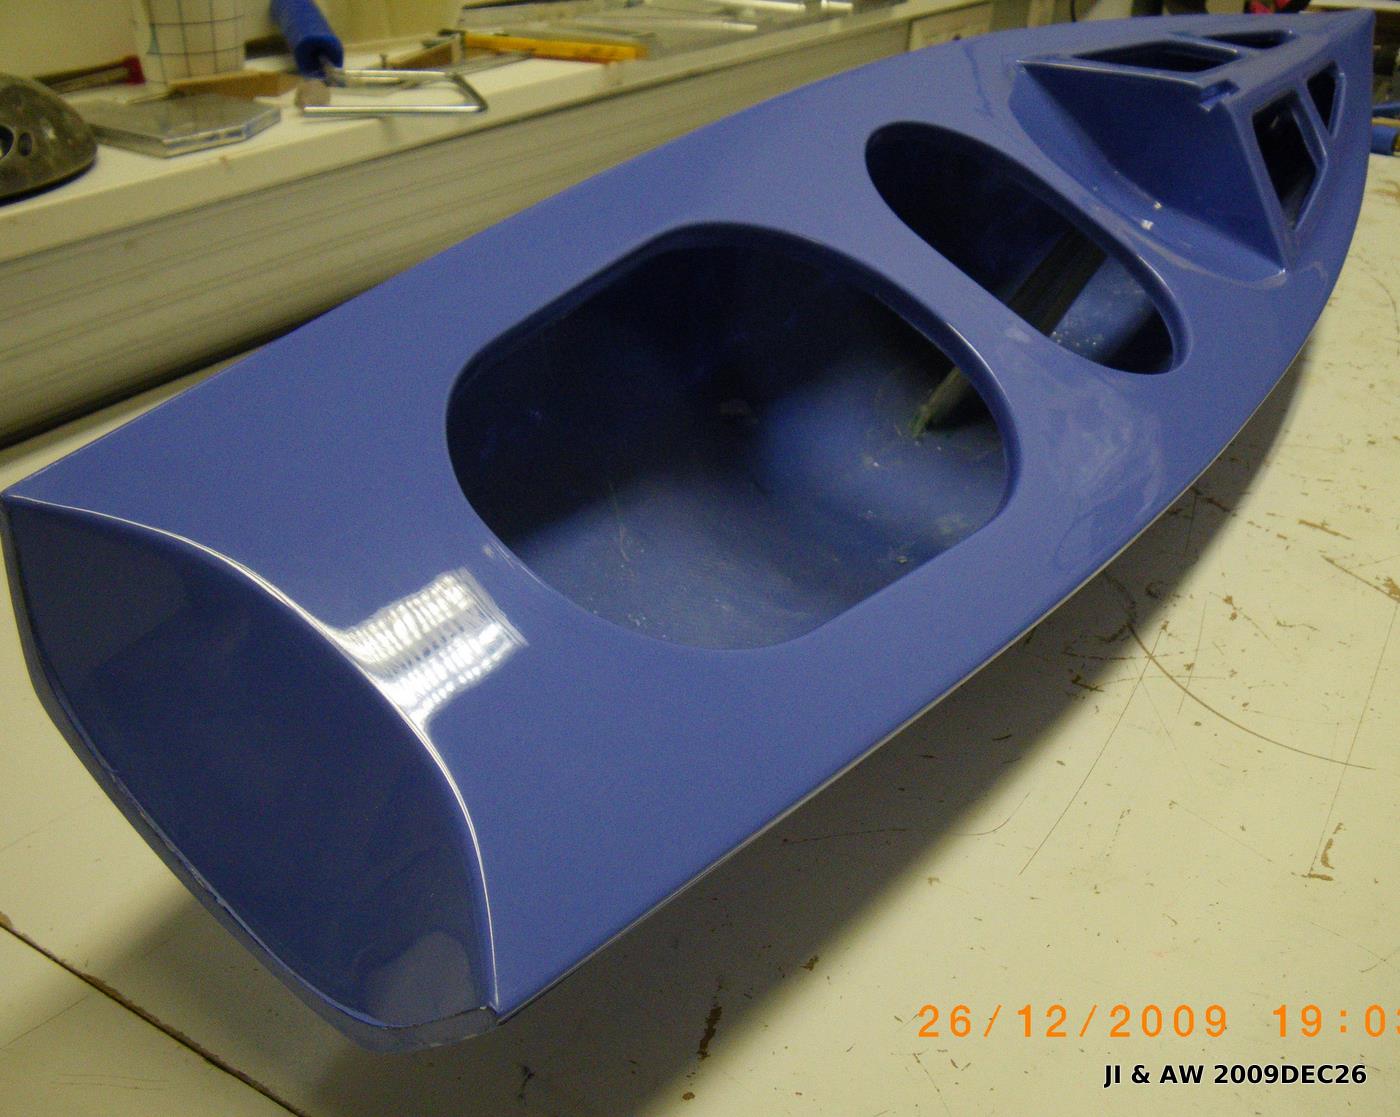
We are finding that different colour pastes result in gelcoats with widely different ability to cover and produce a nice finish. This means we'll have to do a bit of experimenting and then only produce boats with colours that are easy to work with.

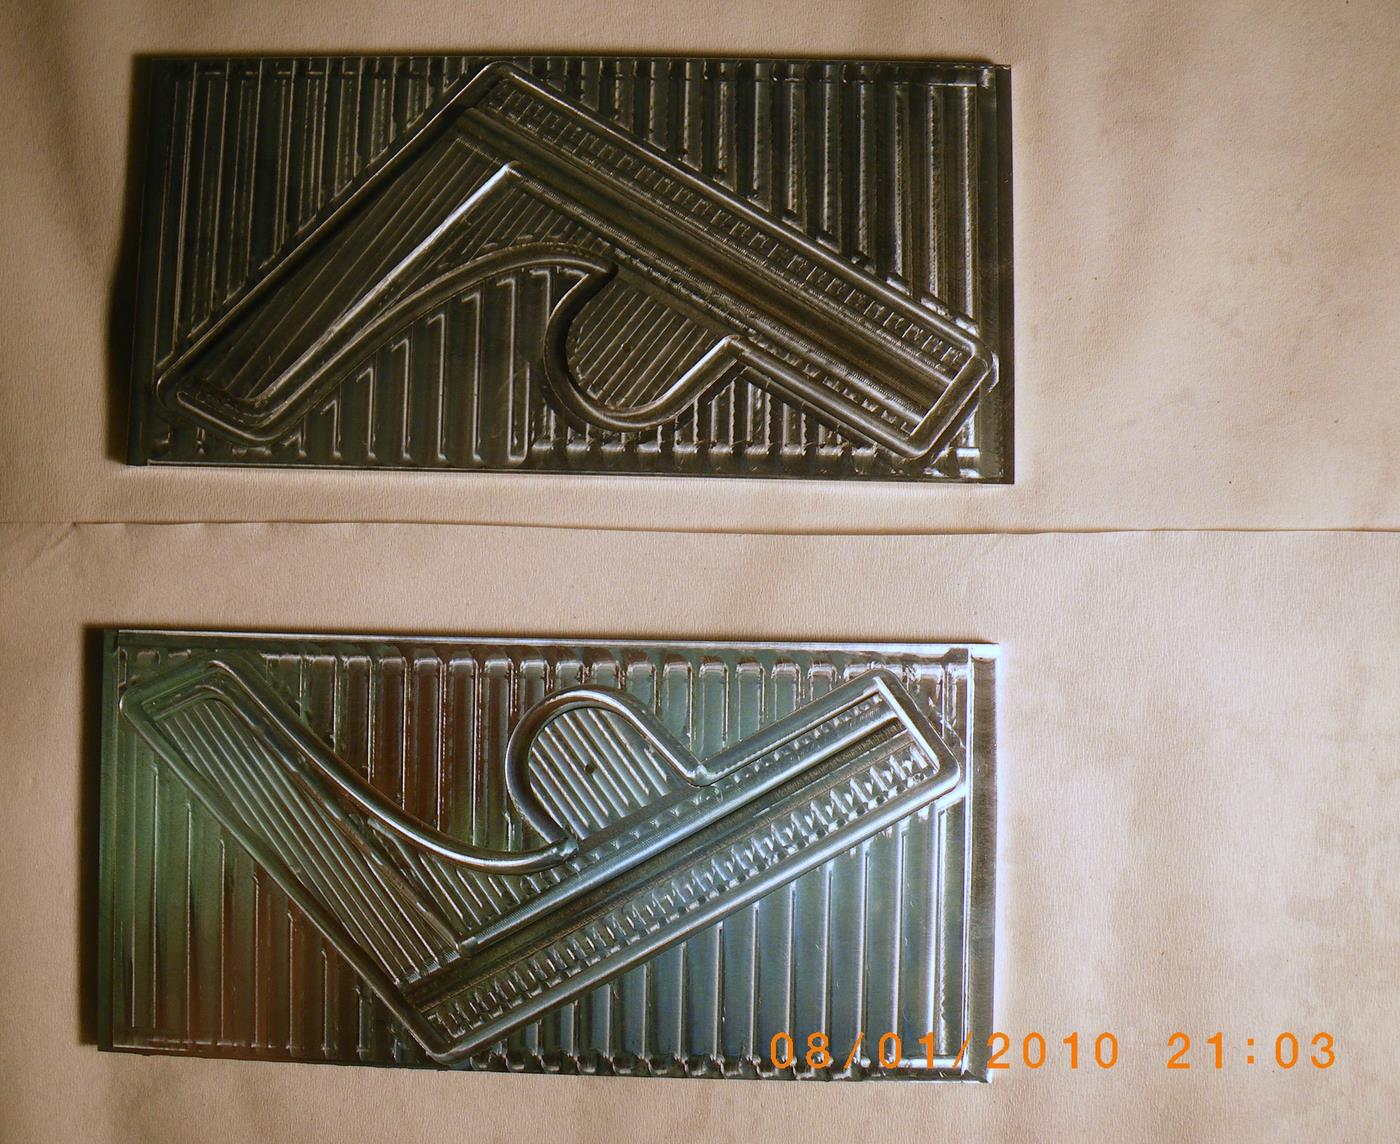
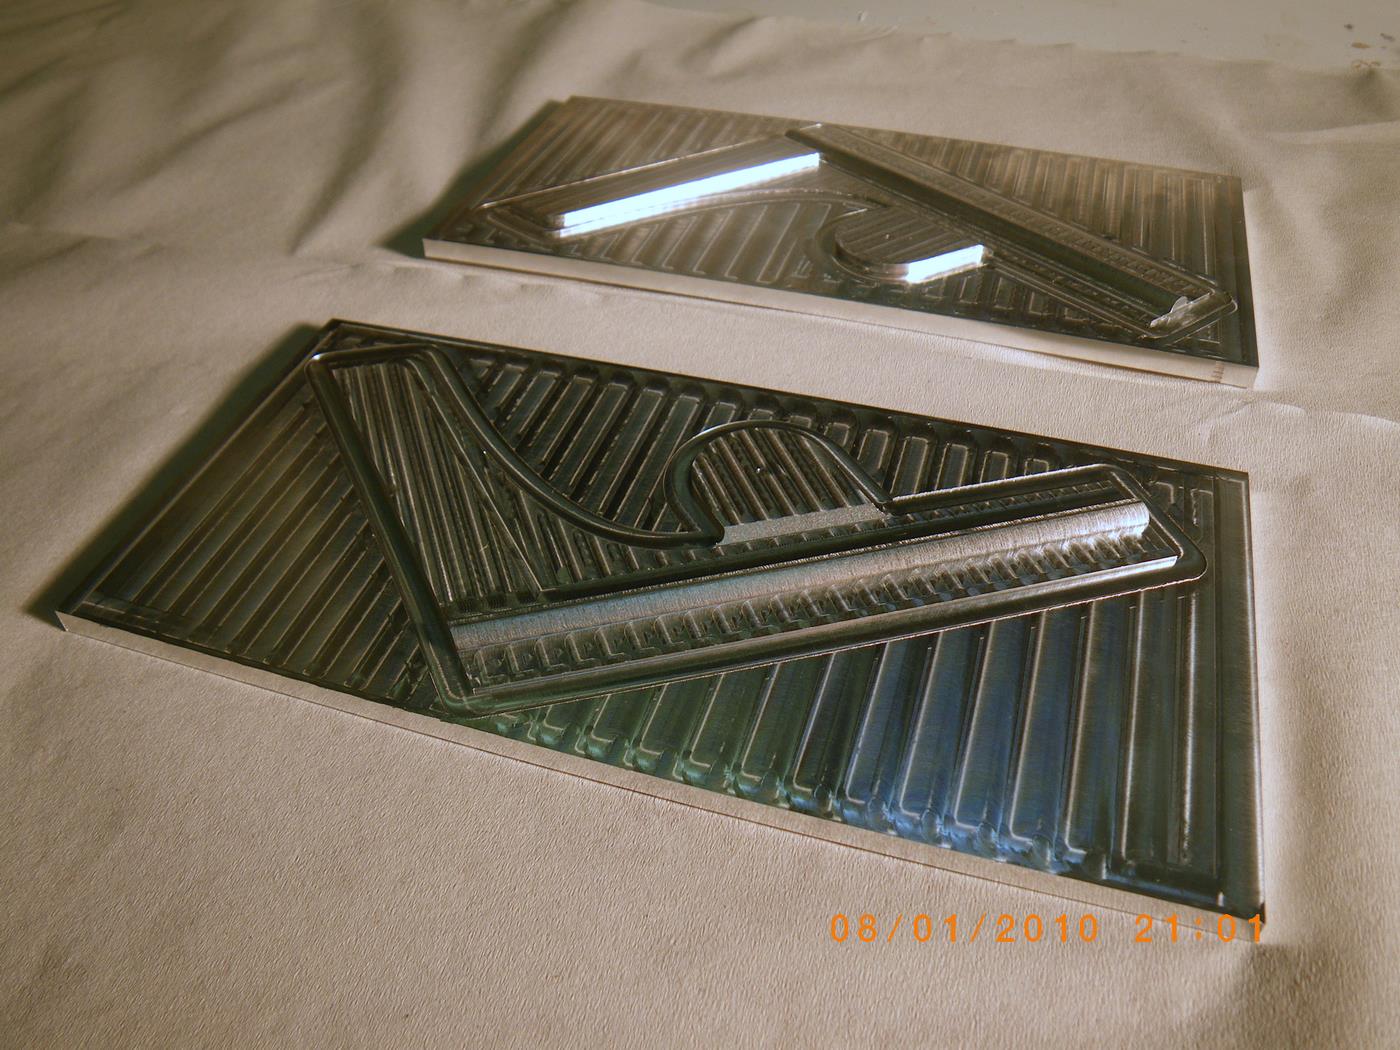
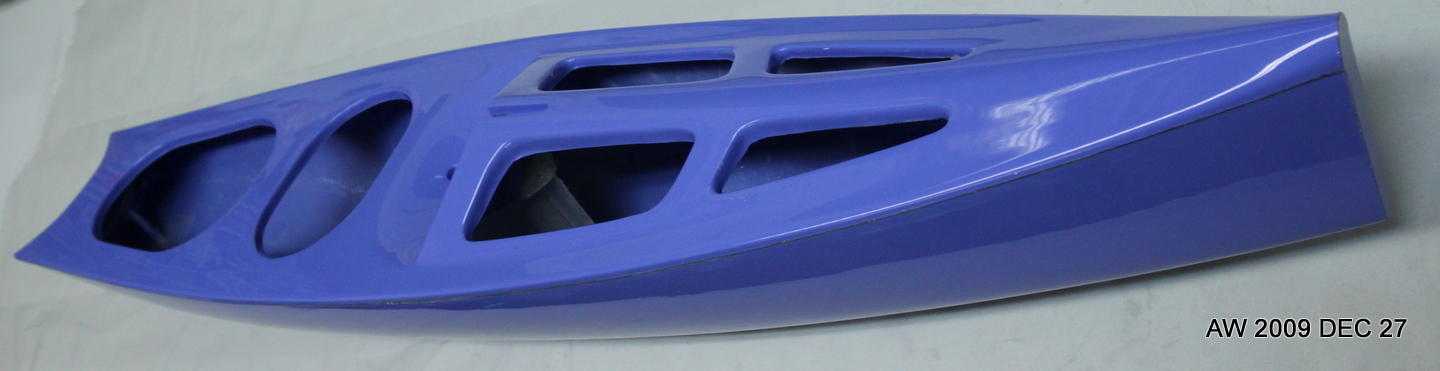
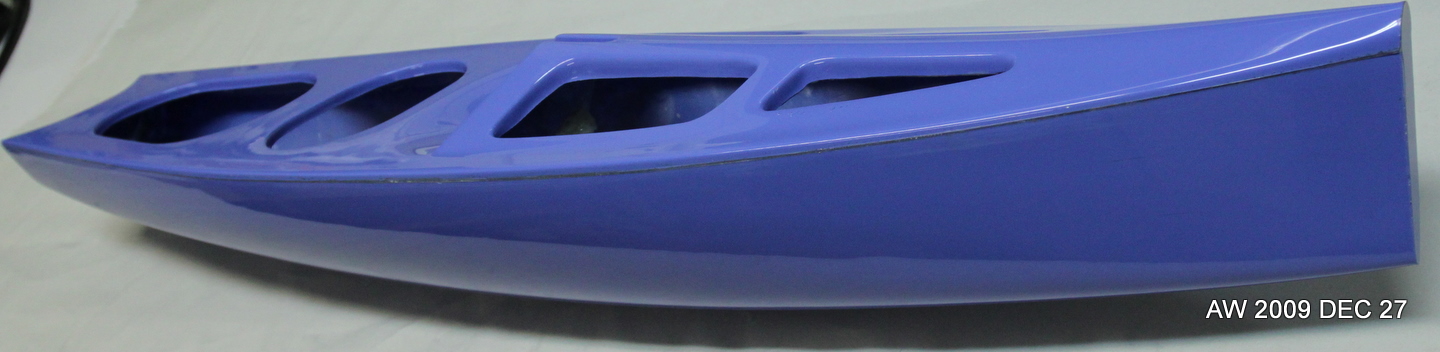
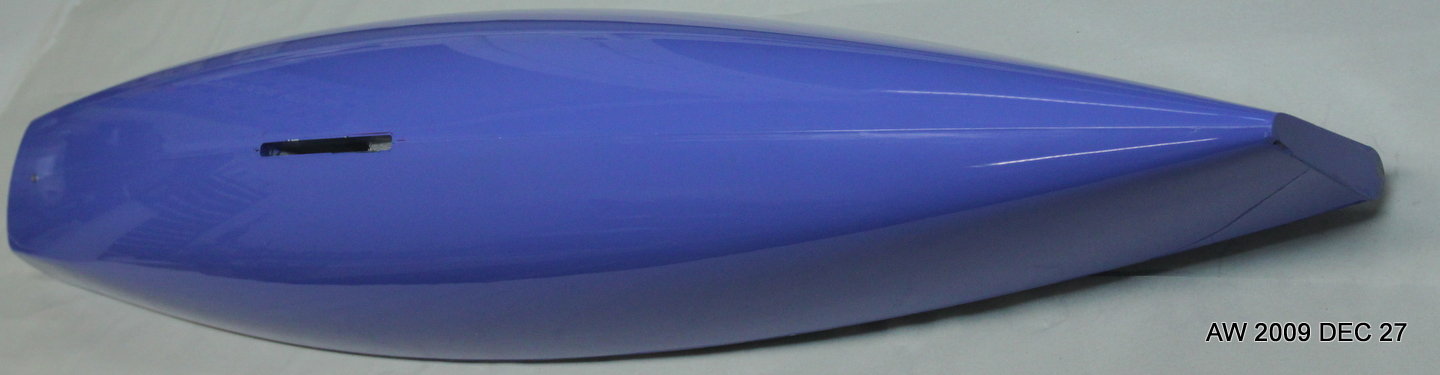
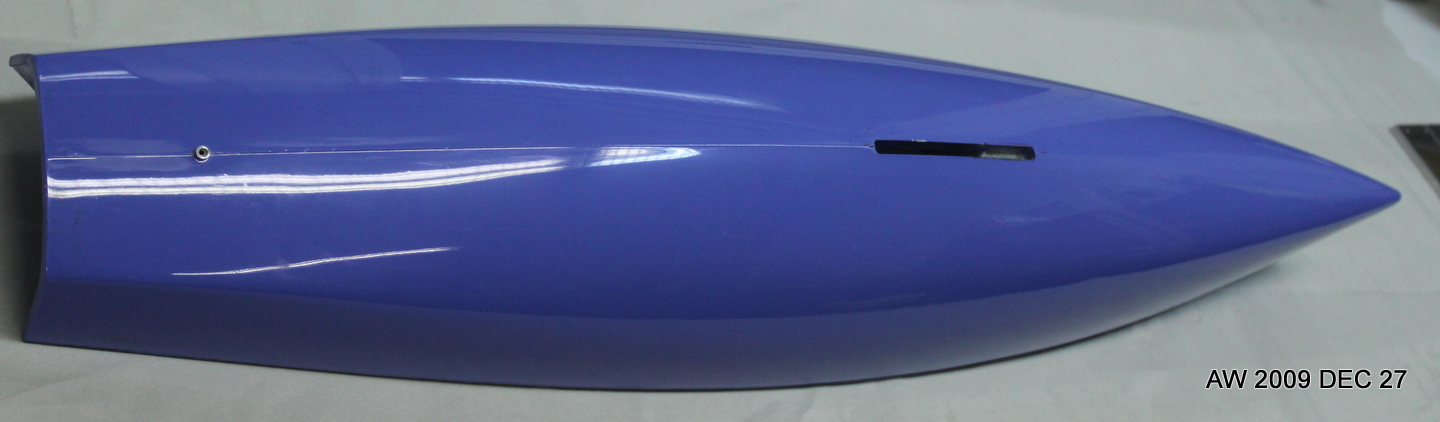
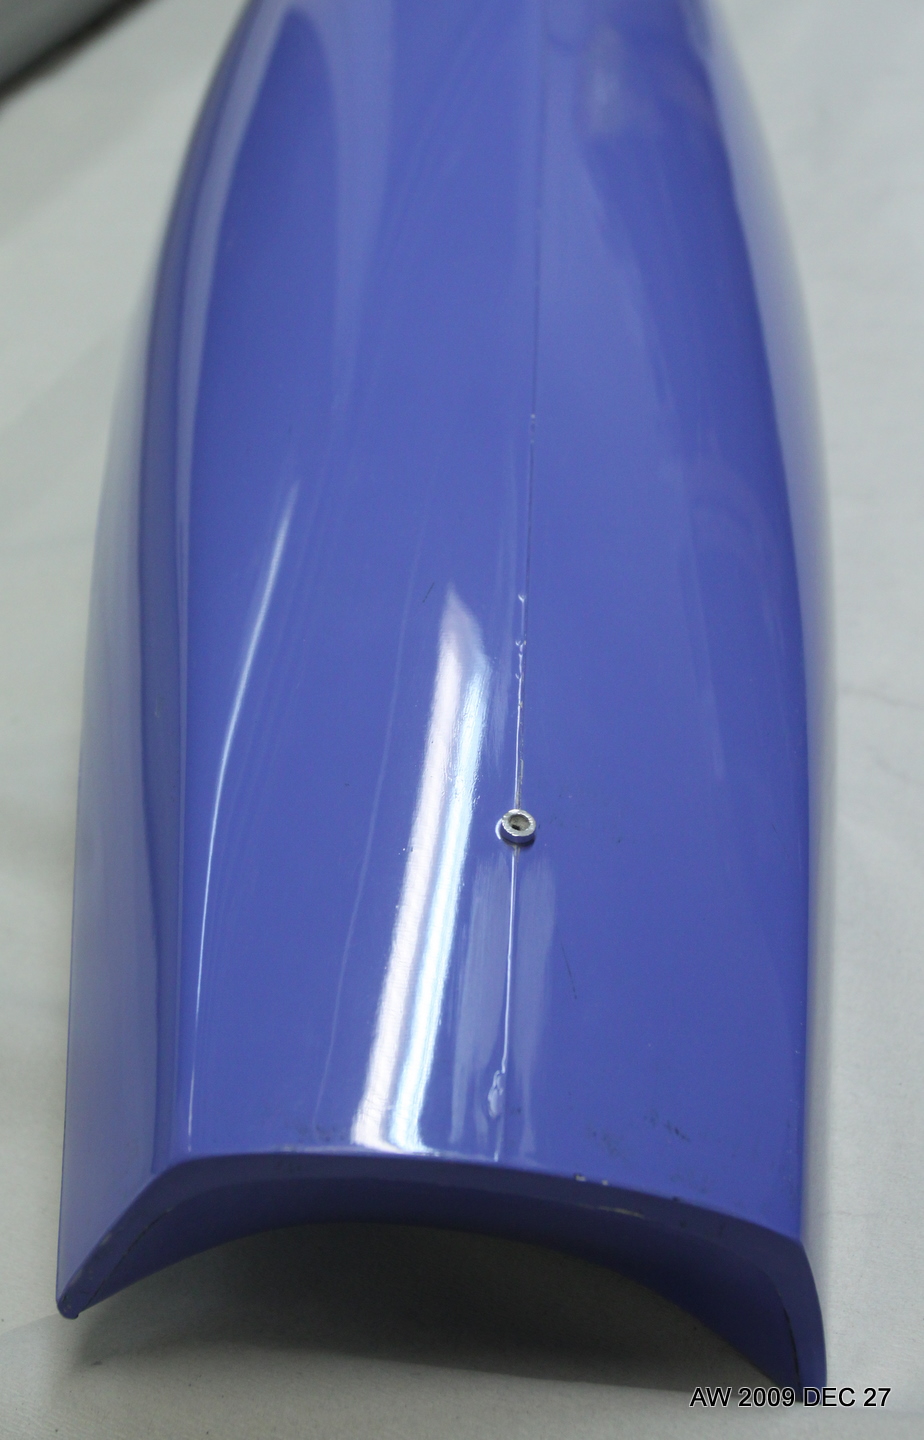
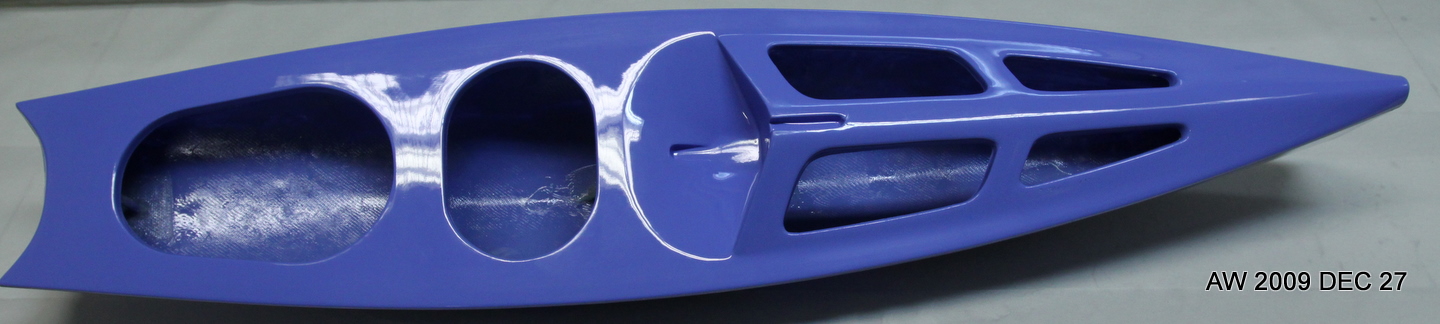
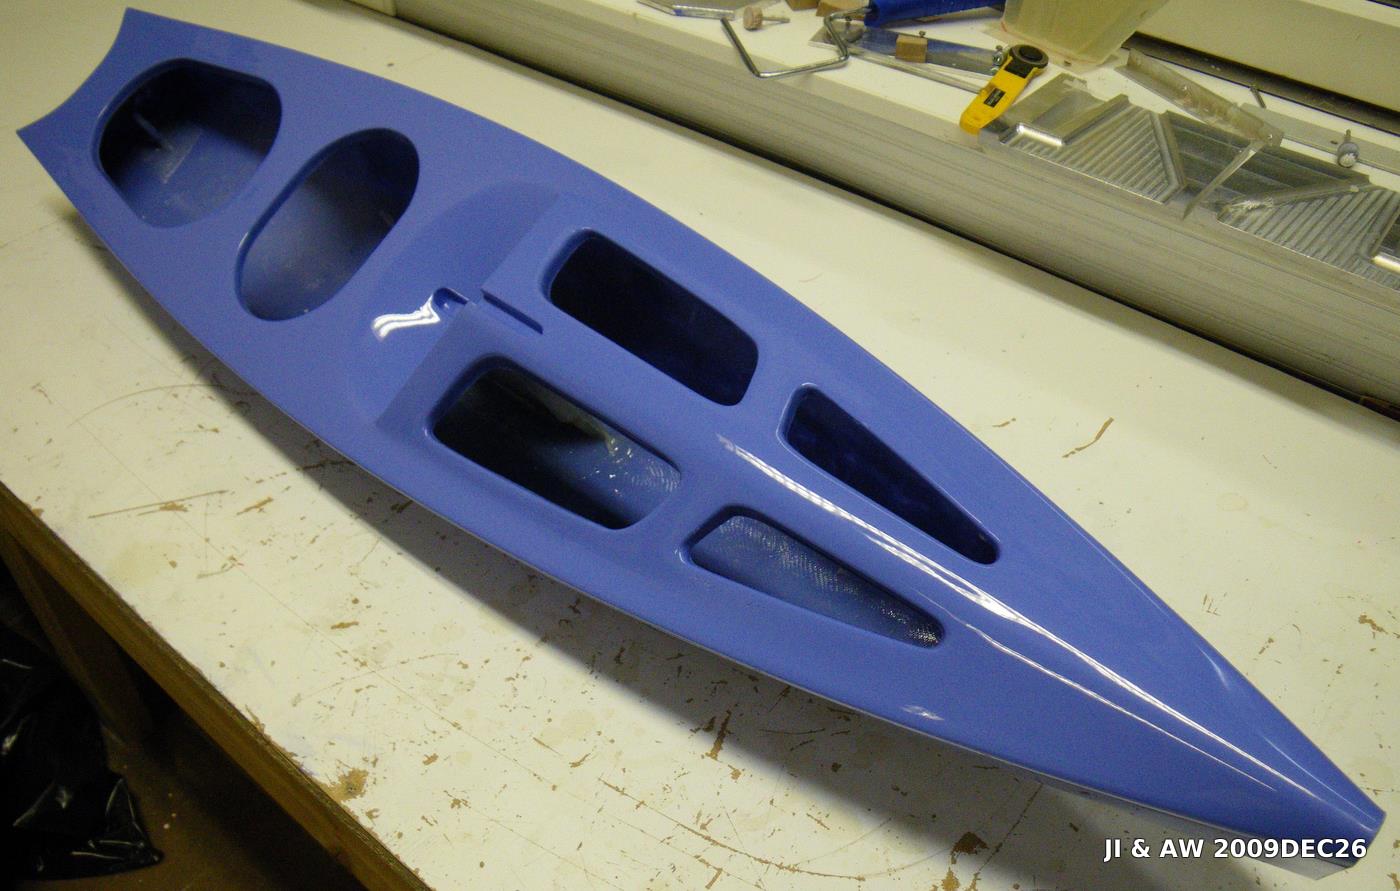
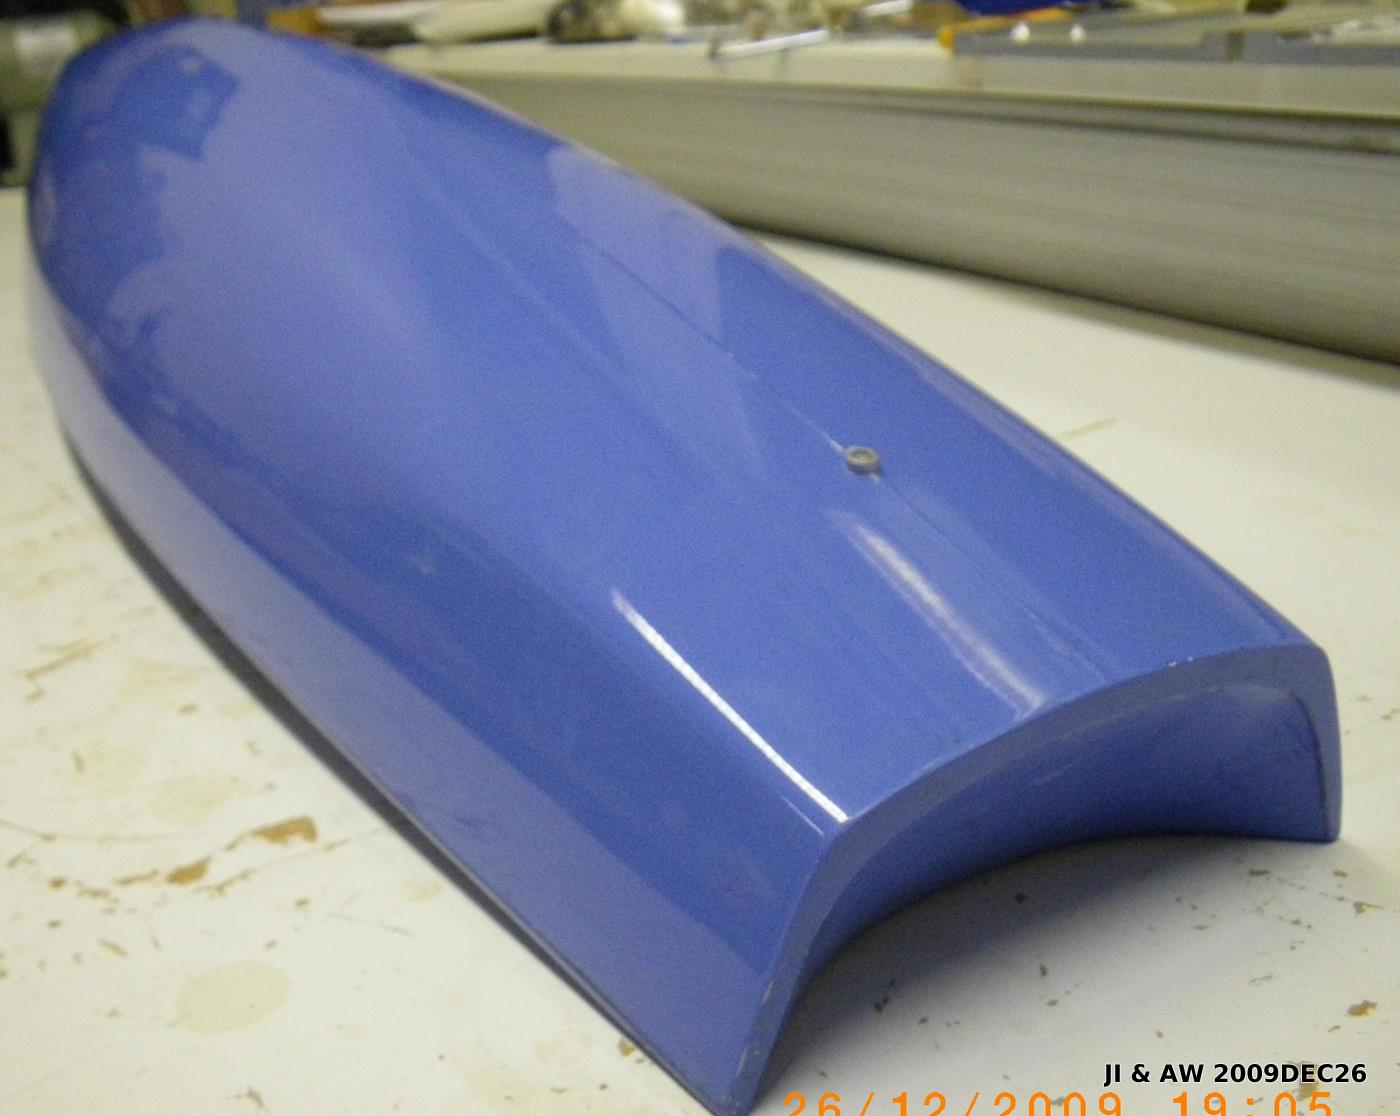
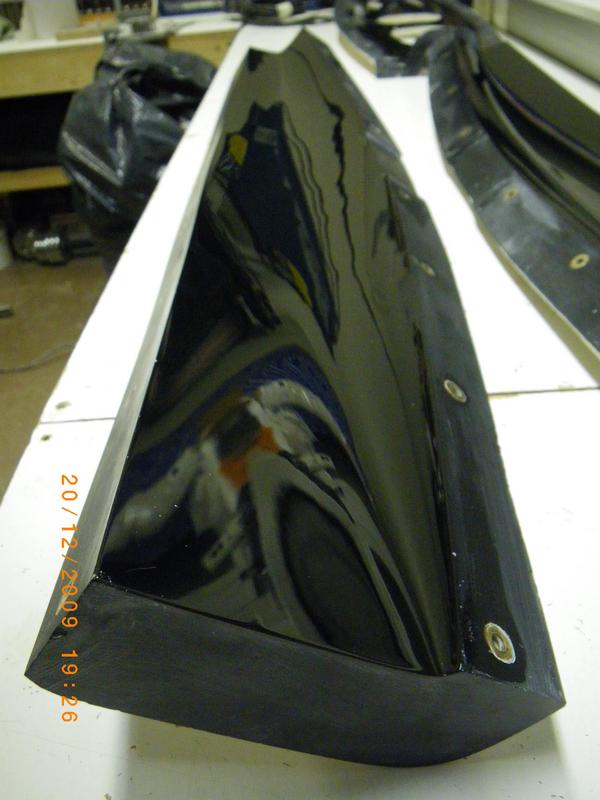
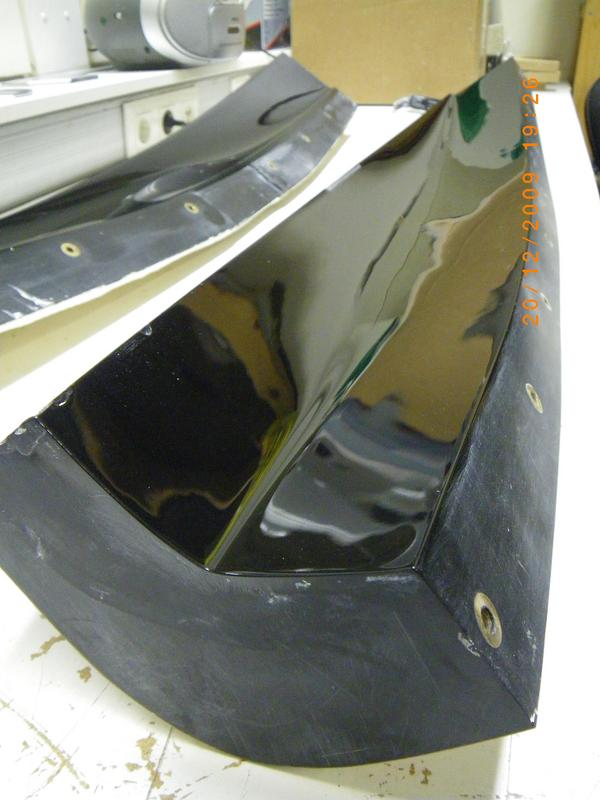
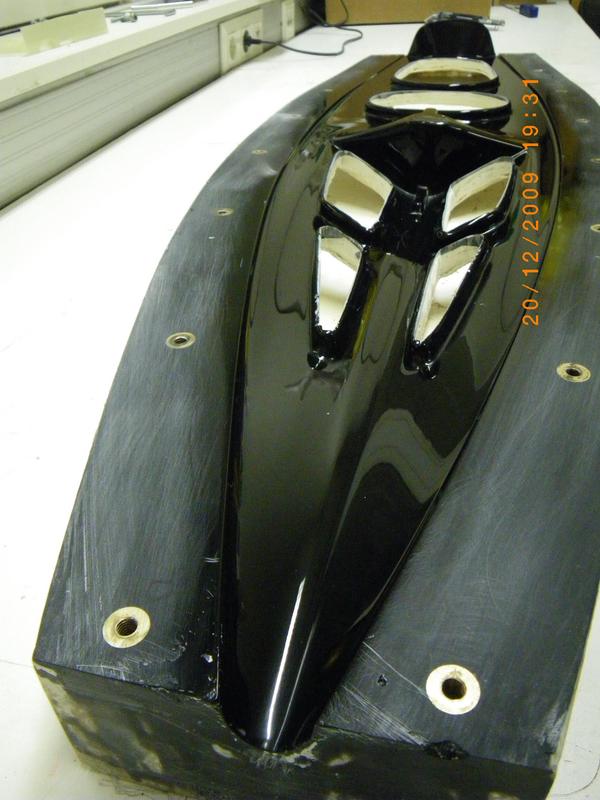
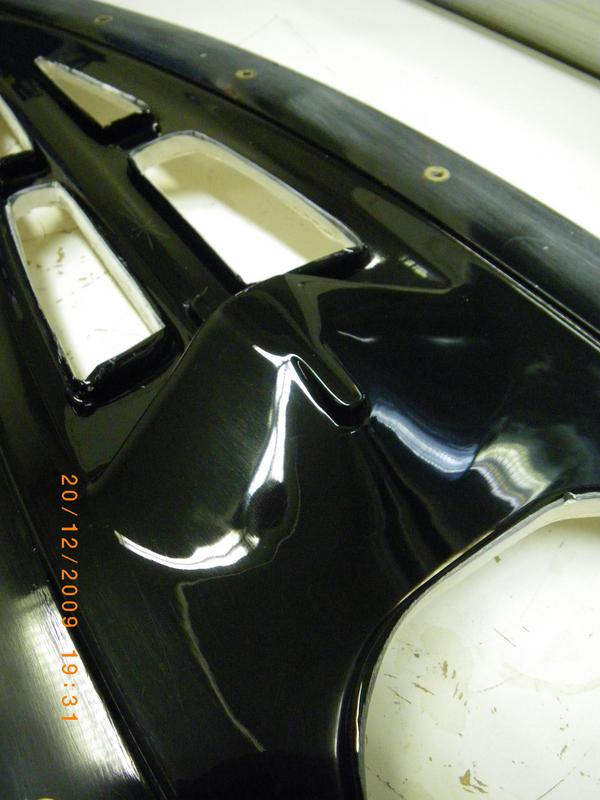
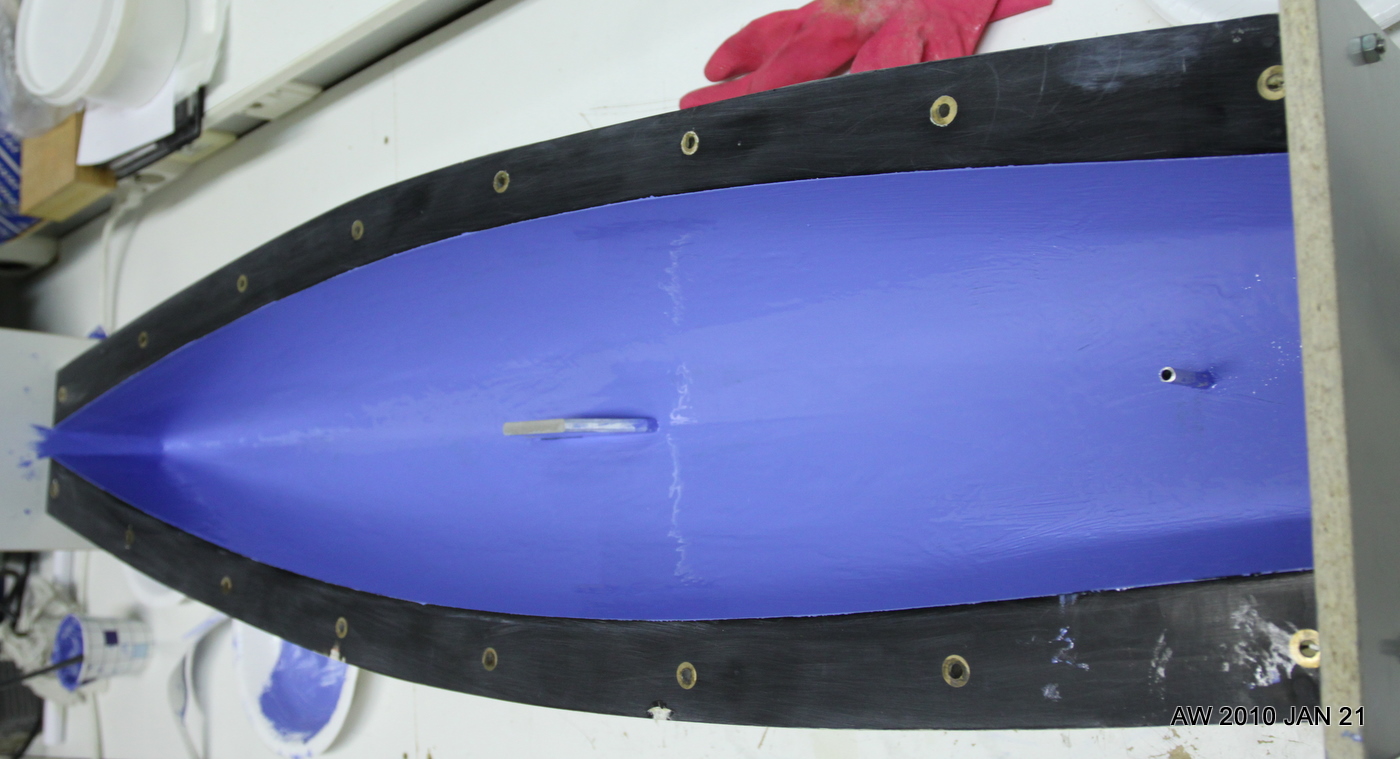
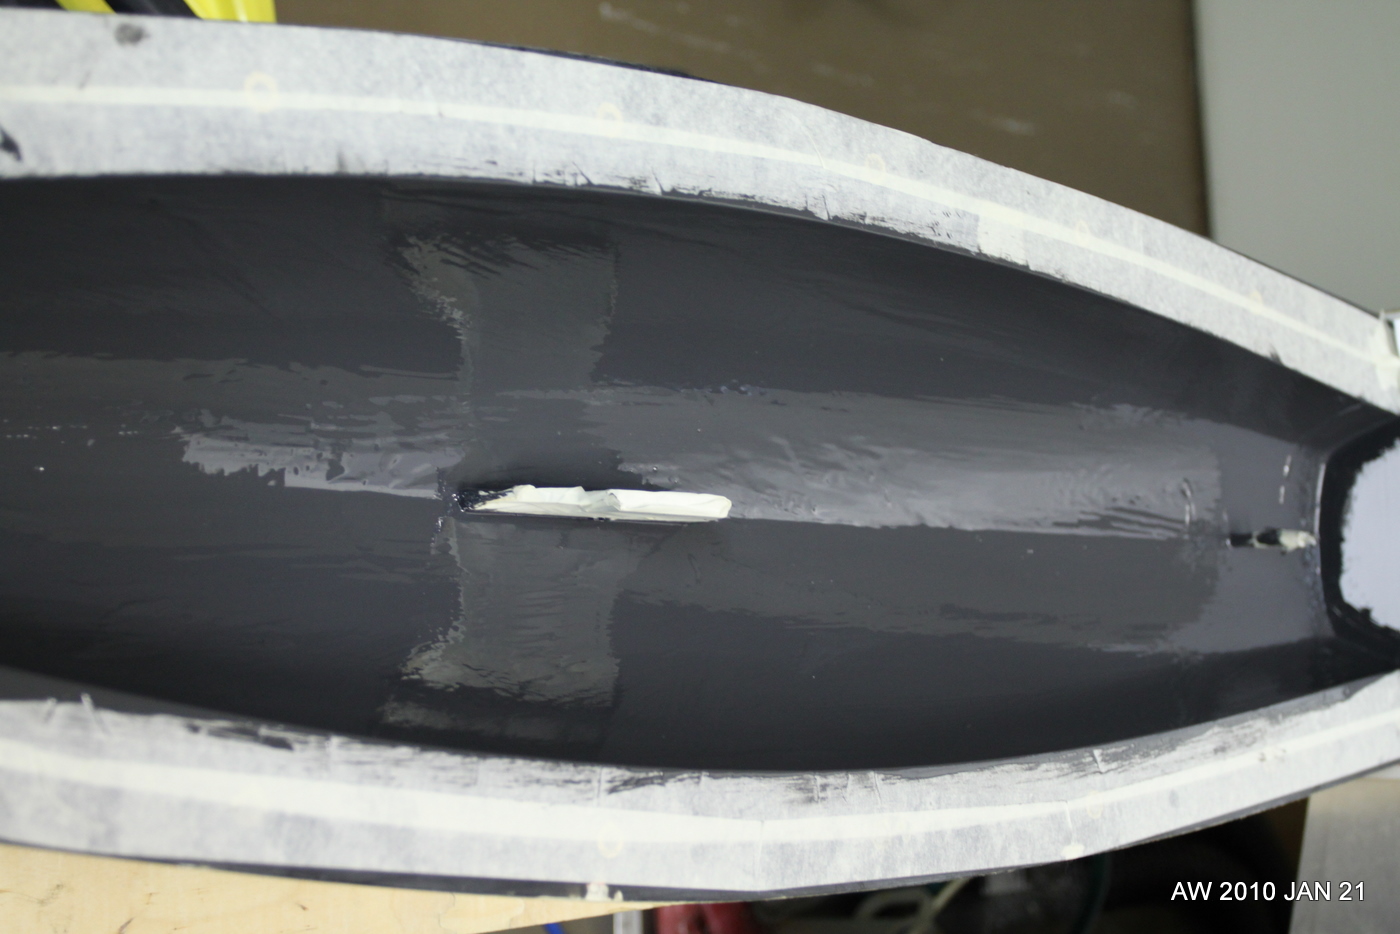
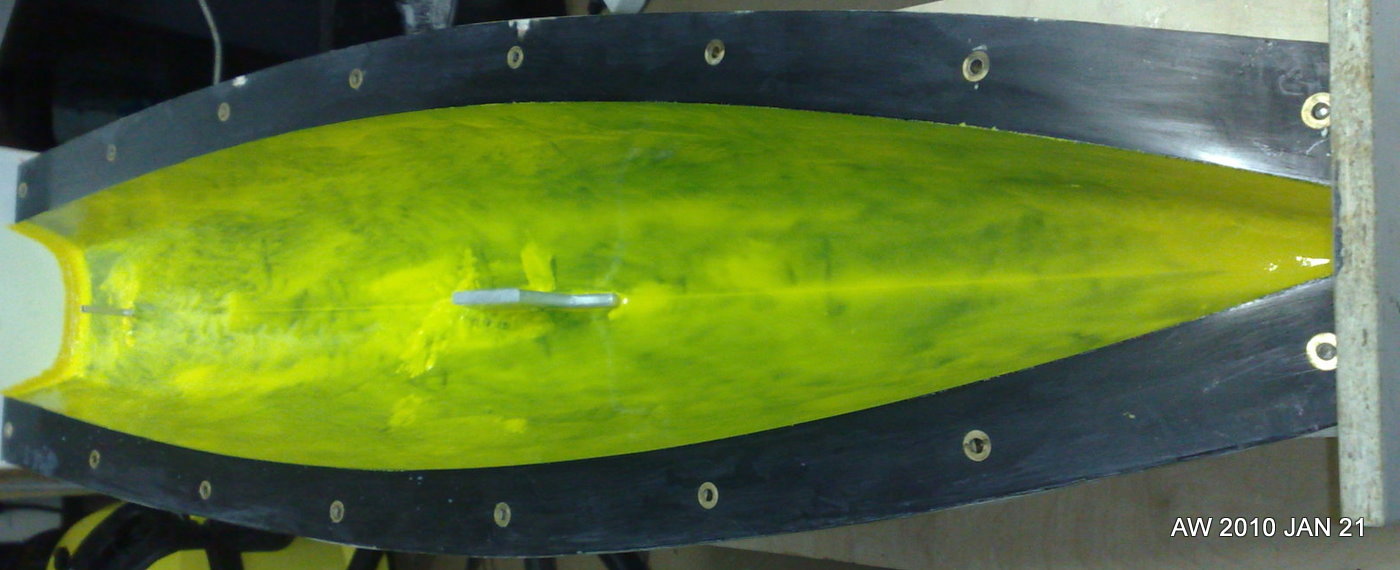
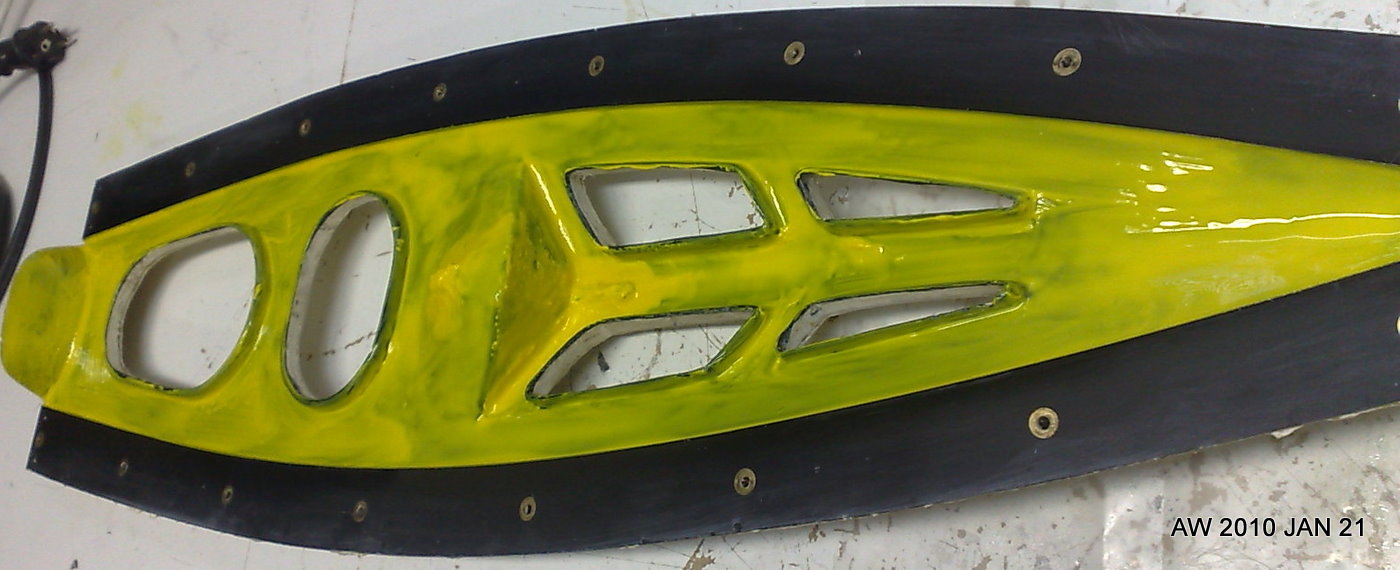
Hull nr. 3 "Yellow Submarine" was moulded last weekend and it will be interesting to see the result. Against the black of the mould-gelcoat the yellow doesn't seem to cover too well (compare to hulls 1 "sky-blue" and 2 "battleship-grey").

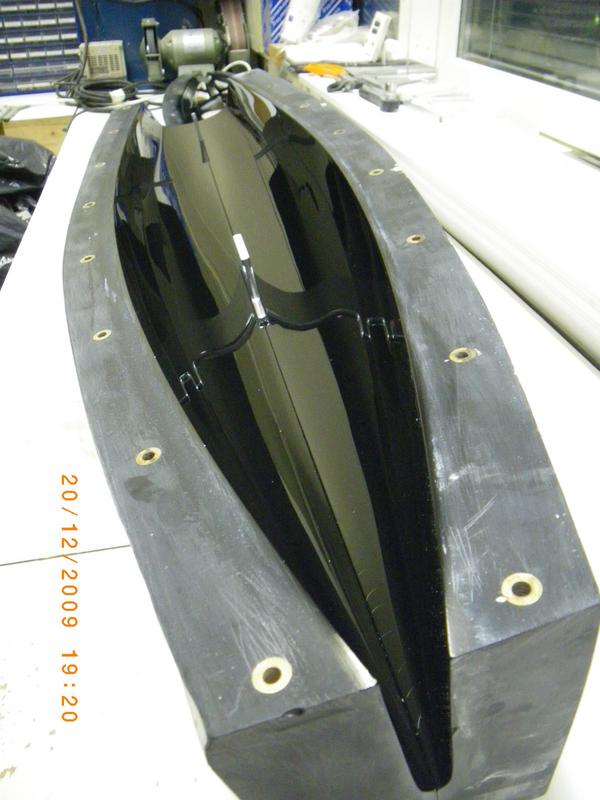
These pictures are taken just after painting the gelcoat into the mould. We make the gelcoat from the moulding-resin by adding colloidal silica and the colour paste.

Making hull nr3 was a 7 hour process:

10:00 arrive at workshop, do a bit of cleaning and preparation
11:00 start mixing and applying gelcoat to moulds, takes about an hour for deck and hull.
12:00 - 14:00 wait... gelcoat is in the mould and needs to cure. not much to do now(eat lunch, cut fibers, etc).
14:00 start moulding. The hull is fairly quick and only takes an hour or so
15:00 mould deck. This is more tricky with a lot of different small bits of fibers required, takes more than an hour usually
~16:00 fibers are in both moulds, close the moulds and start on the join between deck and hull
17:00 all done. Leave moulds and new boat to cure.

Mast partner

Update: here is Jari's "fork" design for the mast-partner:

The forward hole could be made a bit bigger so a 4mm acetal-rod with a small central hole for the jib-sheet will fit. There could be an M3 or M4 threaded hole added for the mast-ram, and finally some holes for a U-shaped bent wire which forms a deck-eye through which the no3 jib is sheeted.

Here's the glassfiber version I was first thinking about:

The way we mould the deck and hull in one go we don't get an overhanging foredeck which would support the mast. One solution is this kind of "mast partner" which is glued/bolted to the foredeck and provides sideways support for the mast. If the slot is made say 16 mm wide the mast will need a sleeve of metal/plastic that fits this 16 mm slot accurately. There is room for a ca 18-19 mm diameter thumbwheel(red) on the mast ram.

Here's a photo of a SAILSetc 10R (or M?) which uses this idea:

Radio install idea v3

radio
Here's another idea for the PIKANTO radio-installation. The yellow parts are 1.5 mm glassfiber boards (PCB-material) which are glued to the finbox and the mainsheet post. They would provide two or four mounting holes for M3 bolts that secure the main radio-plate (not shown) to the boat. If this is rigid enough I think no support to the sides of the hull or to the deck is required.

Jib support mould

fokkatuki
This jib-support part which goes into the bow of the boat has about three or four different purposes. First, it stiffens the forward deck to take the loads from the rig, second it provides a 6 mm i.d. tube for a dyneema-thread type no1 rig swivel, third it provides a 3mm wide slot for recessed steel pins for the no2 and no3 jibs, and fourth it holds a block for the sheeting system. Here I'm trying a home-made block made from a 24 mm diameter 3 mm wide acetal-wheel (yellow) which is designed to rotate around an M2 bolt through the sides of the shaped jib-support.

Lester Gilbert's PIKANTO-page has pictures of how the SAILSetc equivalent parts look like. With an RMG winch there is no need for the 1:2-gearing in the sheeting-system, and a block is placed at the very front of the boat (see SAILSetc part 67RMG).

SAILSetc has a downloadable drawing with the sheeting systems: http://sailsetc.com/downloads/2006/67G.pdf

Jari has cnc-milled the positive moulds for this part:

IMGP1913-1
Stock is a 200 mm length of 100 x 10 mm aluminium bar. There's a  2 mm hole in the moulds for the block-axle.

IMGP1909-1

Next follows the negative moulds.

Colours

IMG_0875

These are the standard colours we have for coloring gel-coat for the Pikanto right now. They are from emc-vega. Hull nr1 was a mix of blue and white, hull nr2 a mix of black and white.

The SAILSetc links to this page http://www.llewellyn-ryland.co.uk/standardrange.html which has a lot of nice colours. Anyone know where (online?) to buy those?

On an airplane-forum someone mentioned using colour pastes for 2-part epoxy-paint, is that available in cool colours somewhere?

Radio installation idea

What's the simplest possible way to install the radio components in the boat?

Here's an idea: Use an FR4 glassfiber PCB-board (yellow) cnc-cut to the correct shape and with cut-outs for the winch, rudder servo, and batteries. Mount it to the deck with long M4 bolts with Y-head screws that mount flush to the deck. Use 50 mm long 10 mm diameter aluminium spacers (blue) to position the plate at the correct height below the deck.

Simple: yes! Works with both HiTec and RMG winch: yes! Easy to manufacture: yes!

Comments?

Update: top view of a shaped radio-board:

Update 2. Here I have drawn 50mm deep U-shaped glassfiber supports that hold the radio-plate from the sides. Also, there is an L-shaped beam which is glued to the finbox and to the sheet-tube which gives additional support to the radio plate:

More PIKANTO hull nr 1 pictures

Some more pictures of hull nr 1. The weight of the hull and deck, including mast/finbox and rudder-tube is 600 g. We hope to improve on that since this prototype hull has a bit too much resin in a lot of places. In 2003 I made this weight-budget for an Italiko, which  shows the Italiko hull with fittings and ready for radio-gear weighing 623 grams and requiring more than 100 g of corrector weights.

Hull nr 2 will probably be moulded next weekend, and we hope to make a few changes to the lay-up etc. to produce an even nicer looking boat.

PIKANTO hull Nr 1

We've moulded the first PIKANTO hull!

This is a bit of a prototype since it's some time since Jari or myself moulded a boat, and also because these are brand new moulds and we have never made a boat in one-go like this before: closed mould with the hull, deck, mast/finbox, and ruddertube all attached in one session. We need a bit of routine and practice to get the whole process of "release-agent > gelcoat > resin/fiber > fin/mastobox > close-mould > seal deck-joint" running smoothly. I am sure by hull nr 5 or so we will have learnt the workflow pretty well 🙂

Having said that, this first prototype hull came out of the mould pretty good. There are some problems with an uneven gelcoat layer, and a few places in the foredeck where there is trapped air between fiber/gelcoat. We're considering either cutting away the rounded flanges on the foredeck, or alternatively moulding the deck from many smaller pieces of fiber that would drape around the challenging shapes better. Anyway we are pretty happy that the boat comes out of the mould with deck attached and fin/mastbox + ruddertube in place. I've been thinking about a glass-fiber rudder-tube moulding also, and there's obviously a possibility to add a support under the foredeck for the jib-attachment point, maybe even the mainsheet post tubing also?

This is with a "home-made" gelcoat made out of laminating resin, colloidal silica, and colour-paste. I'm not sure this is optimal and I remember reading on some RC-airplane forum about using 2-pack (polyurethane? or epoxy?) car-paints as gelcoat. Does anyone have links or experience with that?

Shine mould, shine!

polish_1

After sanding with 1200-grit and a 10-15um particle-size fine paper it is time for polishing. We have two grades of polishing-compound. These pics show the coarse type which is polished with a spinning soft disk on a power-drill.

polish_2

After polishing follows release agents: first Frekote and then wax. It's still possible we will mould a prototype hull this year. Stay tuned.