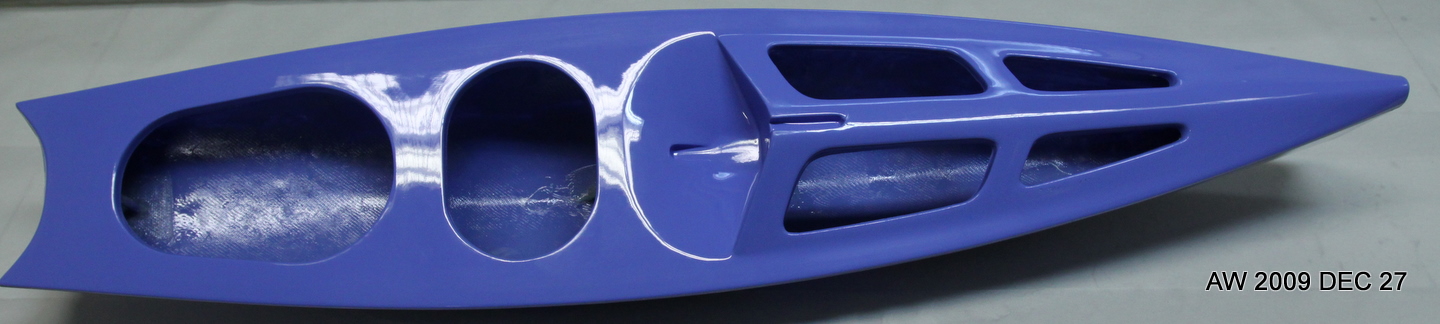
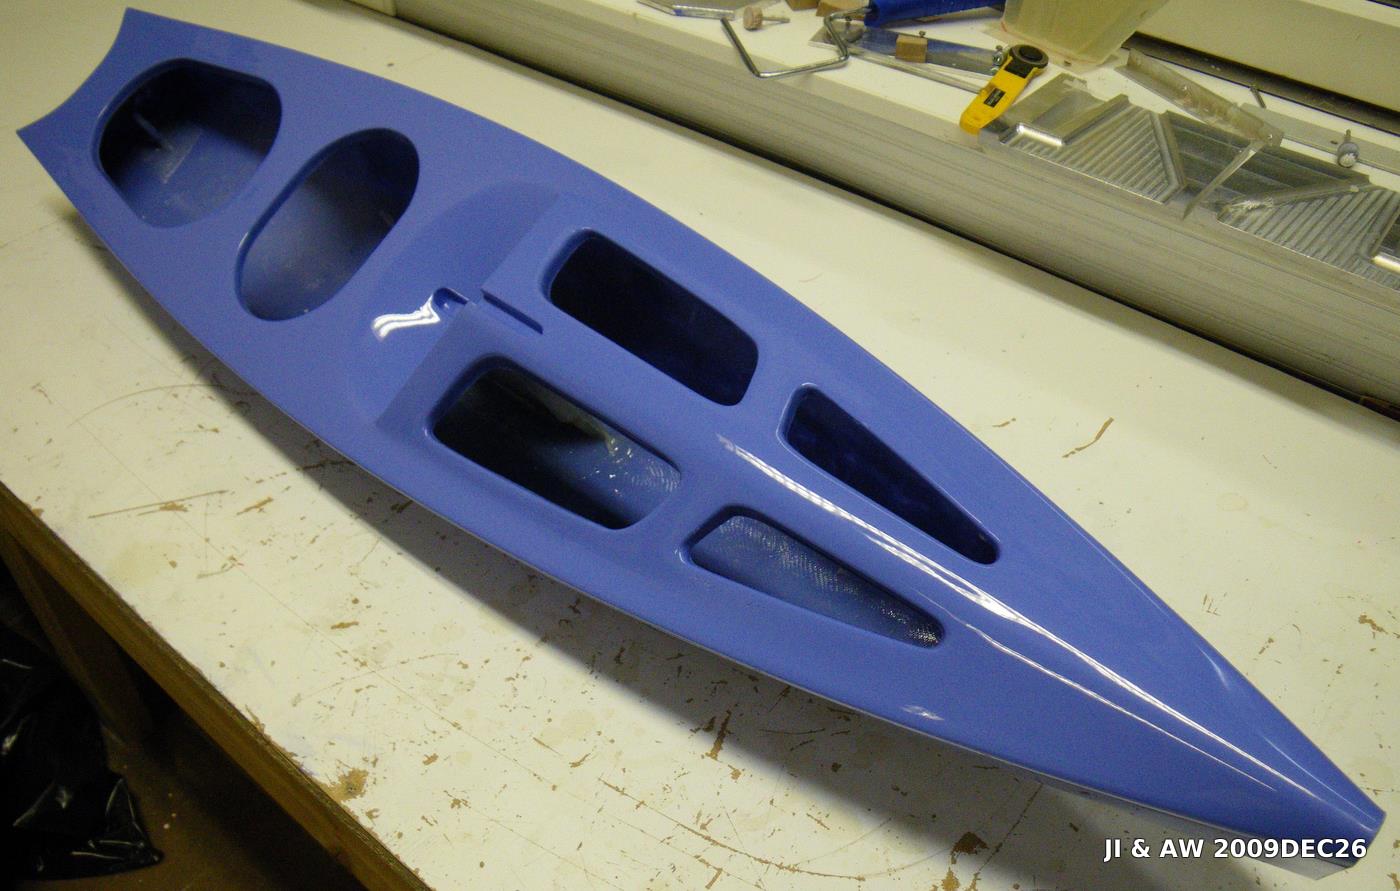
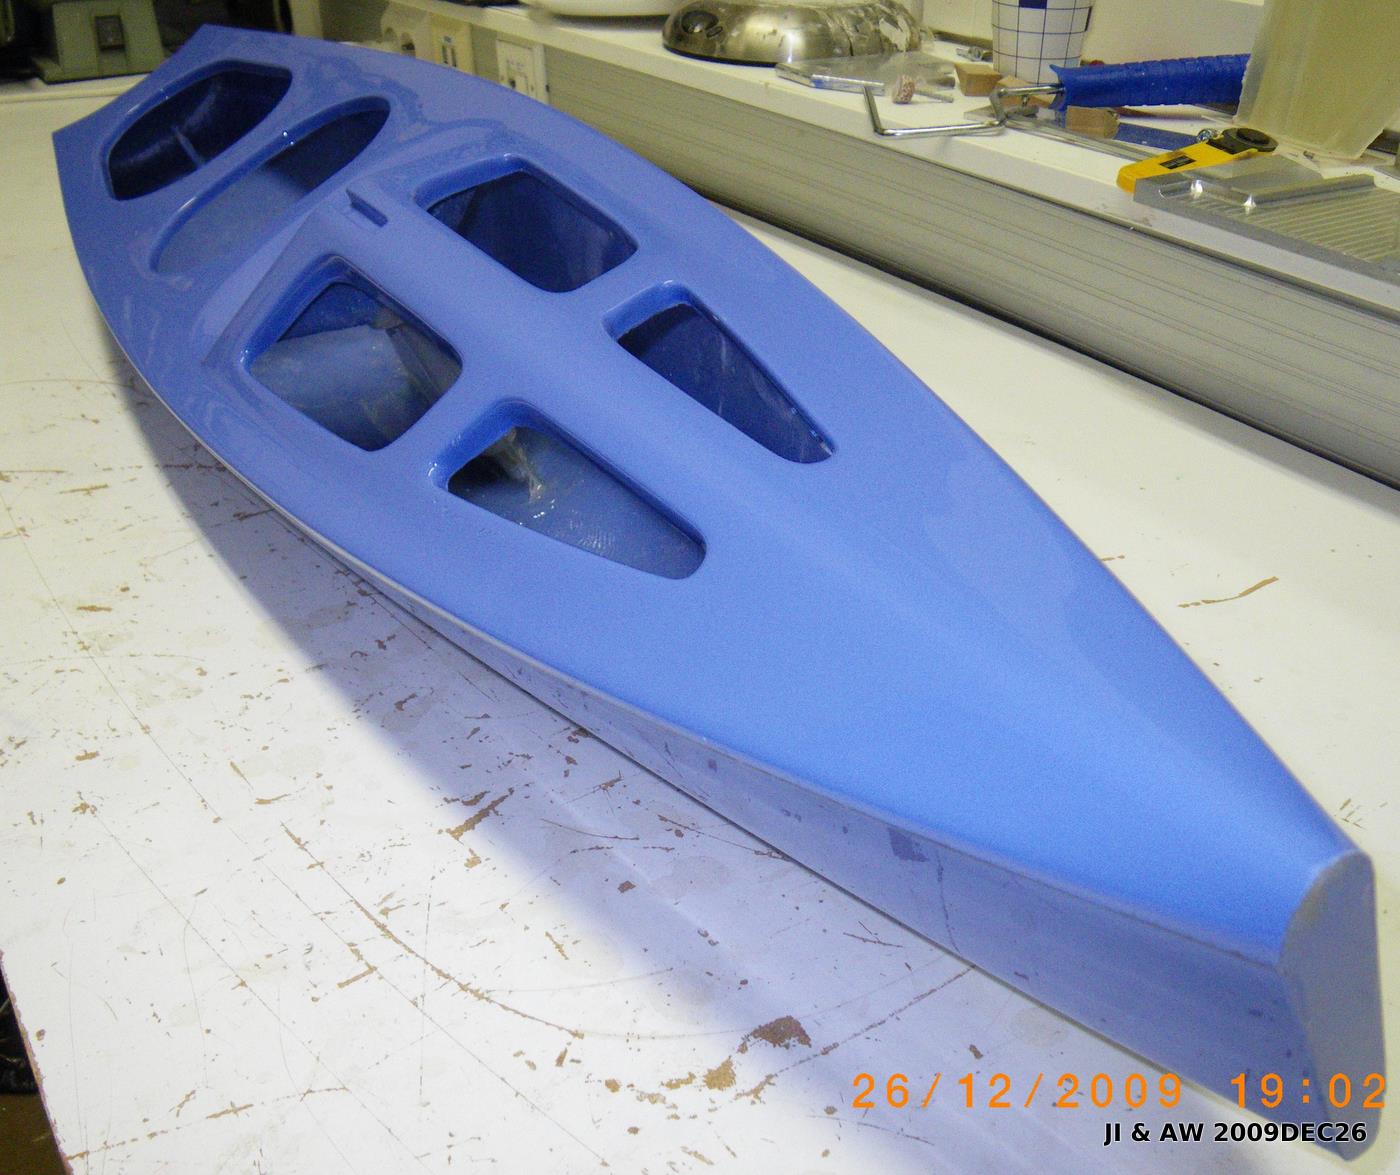
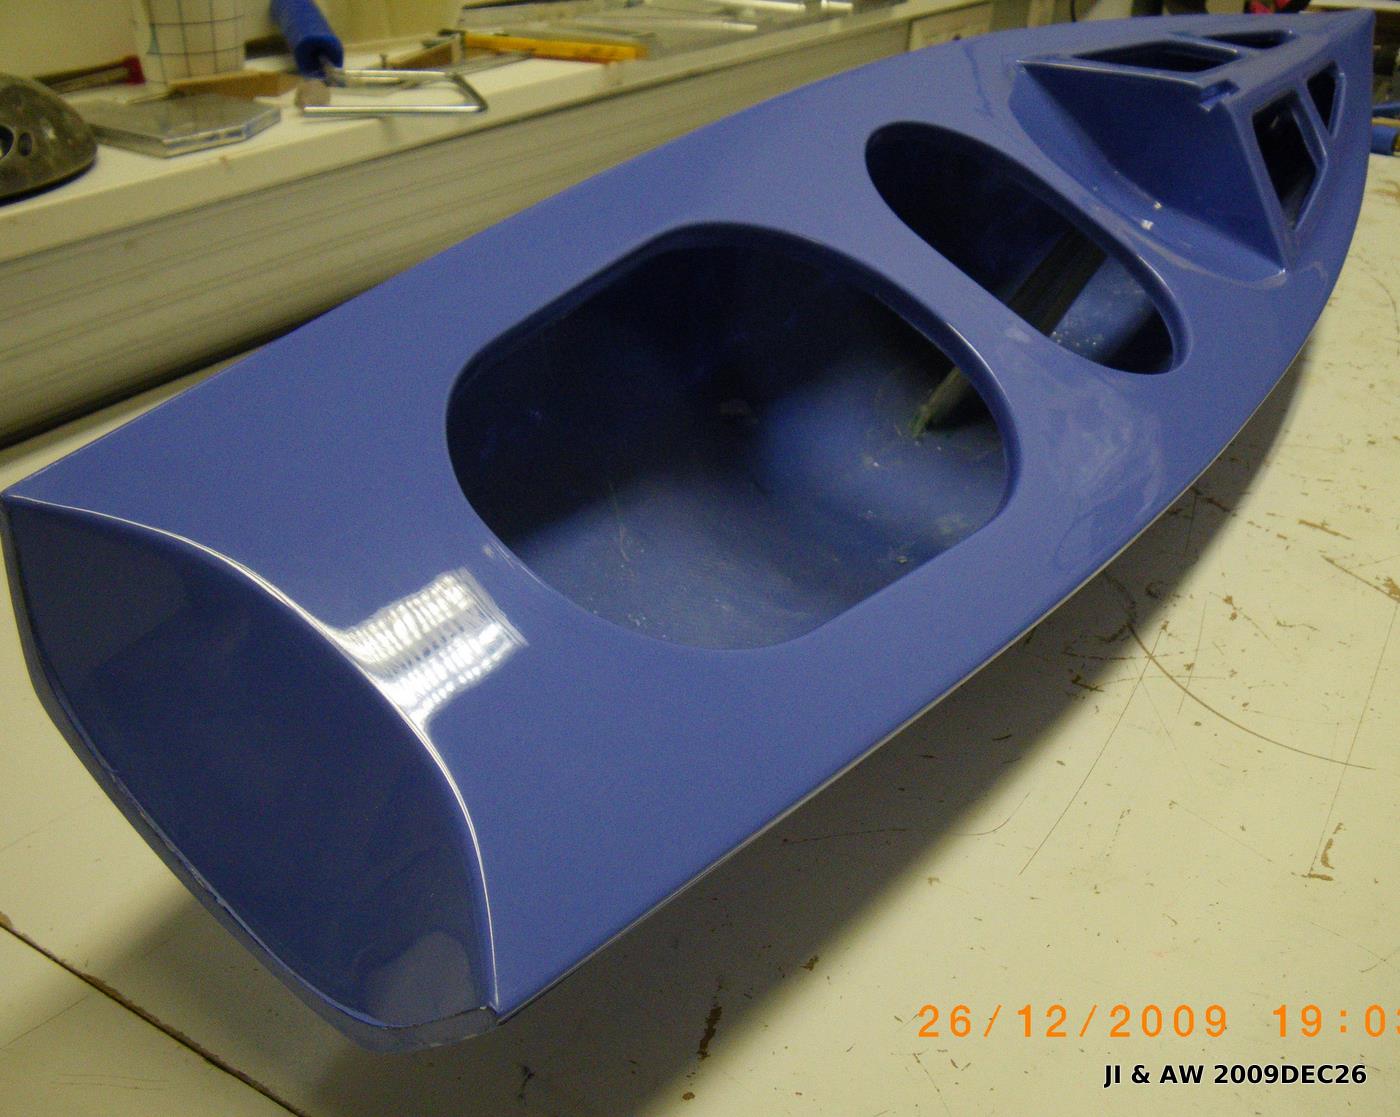
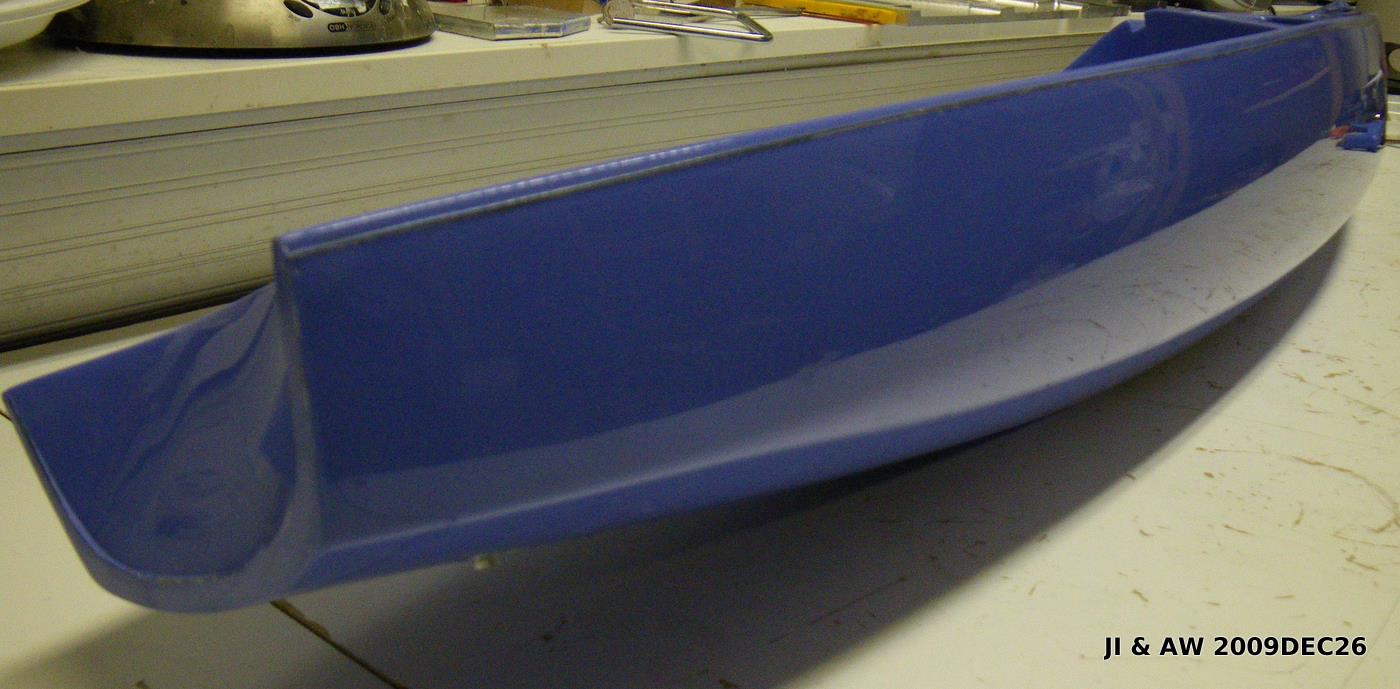
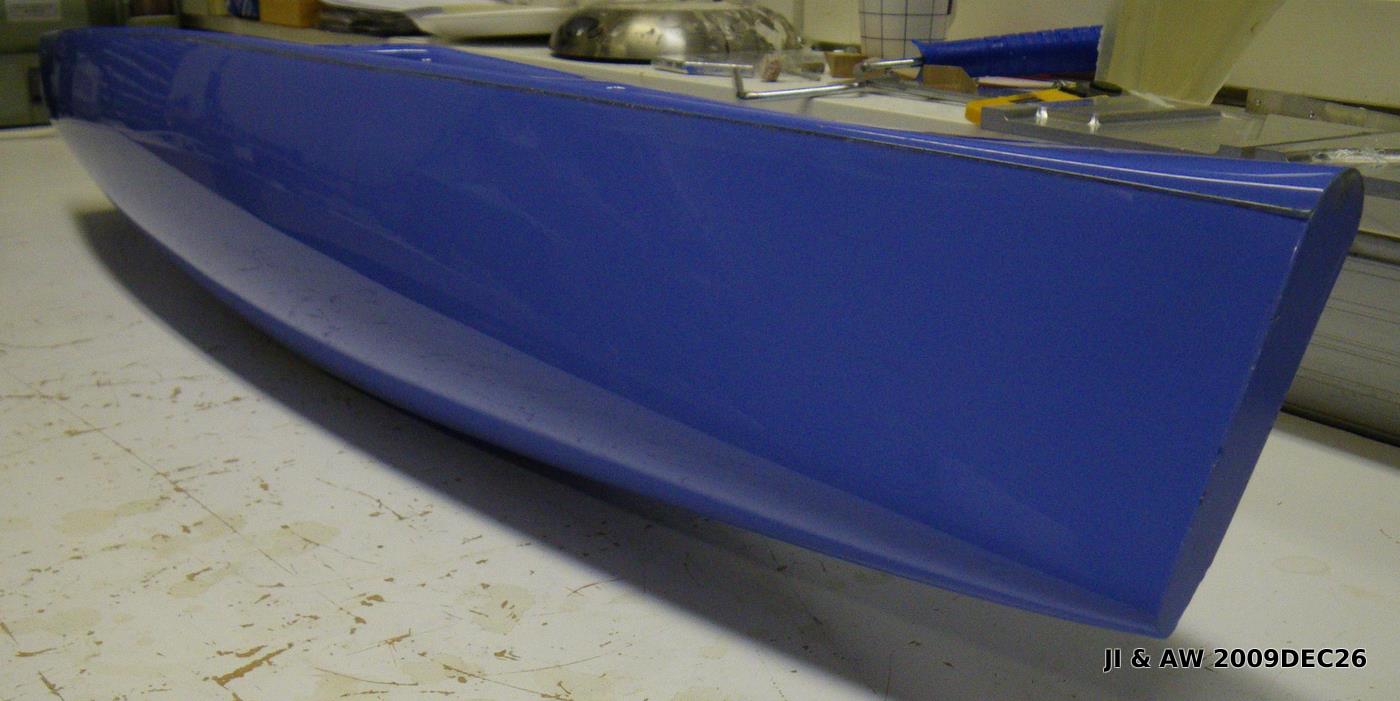
We've moulded the first PIKANTO hull!
This is a bit of a prototype since it's some time since Jari or myself moulded a boat, and also because these are brand new moulds and we have never made a boat in one-go like this before: closed mould with the hull, deck, mast/finbox, and ruddertube all attached in one session. We need a bit of routine and practice to get the whole process of "release-agent > gelcoat > resin/fiber > fin/mastobox > close-mould > seal deck-joint" running smoothly. I am sure by hull nr 5 or so we will have learnt the workflow pretty well 🙂
Having said that, this first prototype hull came out of the mould pretty good. There are some problems with an uneven gelcoat layer, and a few places in the foredeck where there is trapped air between fiber/gelcoat. We're considering either cutting away the rounded flanges on the foredeck, or alternatively moulding the deck from many smaller pieces of fiber that would drape around the challenging shapes better. Anyway we are pretty happy that the boat comes out of the mould with deck attached and fin/mastbox + ruddertube in place. I've been thinking about a glass-fiber rudder-tube moulding also, and there's obviously a possibility to add a support under the foredeck for the jib-attachment point, maybe even the mainsheet post tubing also?

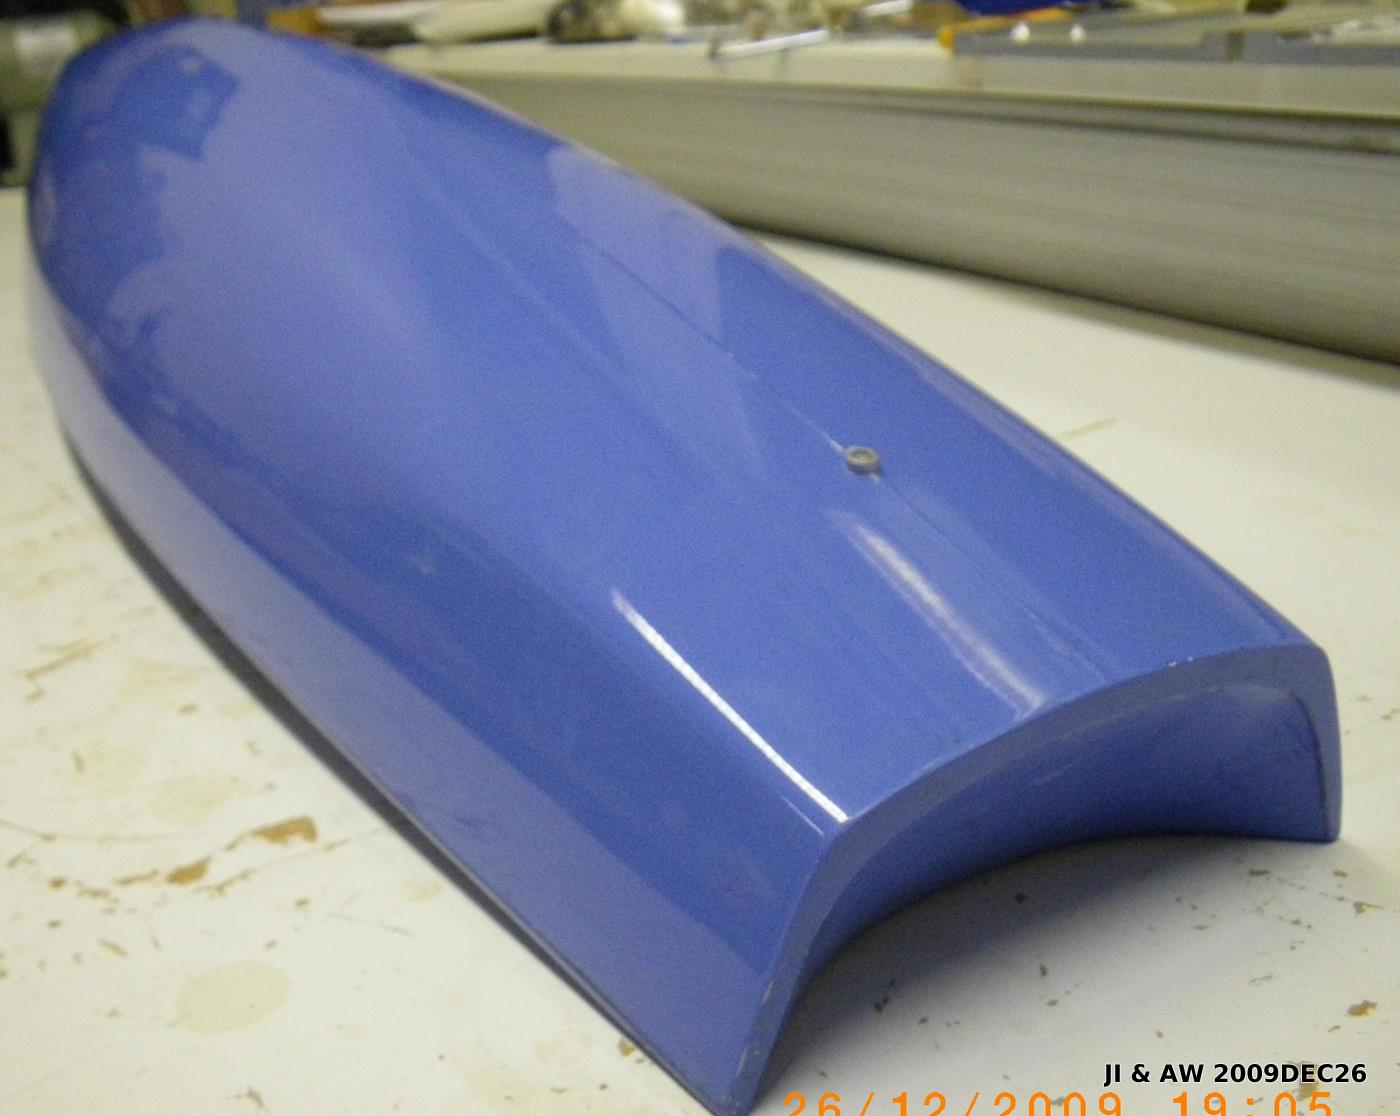
This is with a "home-made" gelcoat made out of laminating resin, colloidal silica, and colour-paste. I'm not sure this is optimal and I remember reading on some RC-airplane forum about using 2-pack (polyurethane? or epoxy?) car-paints as gelcoat. Does anyone have links or experience with that?
They do use auto paints, sprayed on waxed mylar, then applied to the foam core of wings and placed in a vacuum bag. I have sprayed primer onto the PVA coat when molding hull and deck separately, and the finish was excellent, just a light wetsand and it was ready for a finish coat. I didn't try to spray the finish coat on first because I had to join the parts after adding the interior, but it looks like you have solved that problem!
I have read of several ways to help the glass lay into the corners of a closed mold. The airplane fuselages are even tighter than an IOM. They sometimes use a ball bearing to roll around the seams and press the glass into the corners. If there is a sharp corner, a fillet of thickened epoxy should be pressed into the joint before laying in the glass. I have also heard some people blow up a balloon inside the fuselage to press the glass to the seams.
Hi Anders:
Excelent job!!!
I think there is a little problem with the IOM rule
D.2 HULL
(b)
(5) the interior shall be un-coated to permit non-destructive examination
for verification of the material content.
Cheers
Maximo
Hi Maximo, there is no colour-pigment in the resin used for wetting the fibers. The pigment was only used for the gelcoat. The interior of the hull is un-coated.
Nice work Anders!
Is it a real licensed Pikanto, or it is a Pikanto style boat?
Regards
Gyula
Hi Anders,
I prime my hulls with Acrylic Laquer automotive primer before layup so I'm sure what you read about finish coat in molds is correct.
Tony
Hello Gyula,
We are moulding the PIKANTO under license from Graham Bantock / SAILSetc. While most PIKANTO builders have made a mould from Graham's original wooden plug, we decided to cnc-machine our own plug. The hull lines are identical to the original PIKANTO, but the deck lines have been modified slightly to allow moulding the deck at the same time with the hull.
Anders
Tony,
Sounds interesting, do you have pictures of hulls/parts made with Acrylic paint?
I would be interested if you can describe your workflow (release agent? spray or brush the paint on? how long does it cure before epoxy+glass is added? etc.)
or if you have some links.
thanks,
Anders
Looks very good Anders. for your difficult glass areas, try style 120 E glass in 4-5 layers if necessary for strength. Use relief cuts as necessary.
Steve
Hi Steve,
We are now moulding with two layers of 165 g/m^2 twill-weave glassfiber. The boats are plenty stiff enough and weigh around 600grams straight out of the mould (hull, deck, fin/mastbox). As the are quite stiff we might experiment with some lighter glassfiber as the outer layer and then a 165 g/m^2 layer on the inside.
165g/m^2 is about 5oz/sq. yd. I think (?)
Hull nr 2 is already out of the mould and looks better both on the outside and on the inside compared to nr 1. I'll post some pictures of the newest hull when we get it cleaned up a bit.
Anders
Hi Anders,
What type of winch layout will go into production?
Regards,
Ed
Hello Ed,
We will try not to reinvent the wheel, and go with a sheeting arrangement very similar to the one used by SAILSetc. There is a drawing on the SAILSetc site:
http://sailsetc.com/downloads/2006/67G.pdf
I think at first we will set it up for a HiTec servo with the large 100mm drum. Later we might do one for the RMG winch also (this requires a block at the very front of the bow).
I have not decided on the attachment of the servos yet, but it seems that using the finbox and the mainsheet-post for support is the most elegant way. If these are made stiff enough then the radio components do not need support from the hull or the deck.
Anders