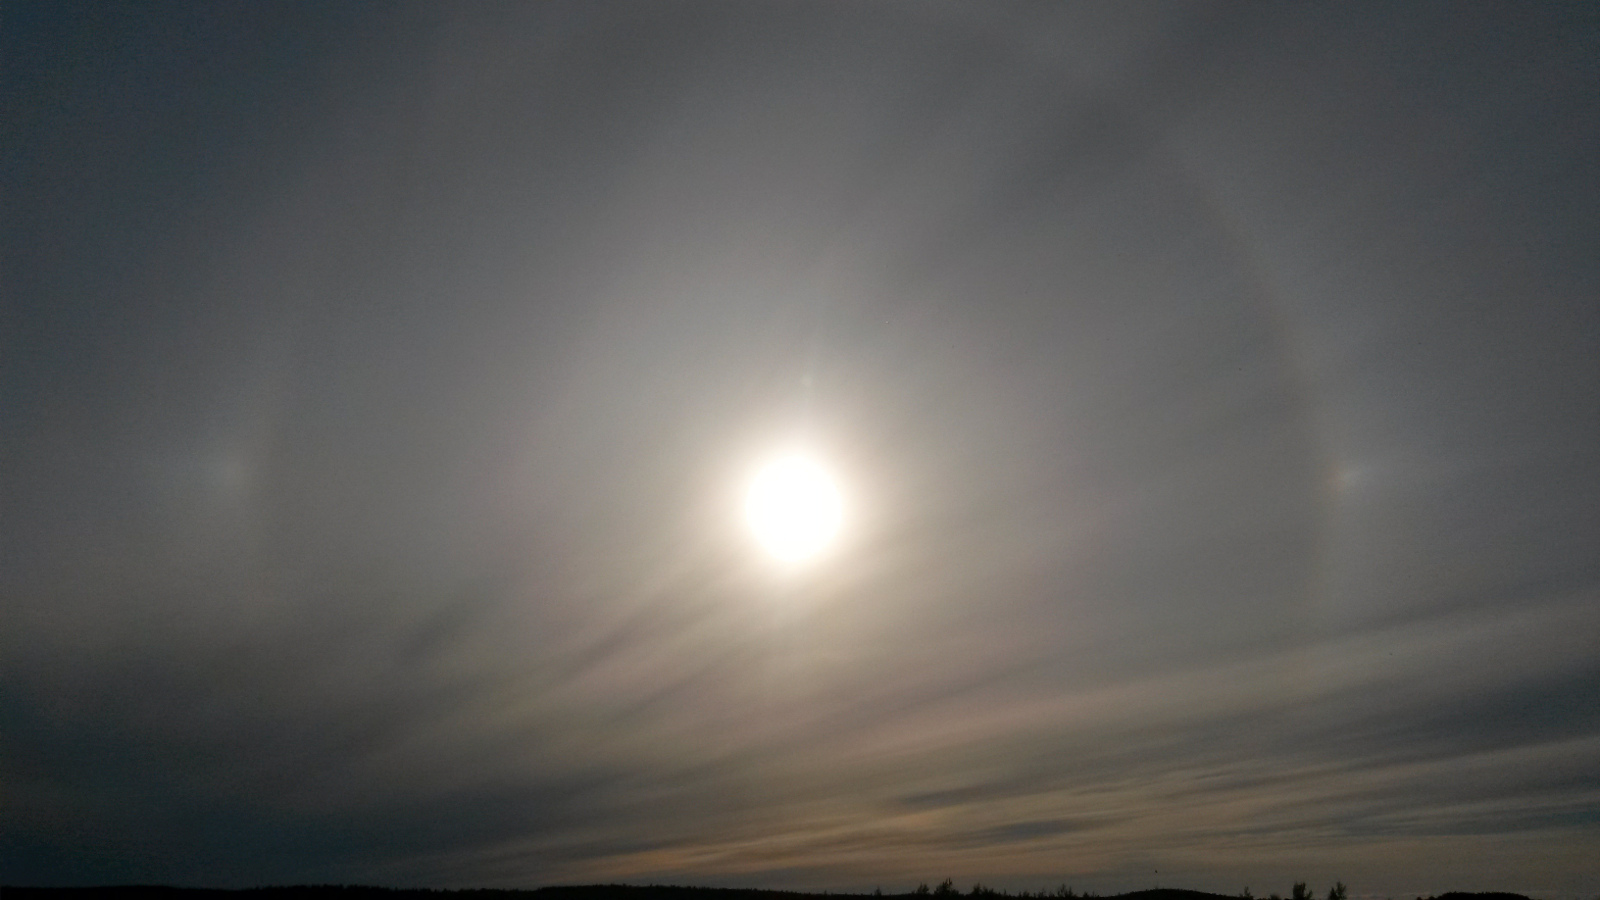
circular (22 degrees? anyone want to verify that, picture taken with Samsung S4 mini) halo with parhelia at 3 oclock and 9 oclock.
circular (22 degrees? anyone want to verify that, picture taken with Samsung S4 mini) halo with parhelia at 3 oclock and 9 oclock.
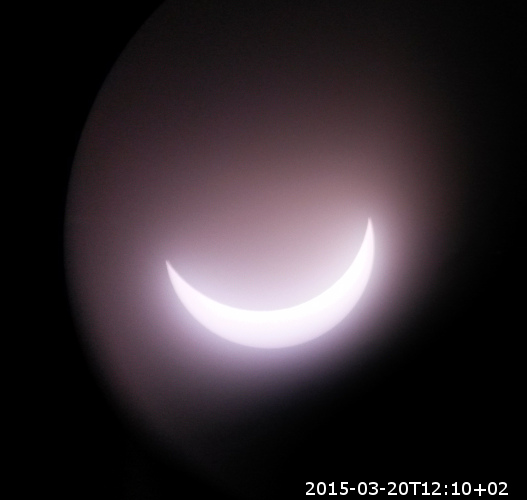 A bad phone-camera picture of today's partial solar eclipse which was hidden behind clouds. Taken through the eyepiece of an 80mm/f=600mm ED telescope.
See also eclipse pictures from 2008 when the weather was sunny.
It's quite rare to see aurora borealis in Helsinki, I've mostly only seen them around 400 km or more north.
Fairly weak and variable. I was only able to point my camera south and up, not north where the auroras normally are brightest - because of buildings and light-pollution in that direction.
As usual only green is visible to the naked eye, while the camera also picks up reds and maybe blues.
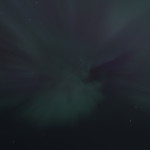
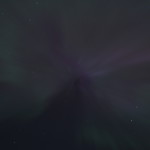
Canon 500D with 17-40/F4L lens at 17mm/F4 on tripd. iso400, 8-10 s exposure with cable-release.
See also: Kilpisjärvi auroras from 2012, and Oravais auroras from 2011.
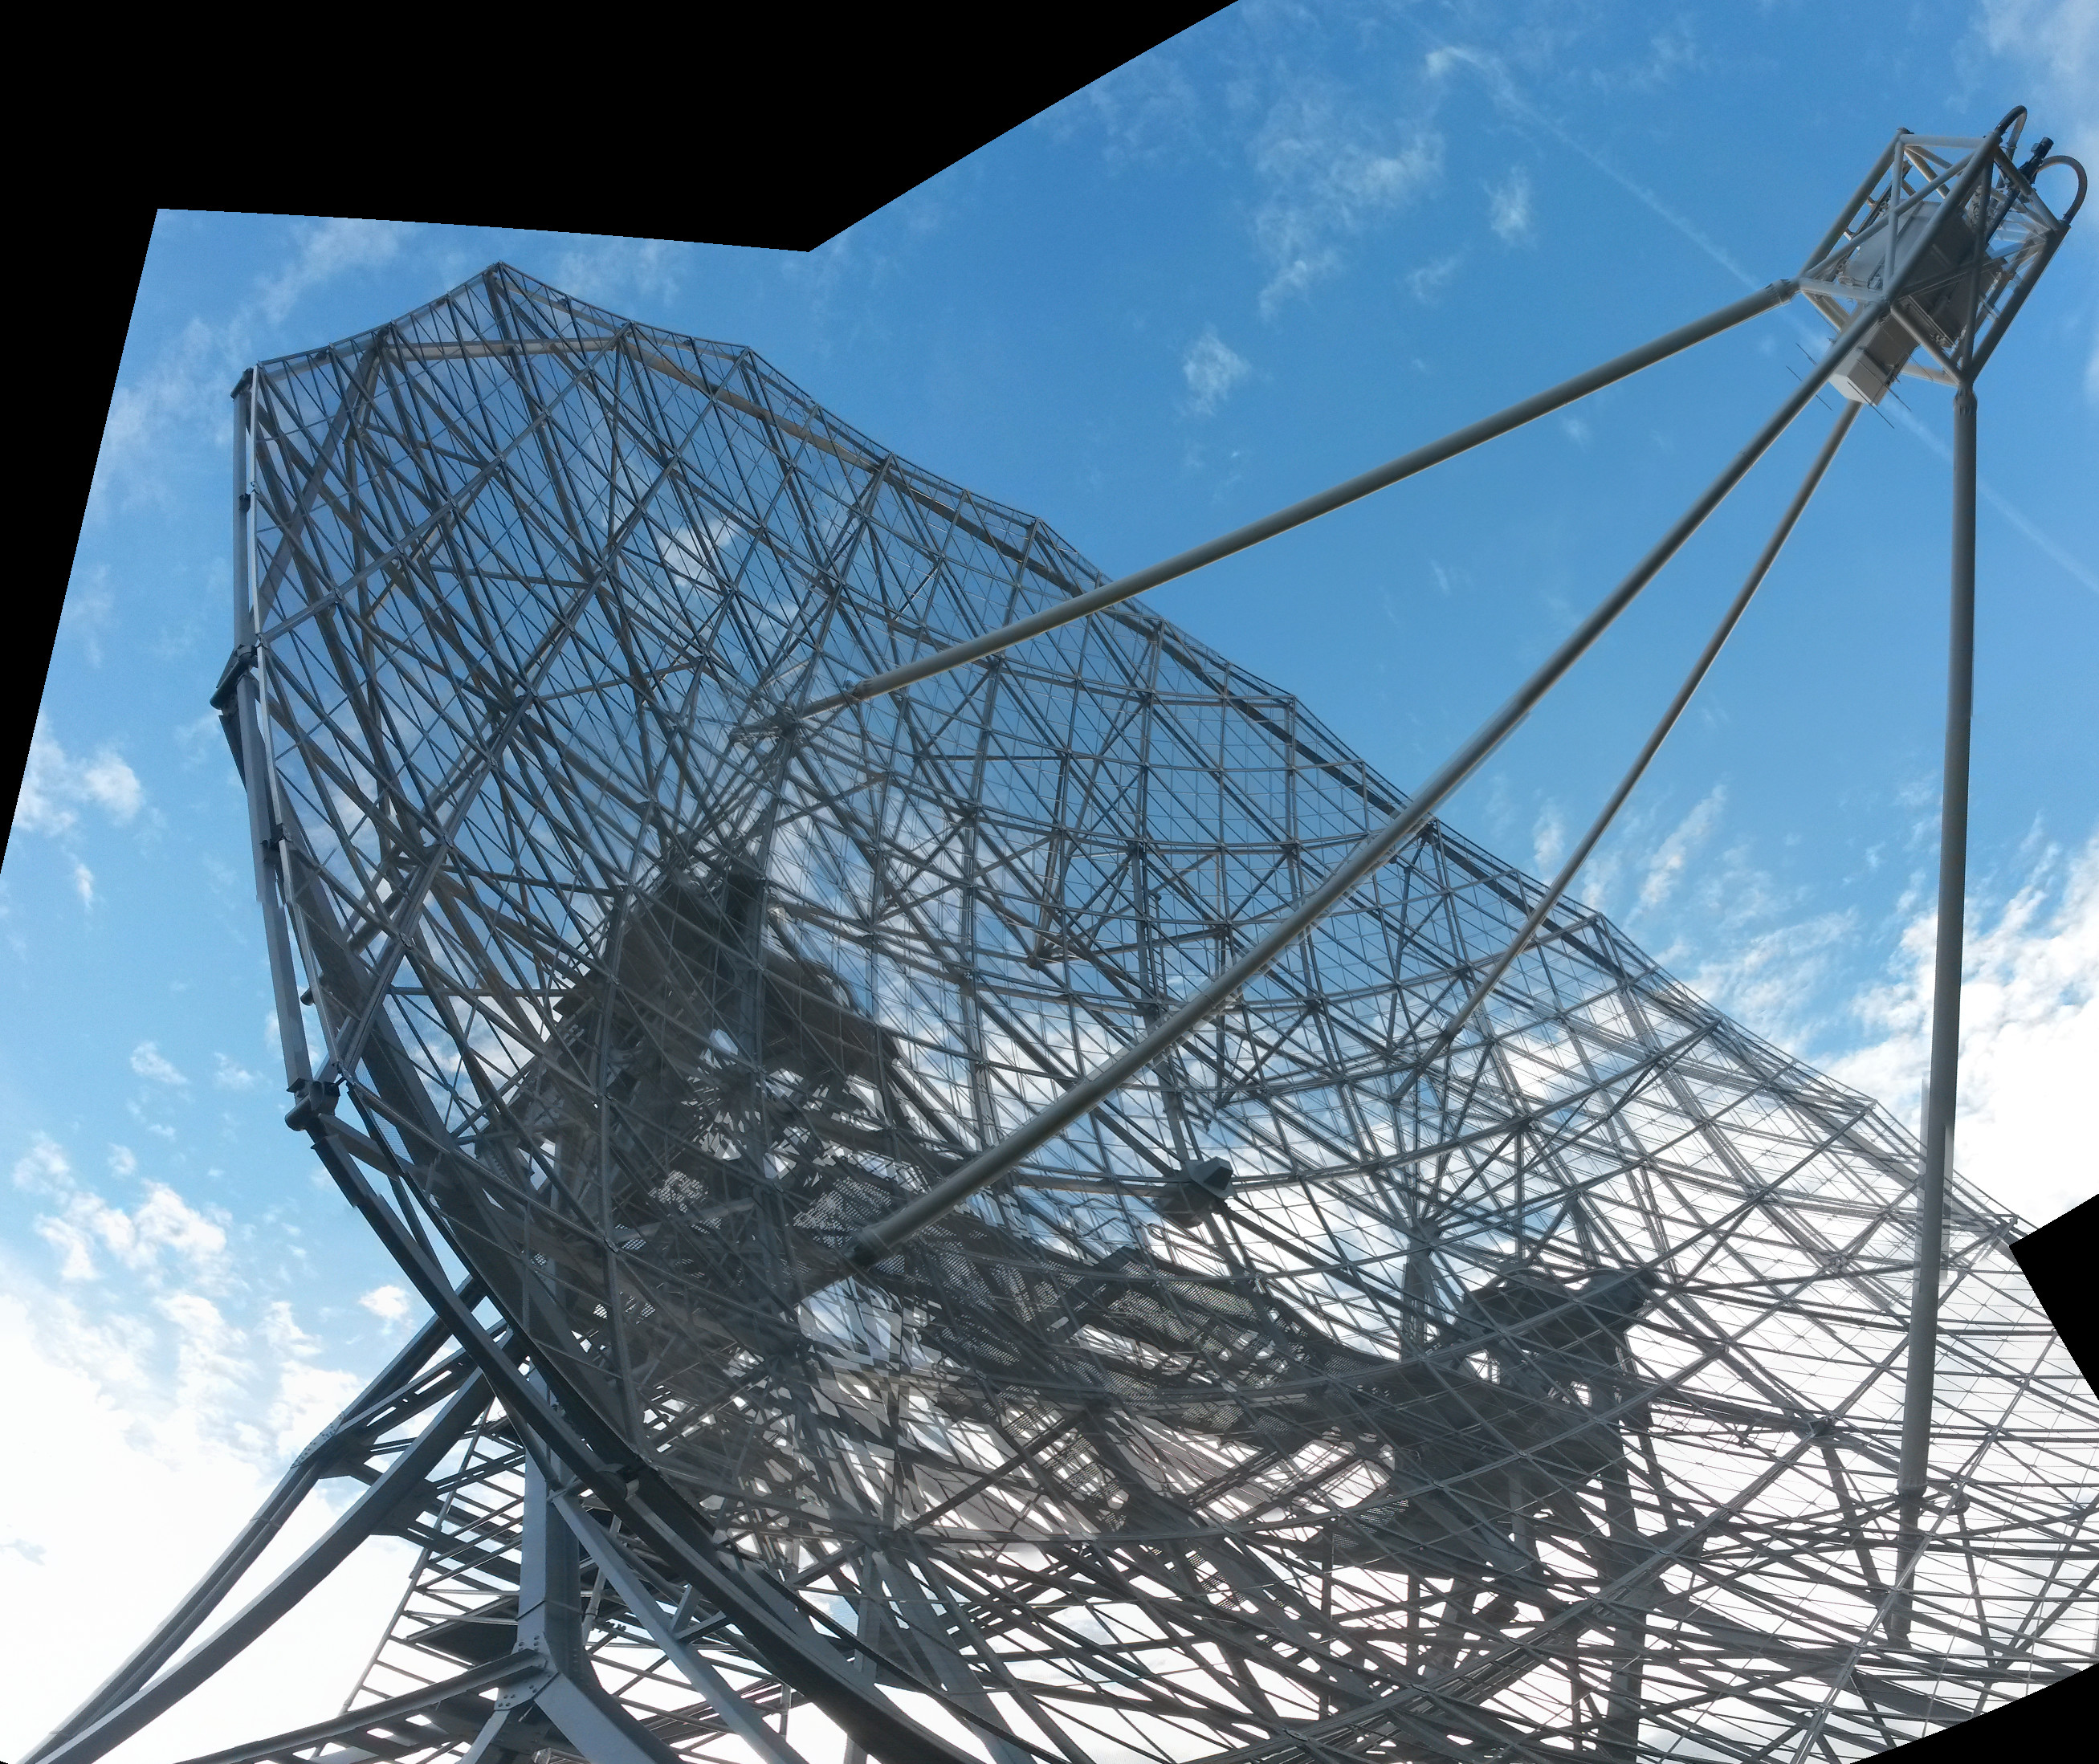
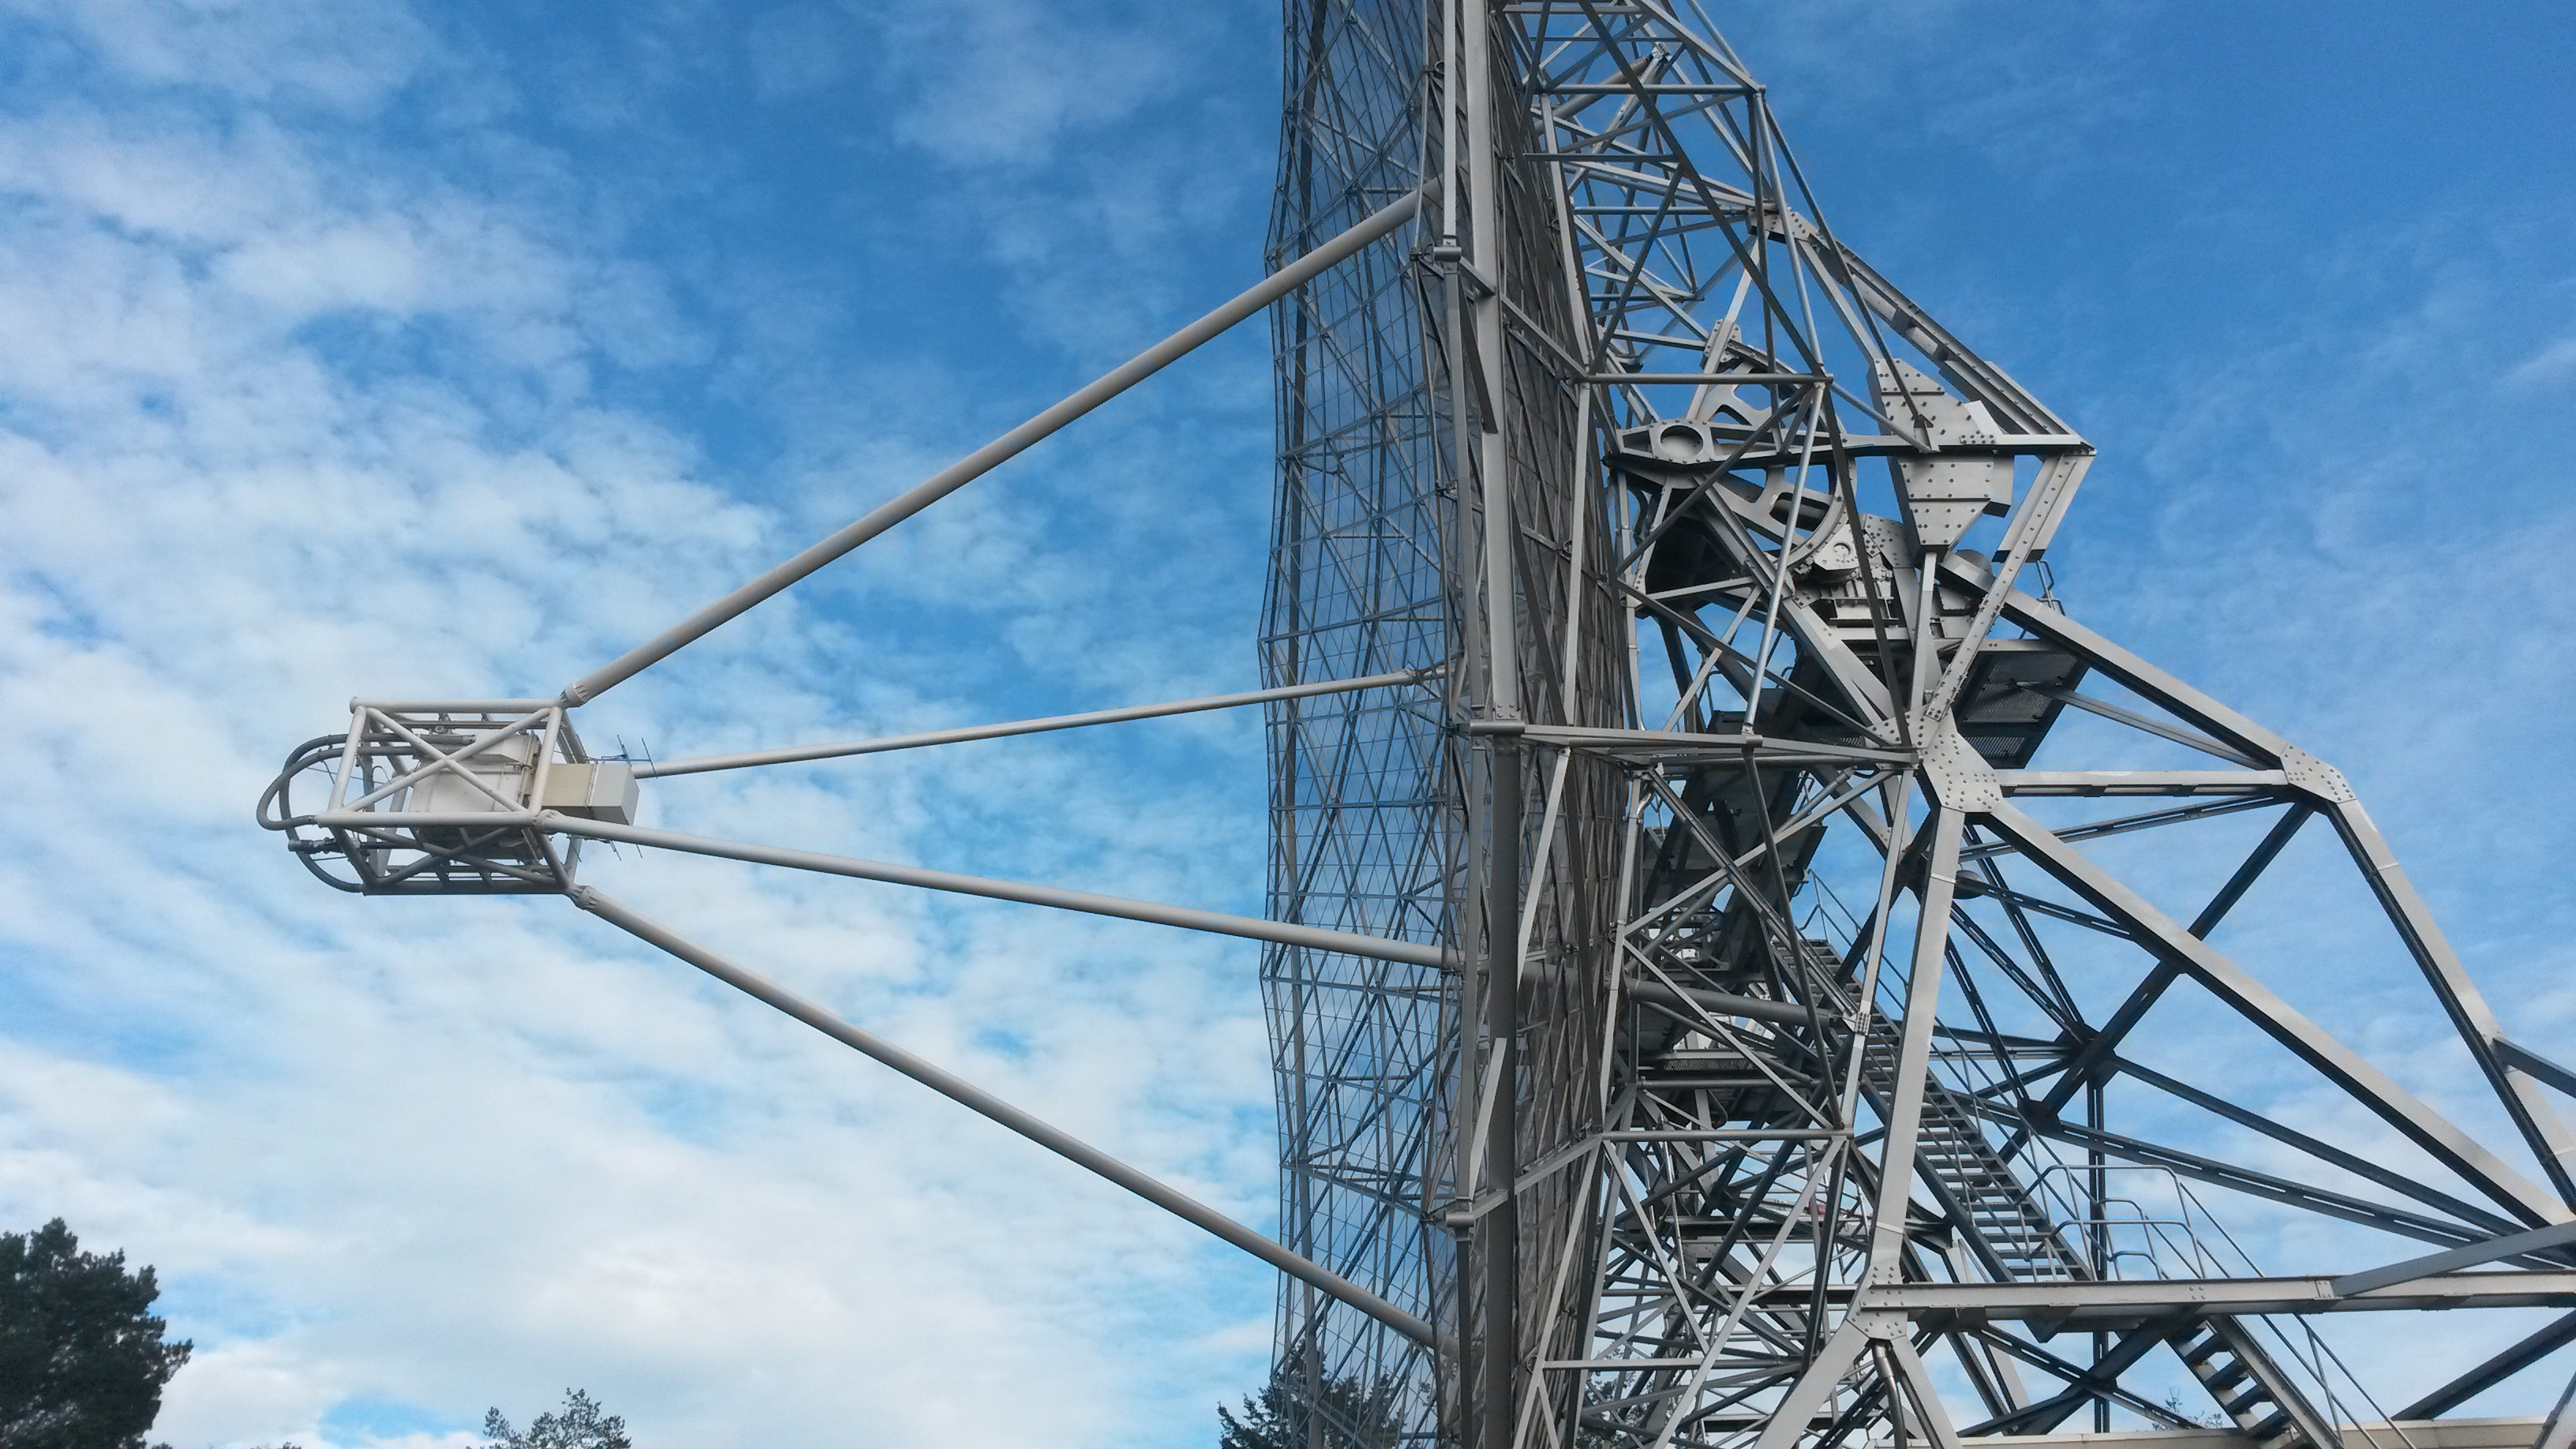
I attended a VLBI-meeting at Groningen and had a chance to see the Dwingeloo radio telescope at JIVE.
The telescope is now run by amateurs and among other things they do moonbounce experiments.
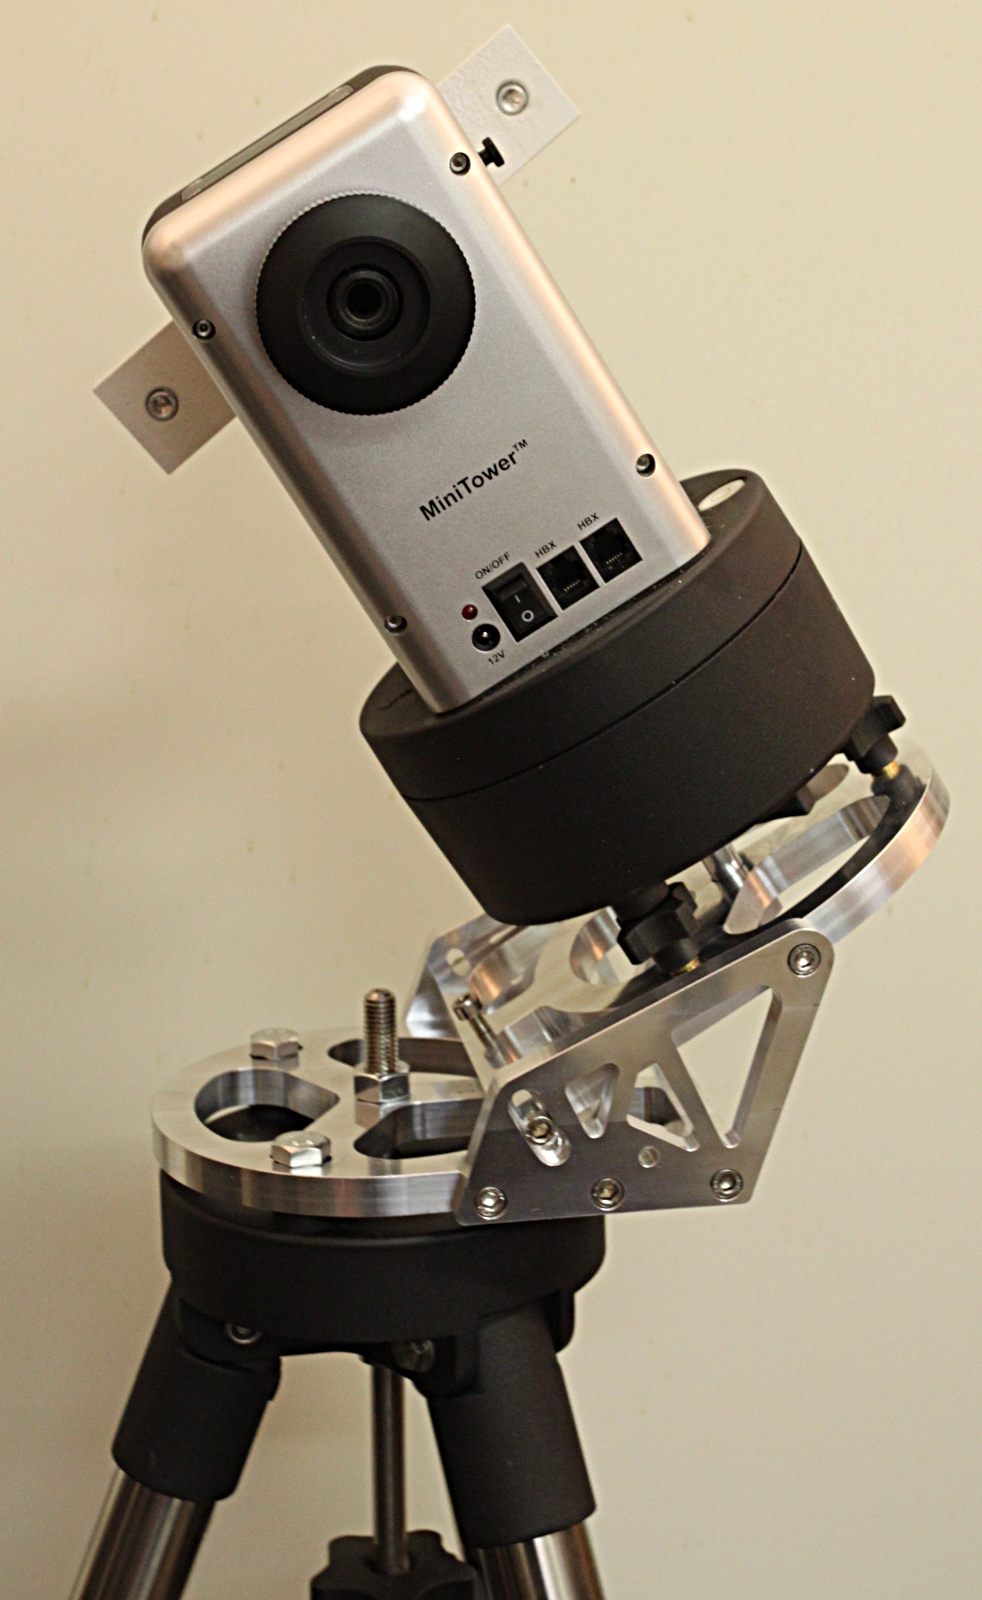
By popular demand, drawings for the iOptron MiniTower Equatorial Wedge project I completed in 2010 August-September (see old blog posts: base, top, side, knobs)
Here's how the wedge looks like. It consists of a fixed plate that attaches to the tripod, two fixed side plates that bolt to the bottom plate, and a moving plate that tilts about 10 degrees. The wedge is designed so that the centre of gravity of the MiniTower is positioned straight over the middle of the tripod.
The extra 6mm hole in the side-plates is for an M6 threaded rod through the mount which should provide precise azimuth-adjustment. I did not complete this feature (for example a rotating nut in the fixed plate would be needed).
PDF drawings:
About 2 hours more work on the triangular base for the telescope dobson-mount.

Here I have added one more profile in the middle of the triangle which holds an 11mm diameter steel pin, around which the upper platform will rotate. Roughly 30mm high acetal plastic cylinders at the midpoints of the triangle-sides support the upper platform and will hopefully provide the right amount of friction. Too much and it will be hard to move the telescope, too little and it won't stay aimed at a particular target.

This is the upper platform, a piece of oak-board. The steel pin fits in a brass-fitting which is bolted to the center of the board.

This is how the two pieces fit together (upside down). The oak-board will rotate around the steel pin while resting on the three acetal posts.
To be continued...

I made this triangular base for the telescope Dobson-mount we are building. It has three ca 640mm long 25mm-by-25mm aluminium profiles, cut at a 30-degree angle to make an equilateral triangle. It is held together with tapered pieces of 100mm wide 10mm thick aluminium bar that attach to the T-groove of the profile with M6 screws. Each corner has an adjustable foot.
The mount that goes on top of this triangle is also from 25-25 alu-profile:

Stay tuned for hopefully some lunar and/or planetary images when this project is done.
Some intense aurora borealis (northern lights) visible last night around 23:00. I stayed out watching and photographing until about 00:30 but it seemed the intensity was fading continuously while dark clouds also appeared.


As usual the camera sees a much more intense green, while the red is almost completely invisible to the naked eye (at least for me).
Here is a time-lapse video of all frames from last night.
Full-moon and clouds do not make for good astrophotography...

Before shooting auroras, I captured 60s exposures for this milky way time-lapse:
The bright star that starts out about mid-height to the left of the middle is Deneb, the brightest star in the constellation Cygnus. As it swings down and to the right the Andromeda galaxy becomes visible in the top left corner towards the end of the video.