Laser cut plywood test-project: a 2V geodesic sphere, diameter 200mm. Next is sanding the triangles a bit and then figuring out how to connect them neatly together.
Tag: plywood
Torsion-box workbench with parfguide hole-pattern
(Built a few months ago, but better blog late than never..)
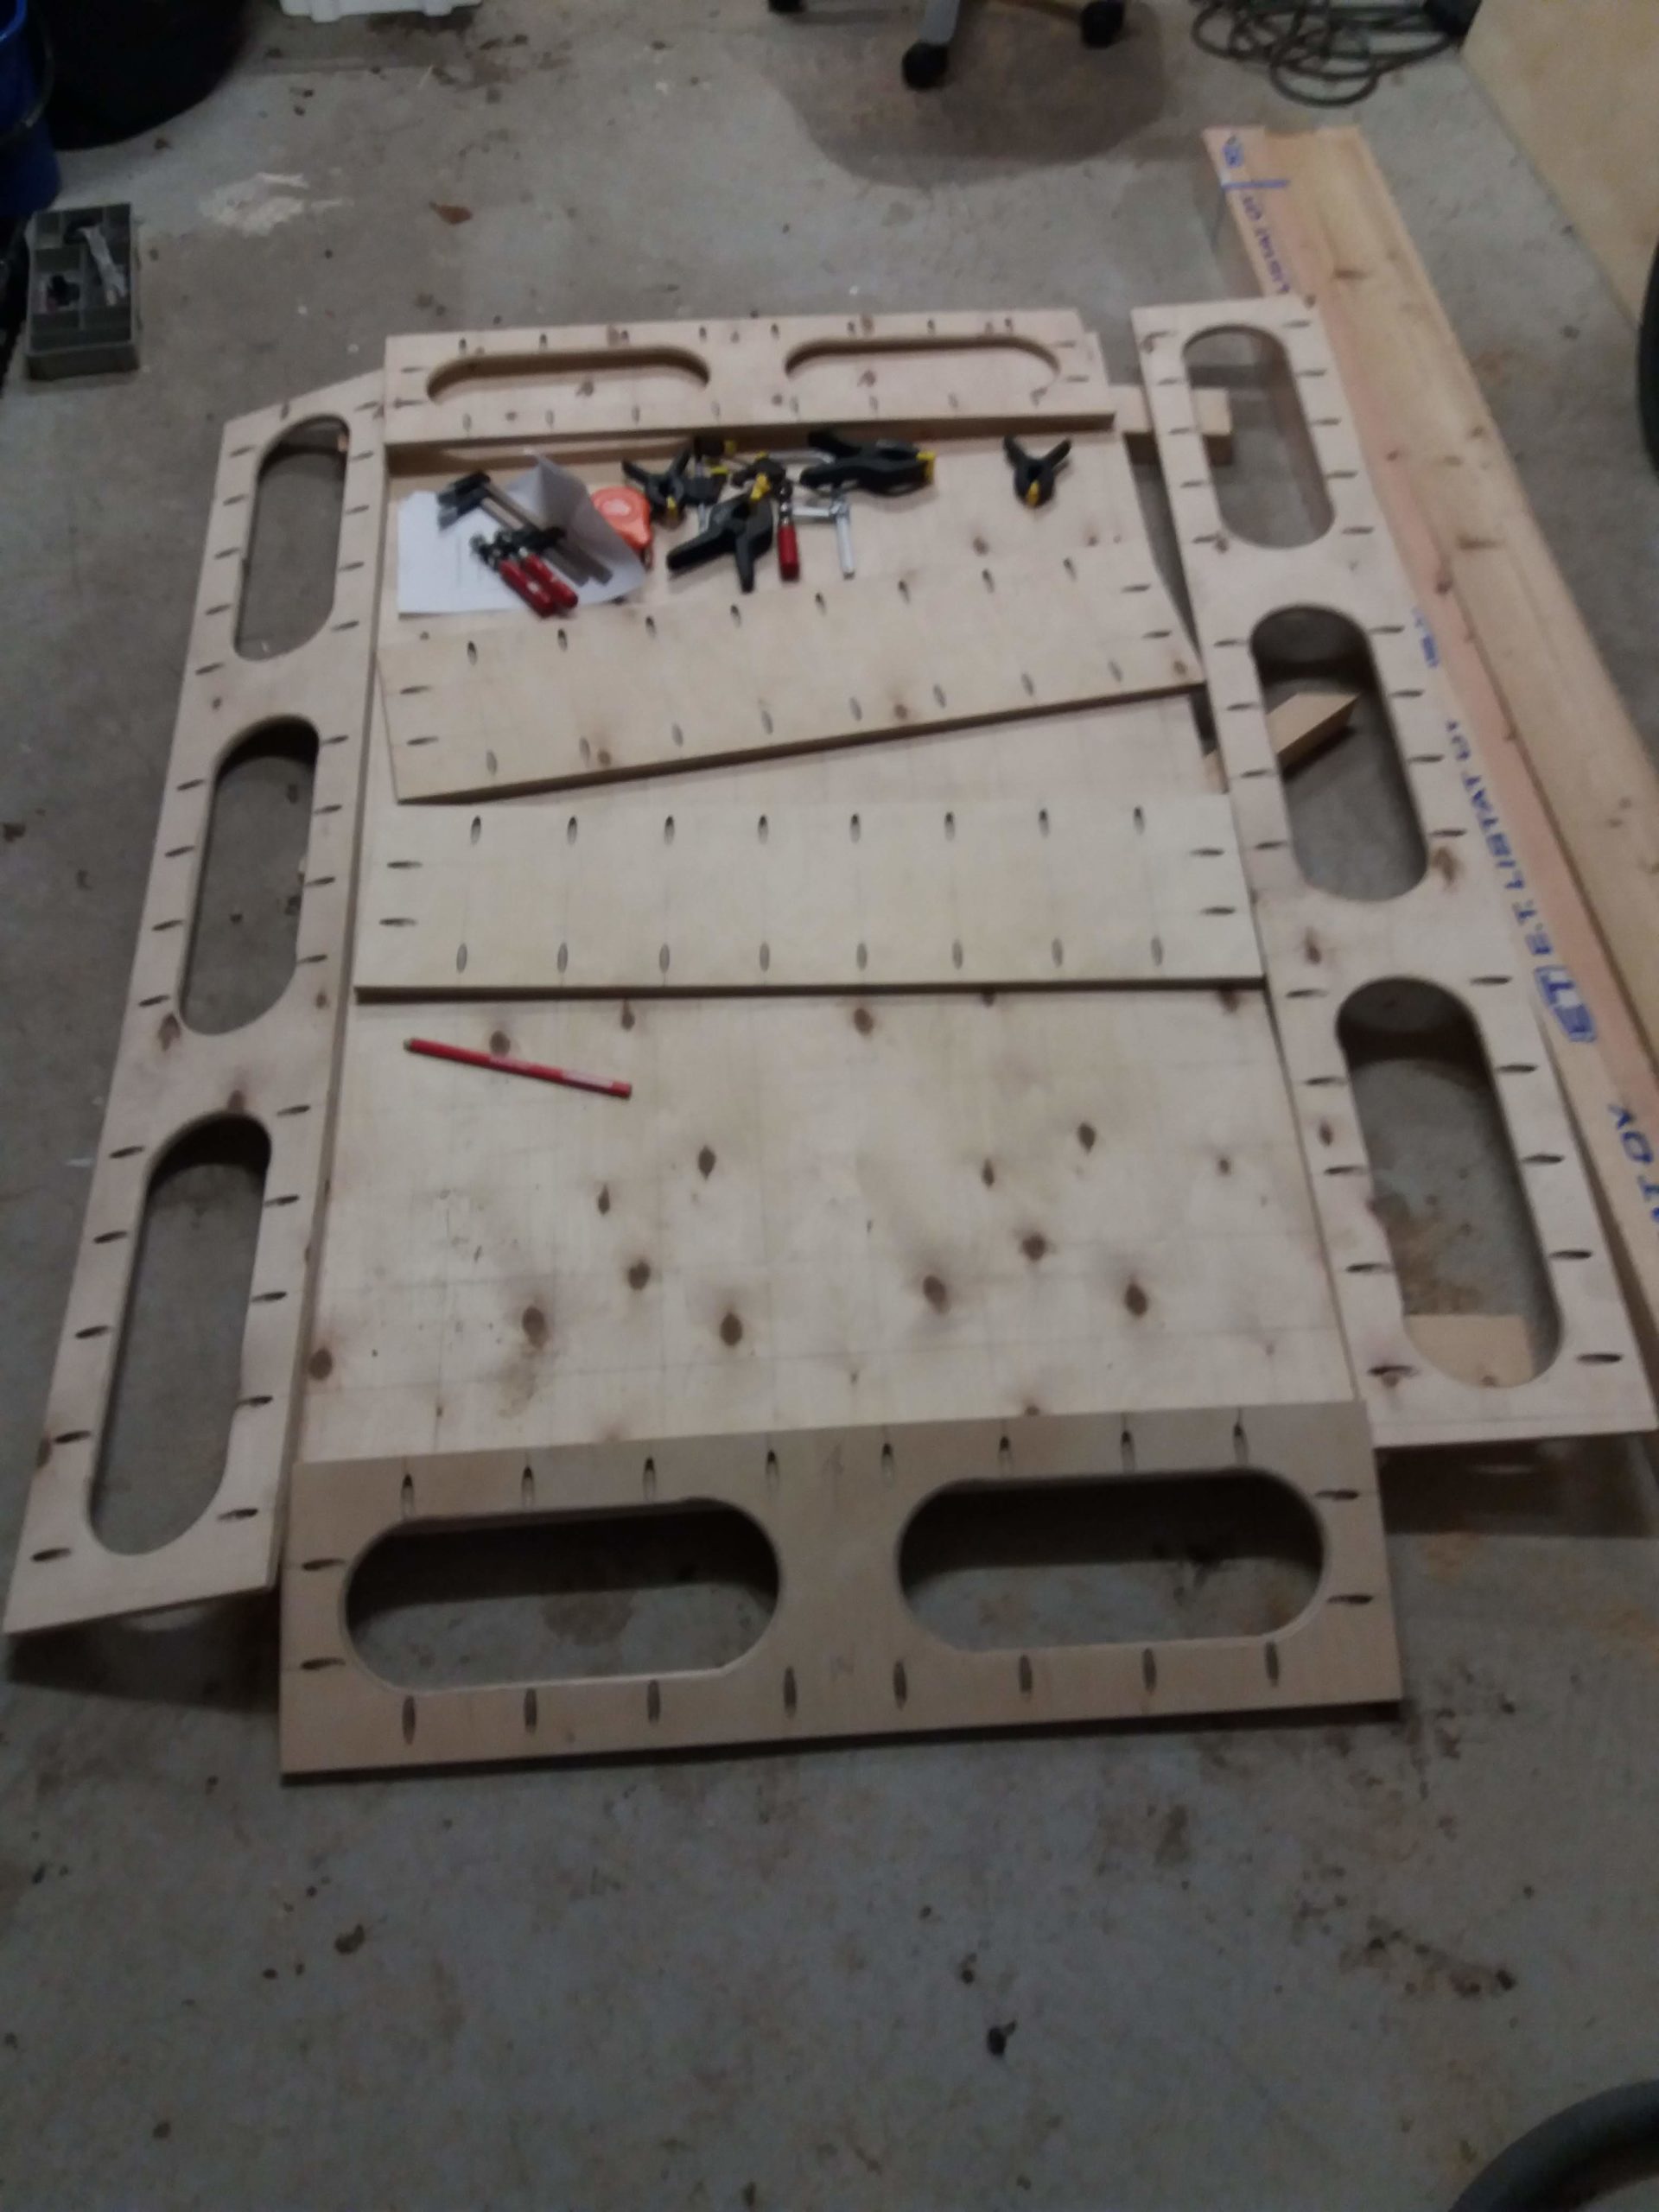
Here's a 1600mm-by-930 mm workbench built from two sheets (1220mm x 2440mm, 4-by-8 metric feet) of 15mm plywood. It's a torsion-box design with the top and bottom sheets separated by 240mm. The sides have rounded openings that create storage-bays for tools etc. The top has 20mm diameter holes drilled using the parfguide-system (it uses pythagoras 3-4-5 triangles to get the holes reasonably accurately positioned). The hole-grid is 10x17 so there are 170 holes in total. Assembled using pocket-hole screws.
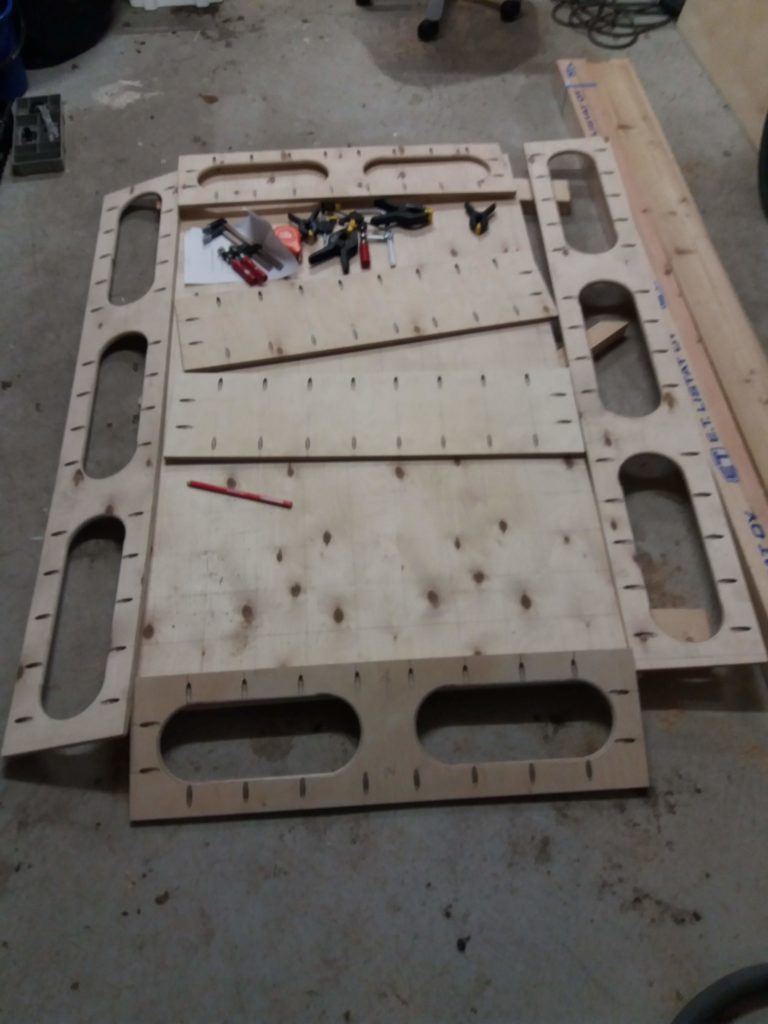
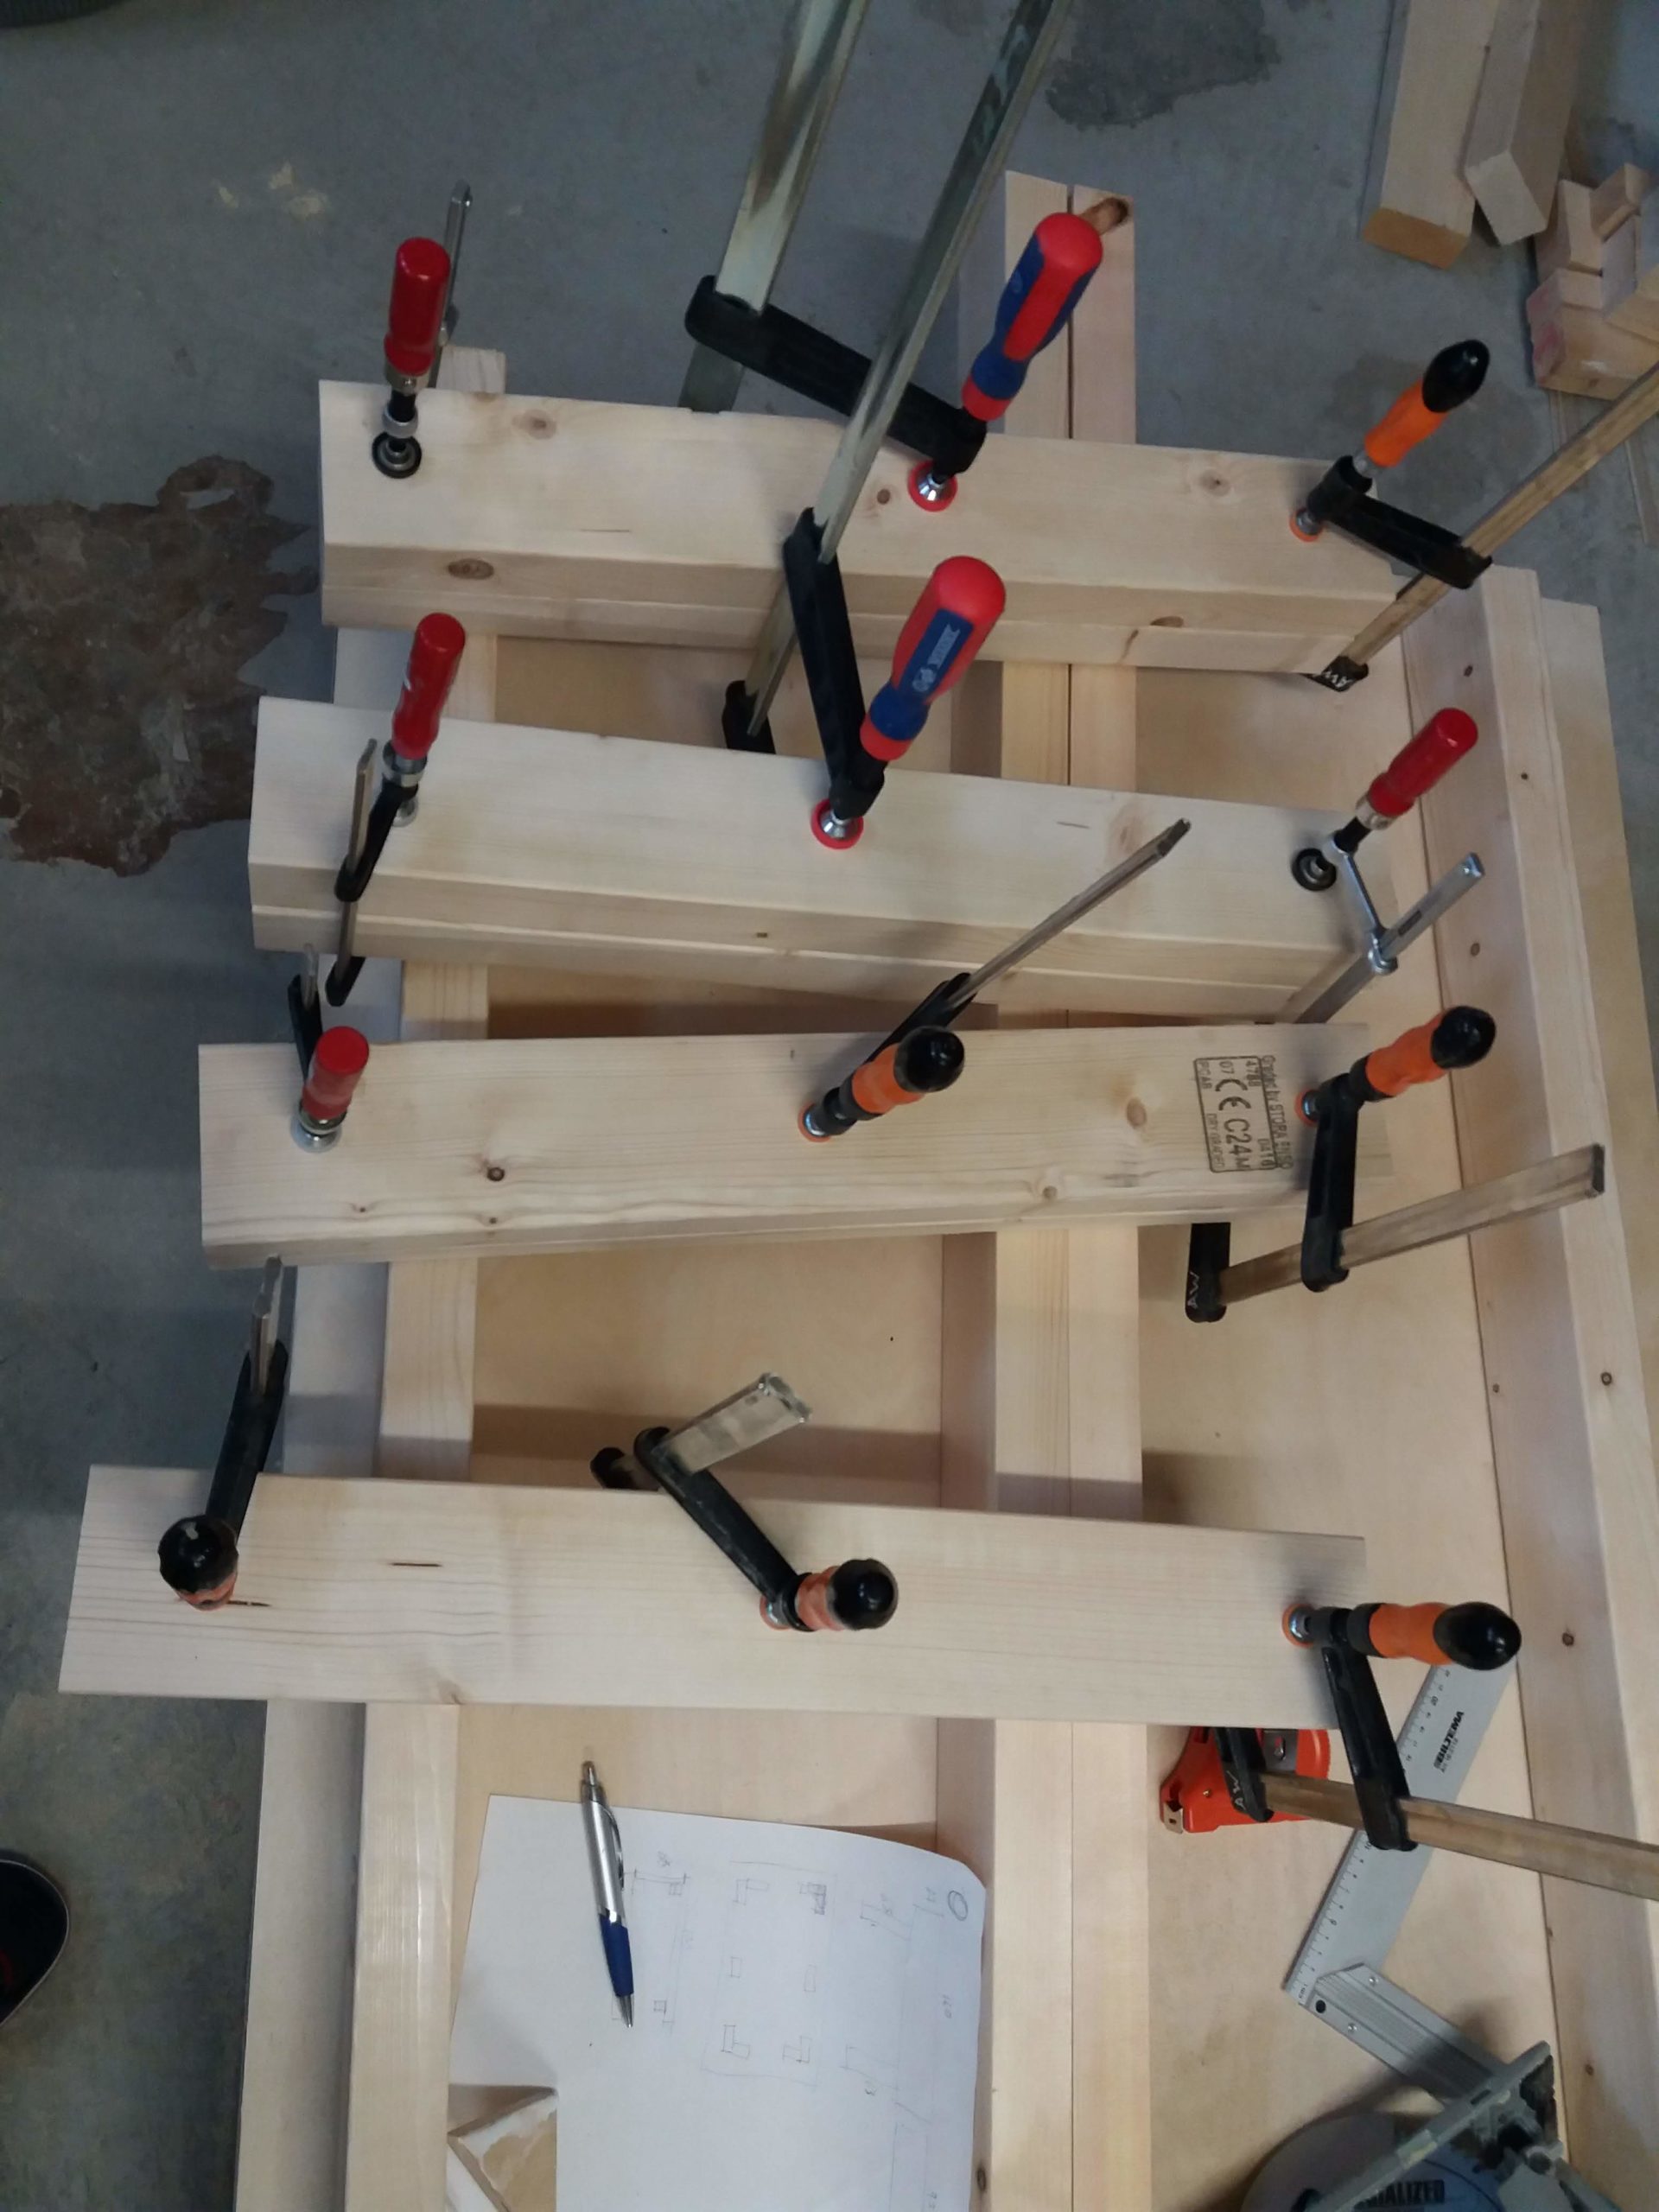
Parts cut and pocket holes drilled. 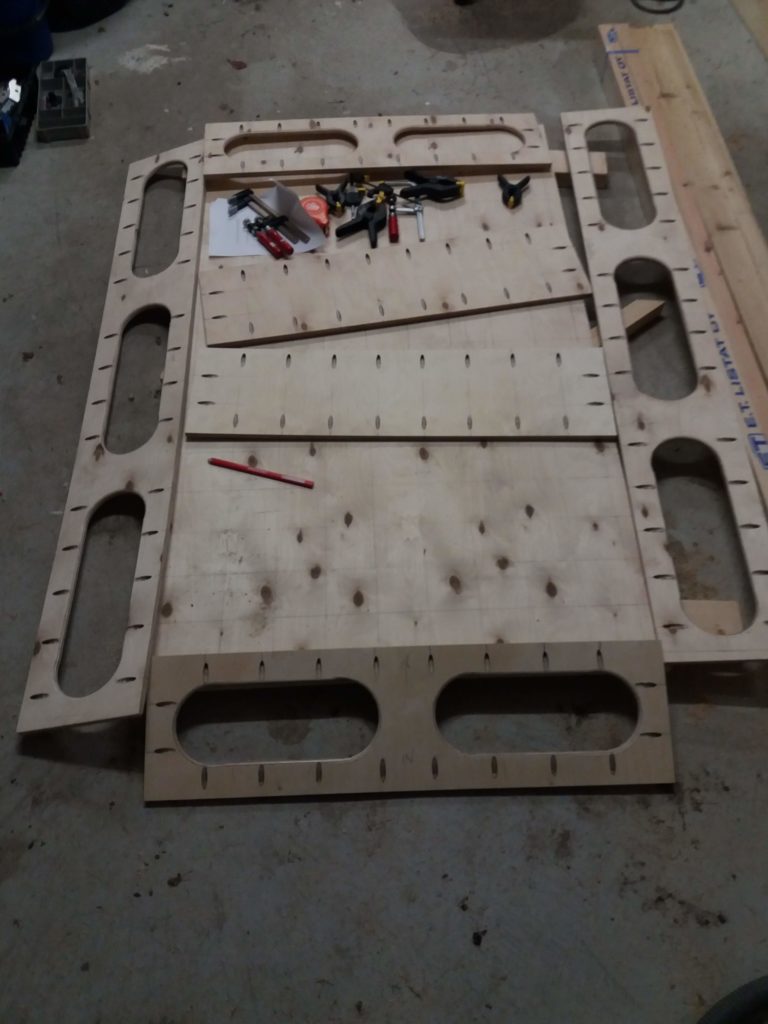

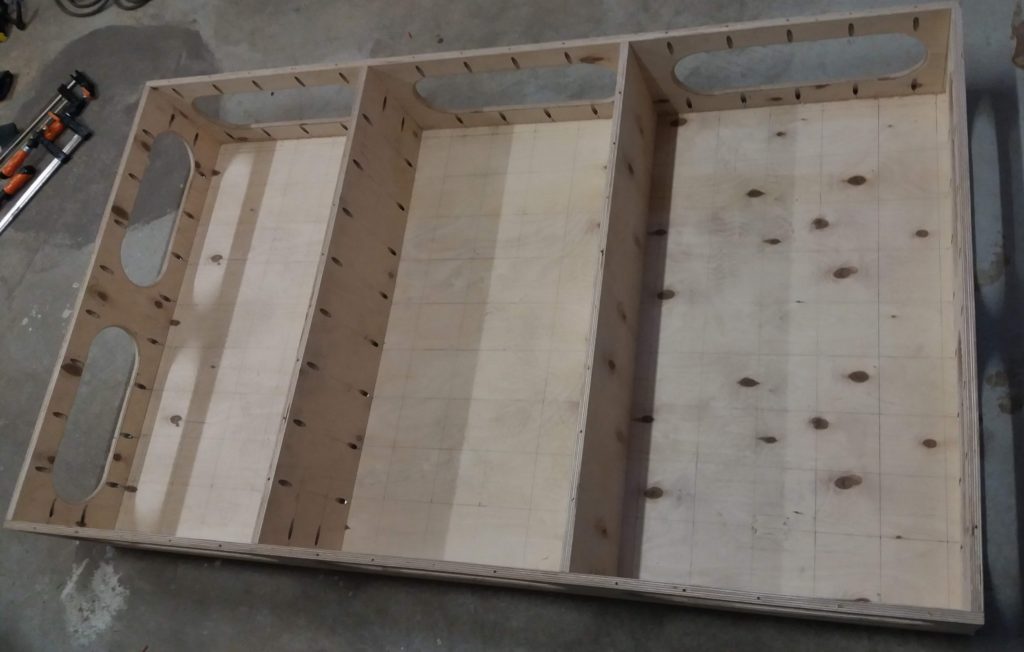
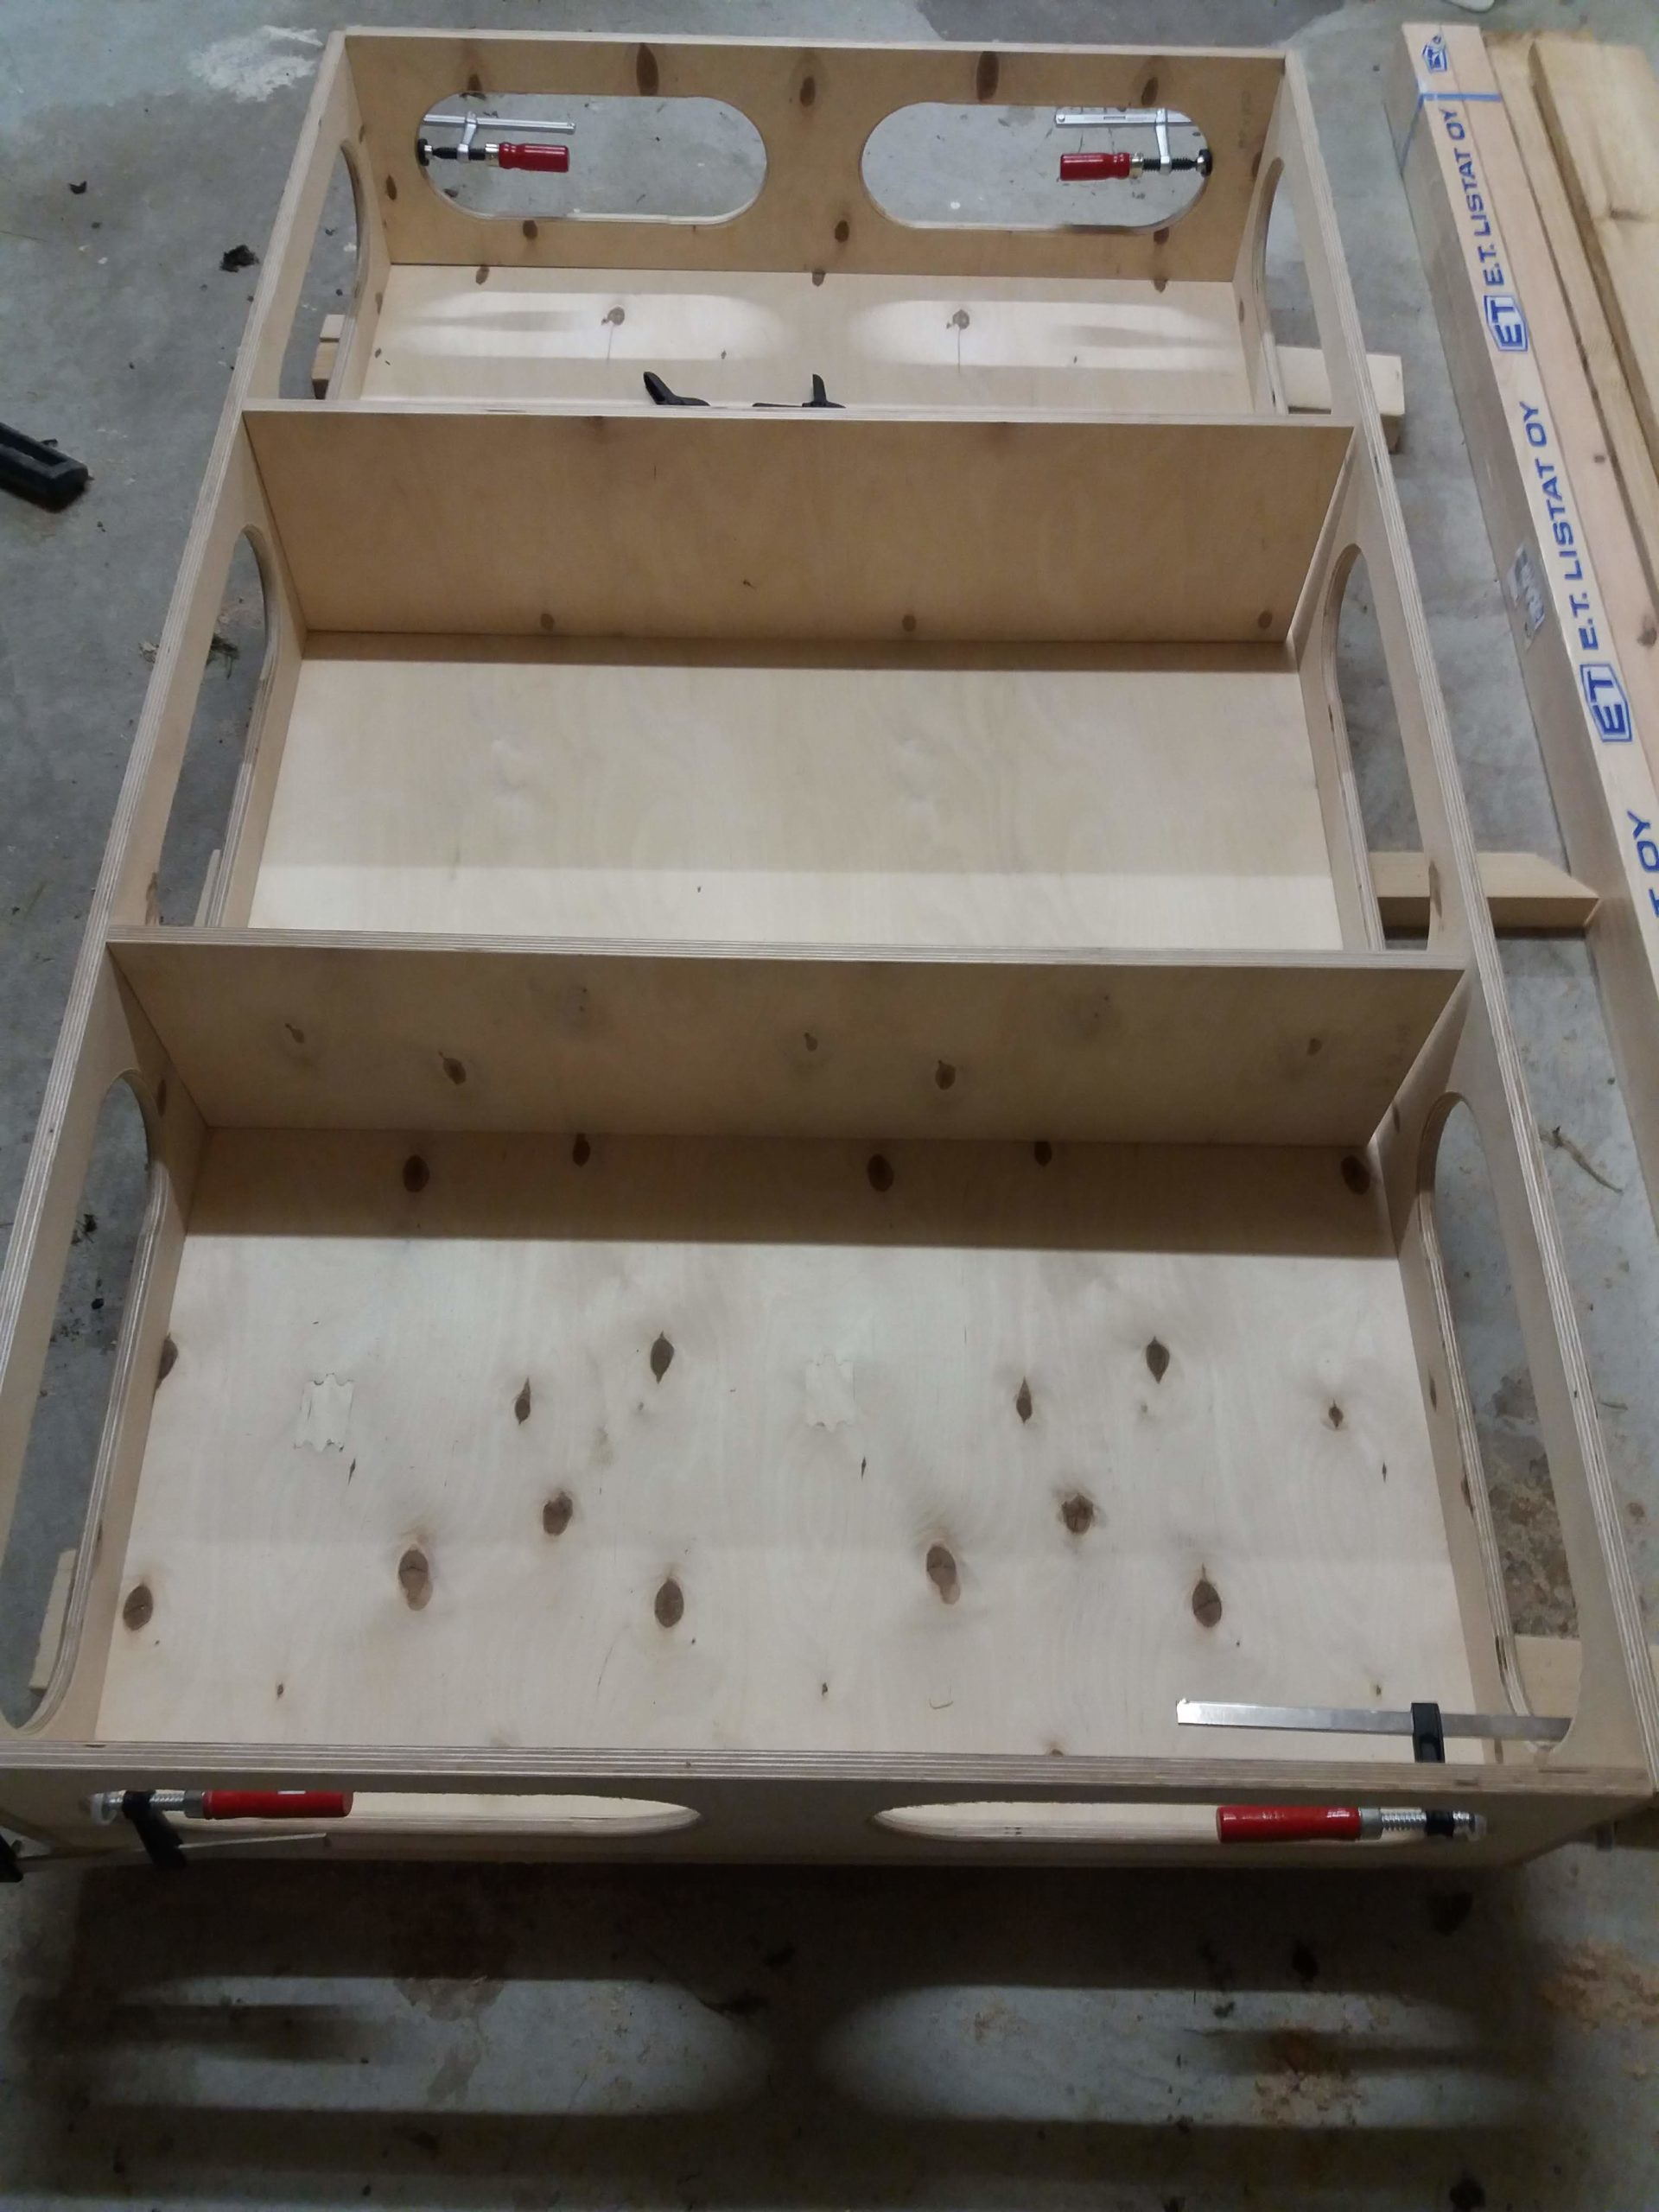
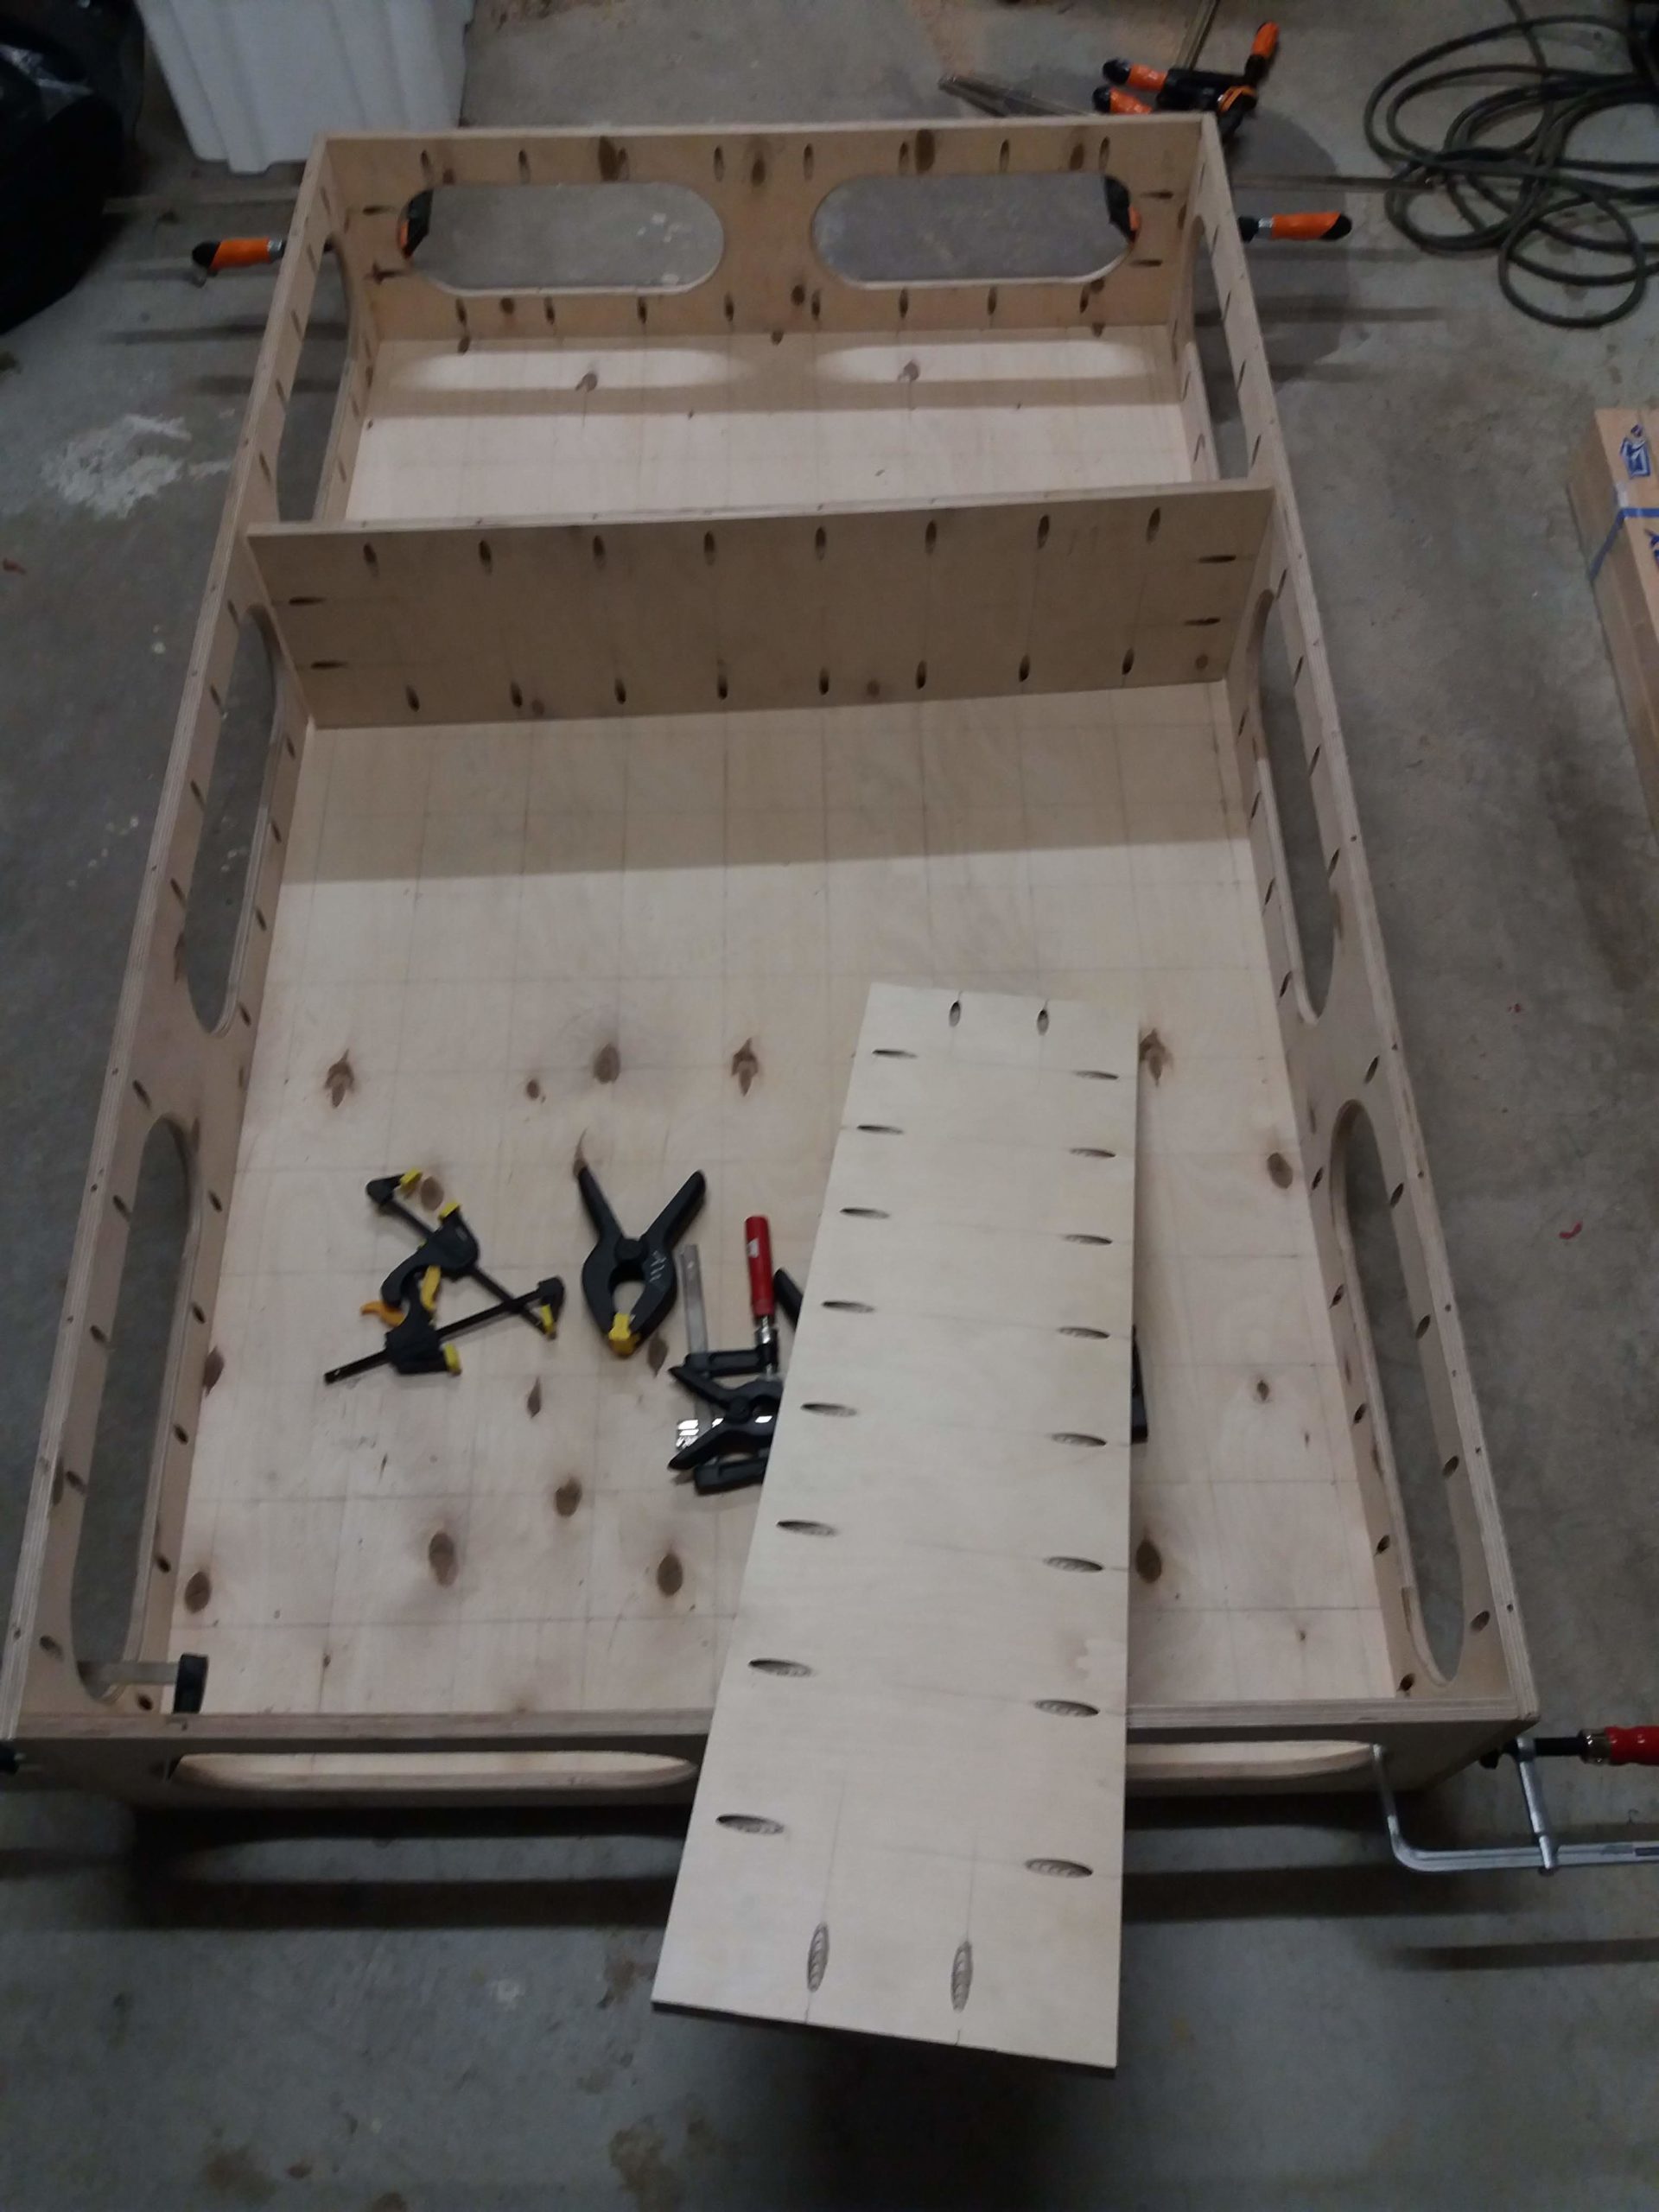
The middle dividers don't have rounded openings. For more stiffness maybe lengthwise dividers would be good also? 
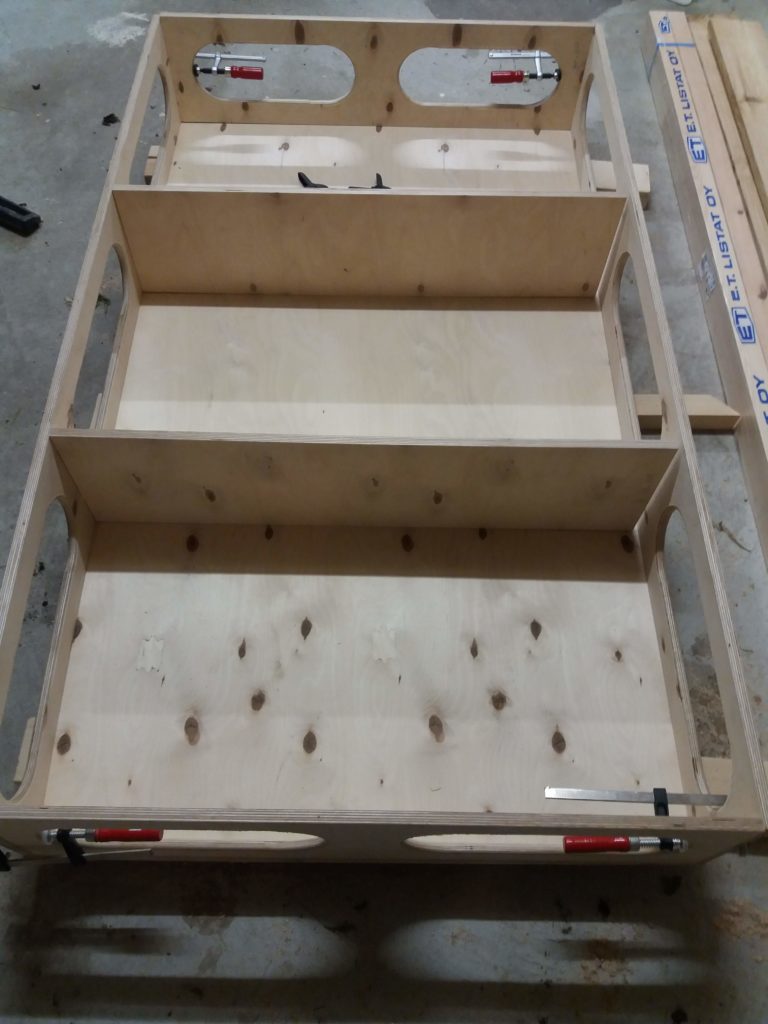
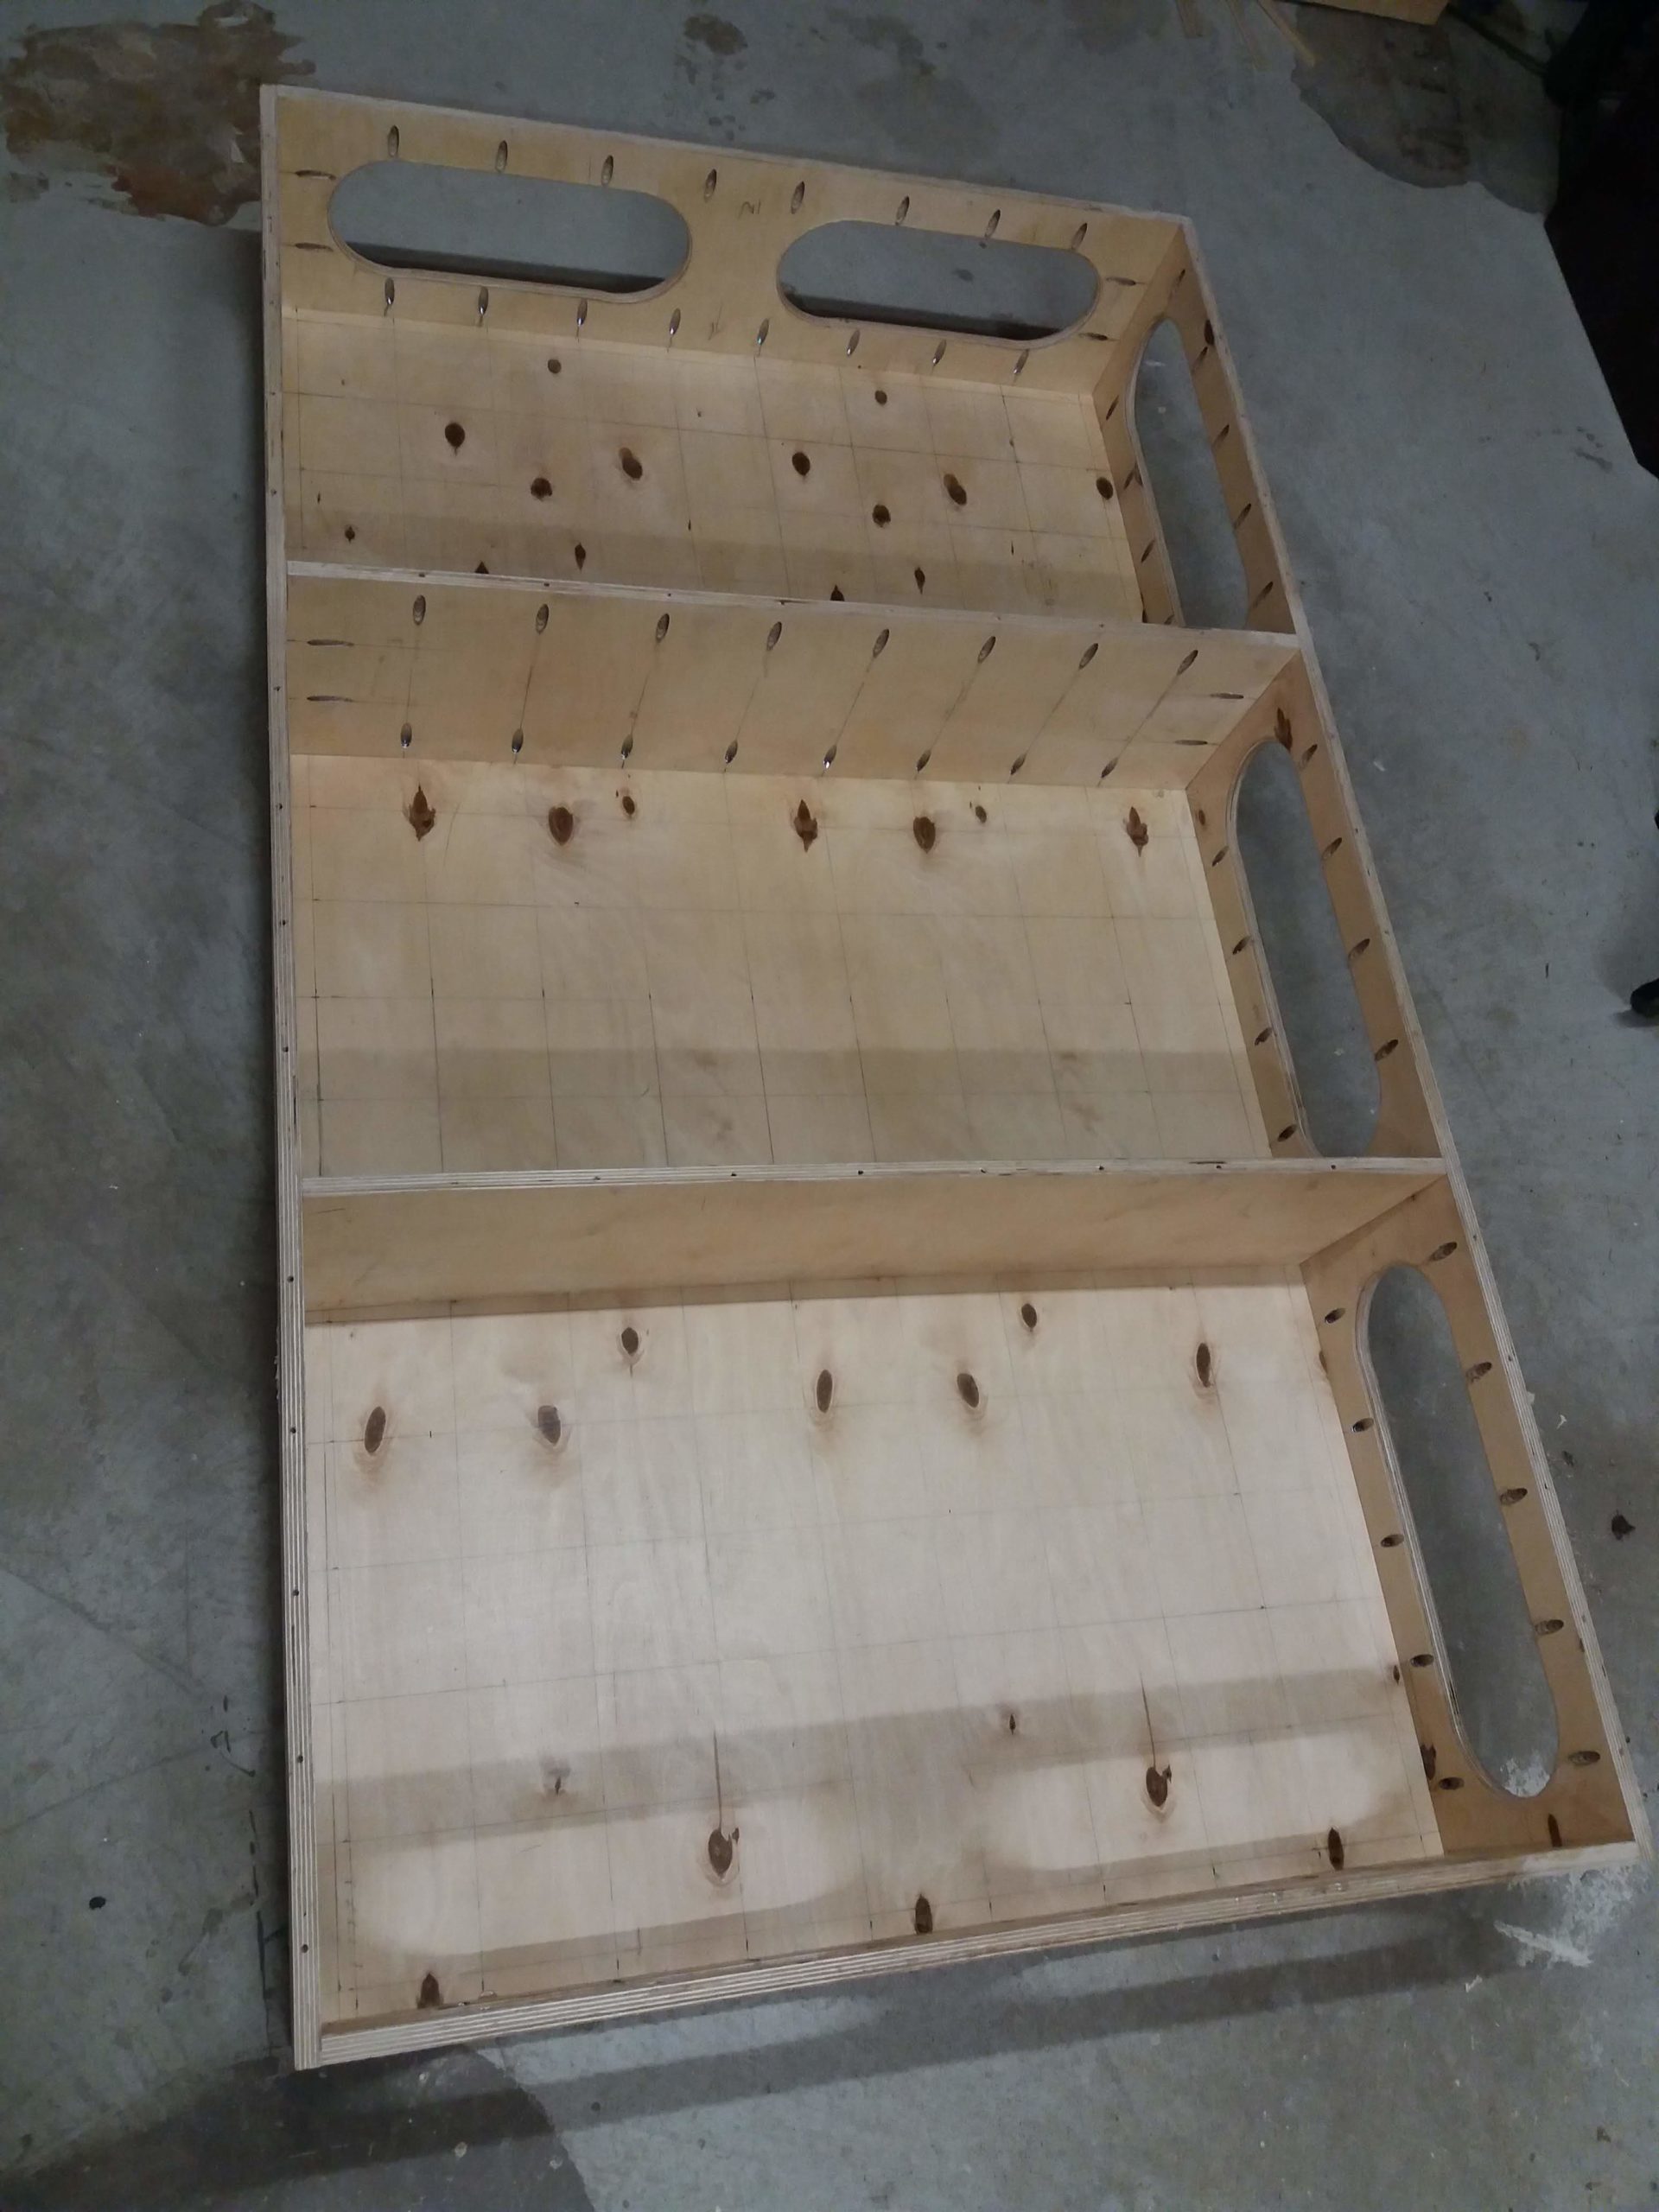
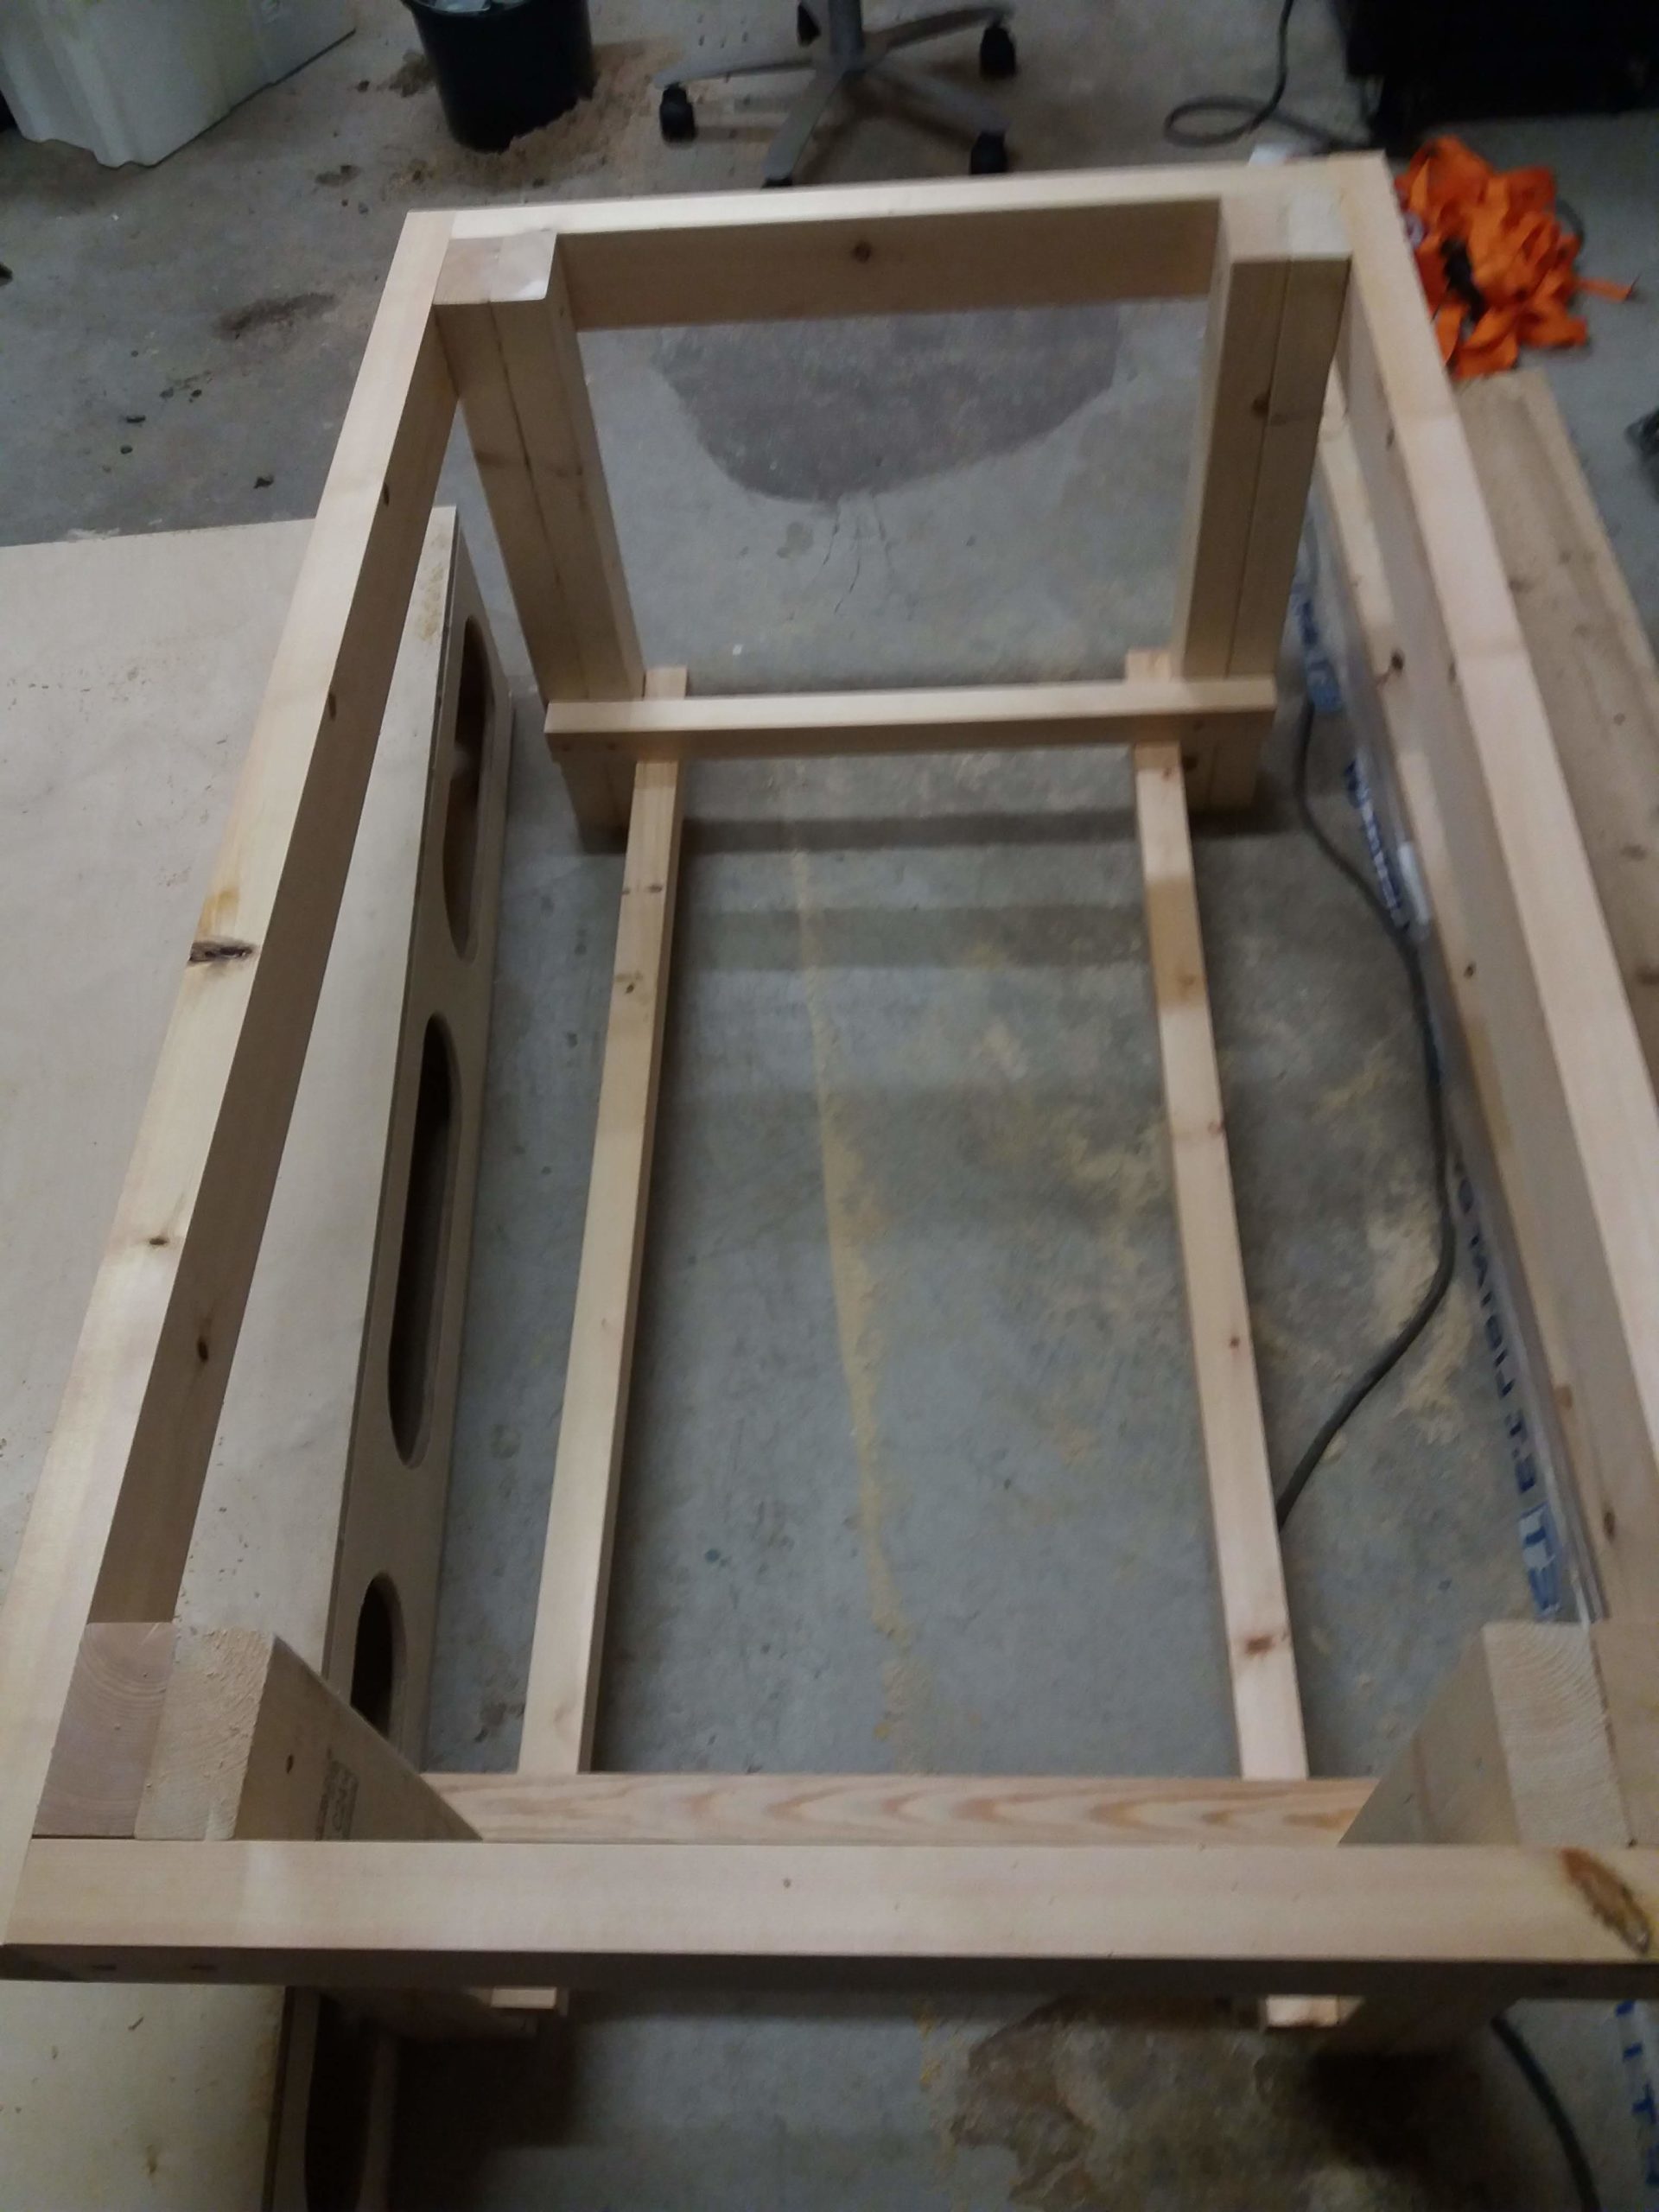
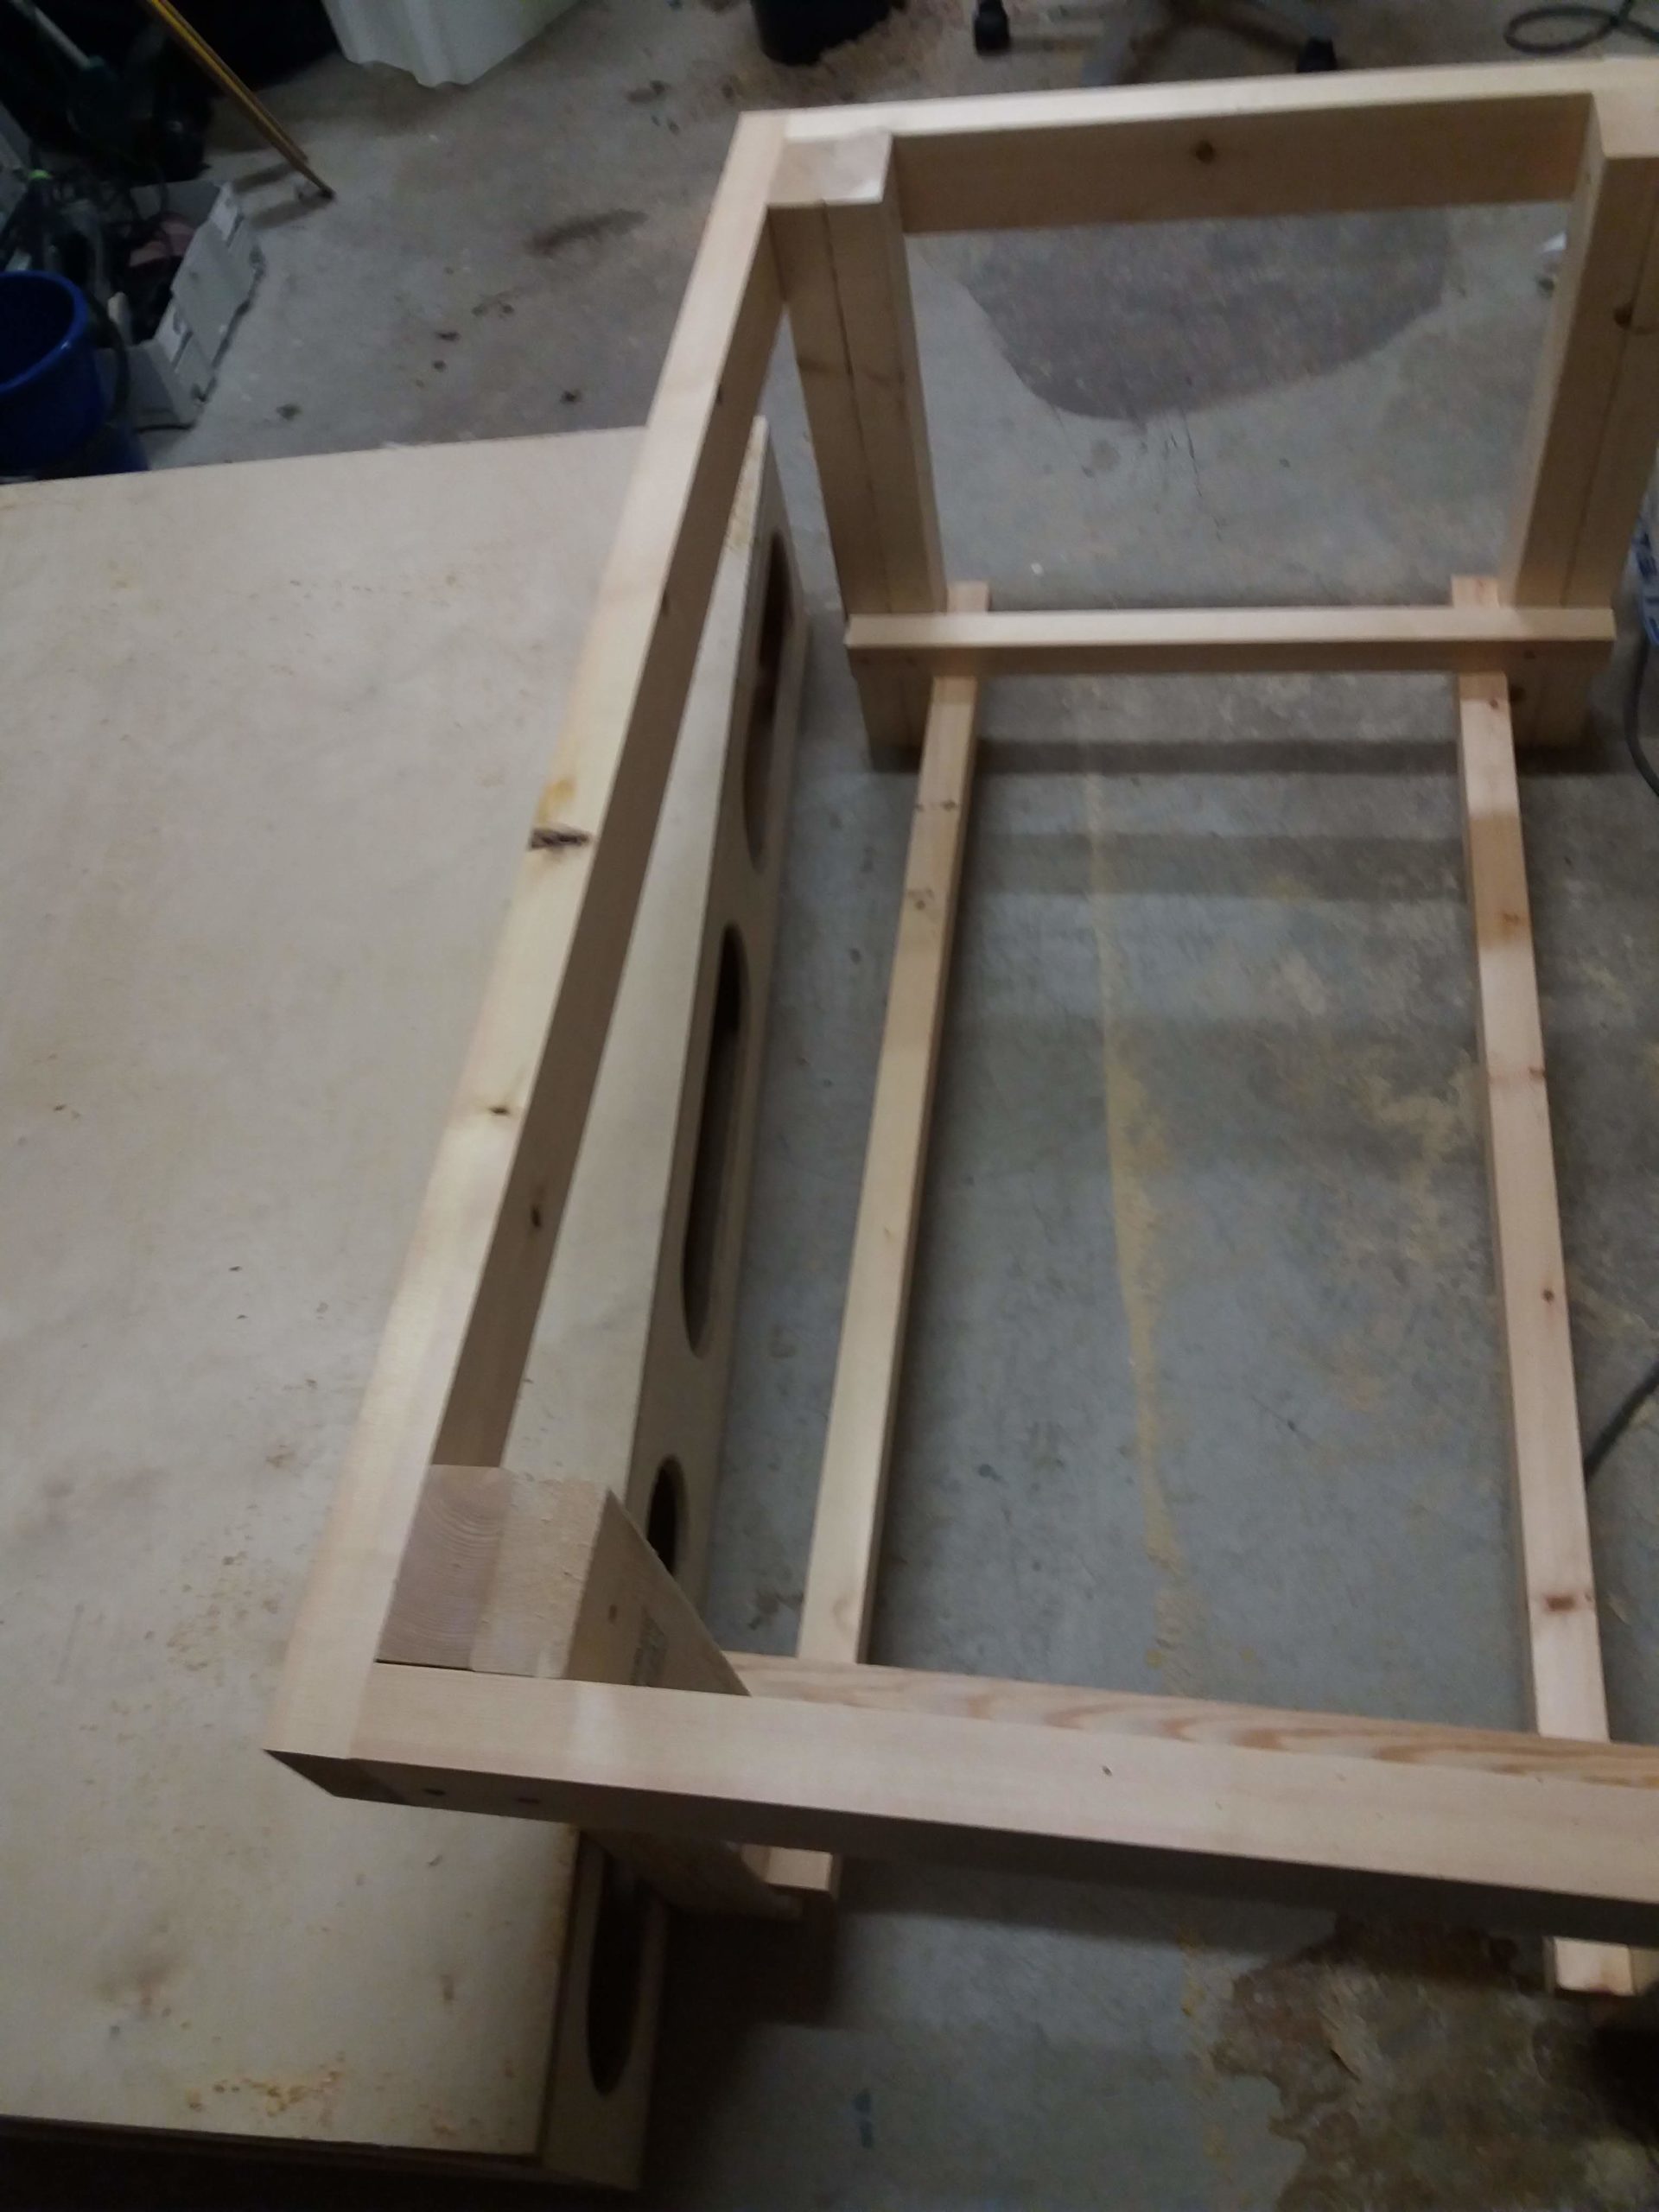
Assembled torsion-box, without top 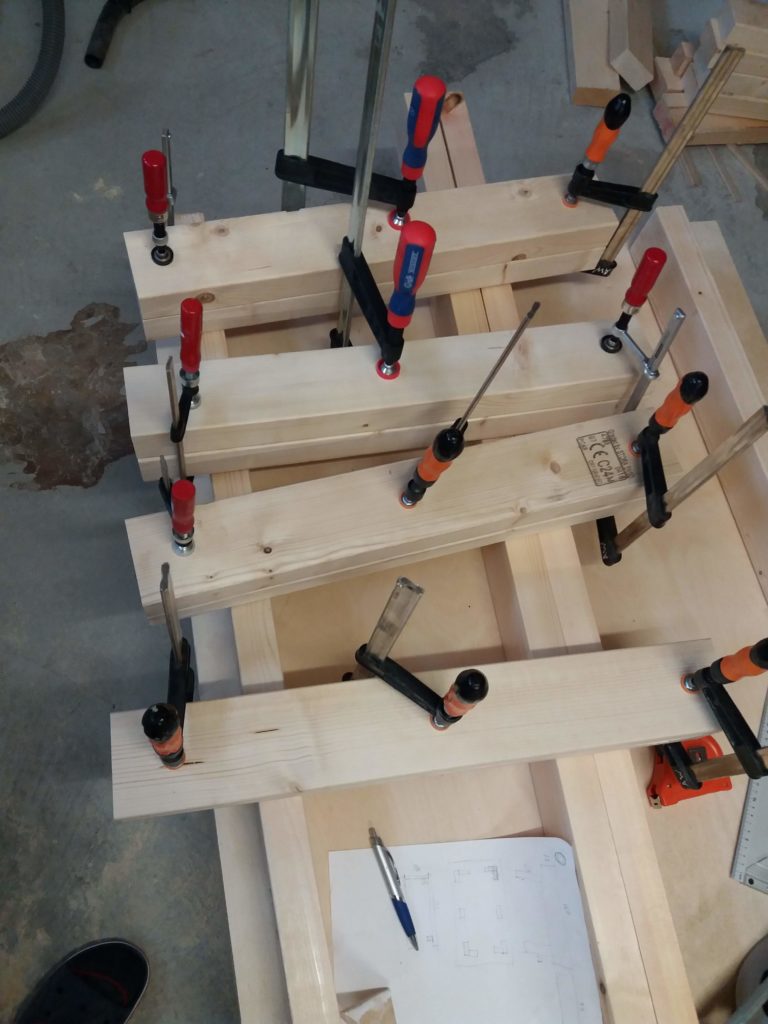
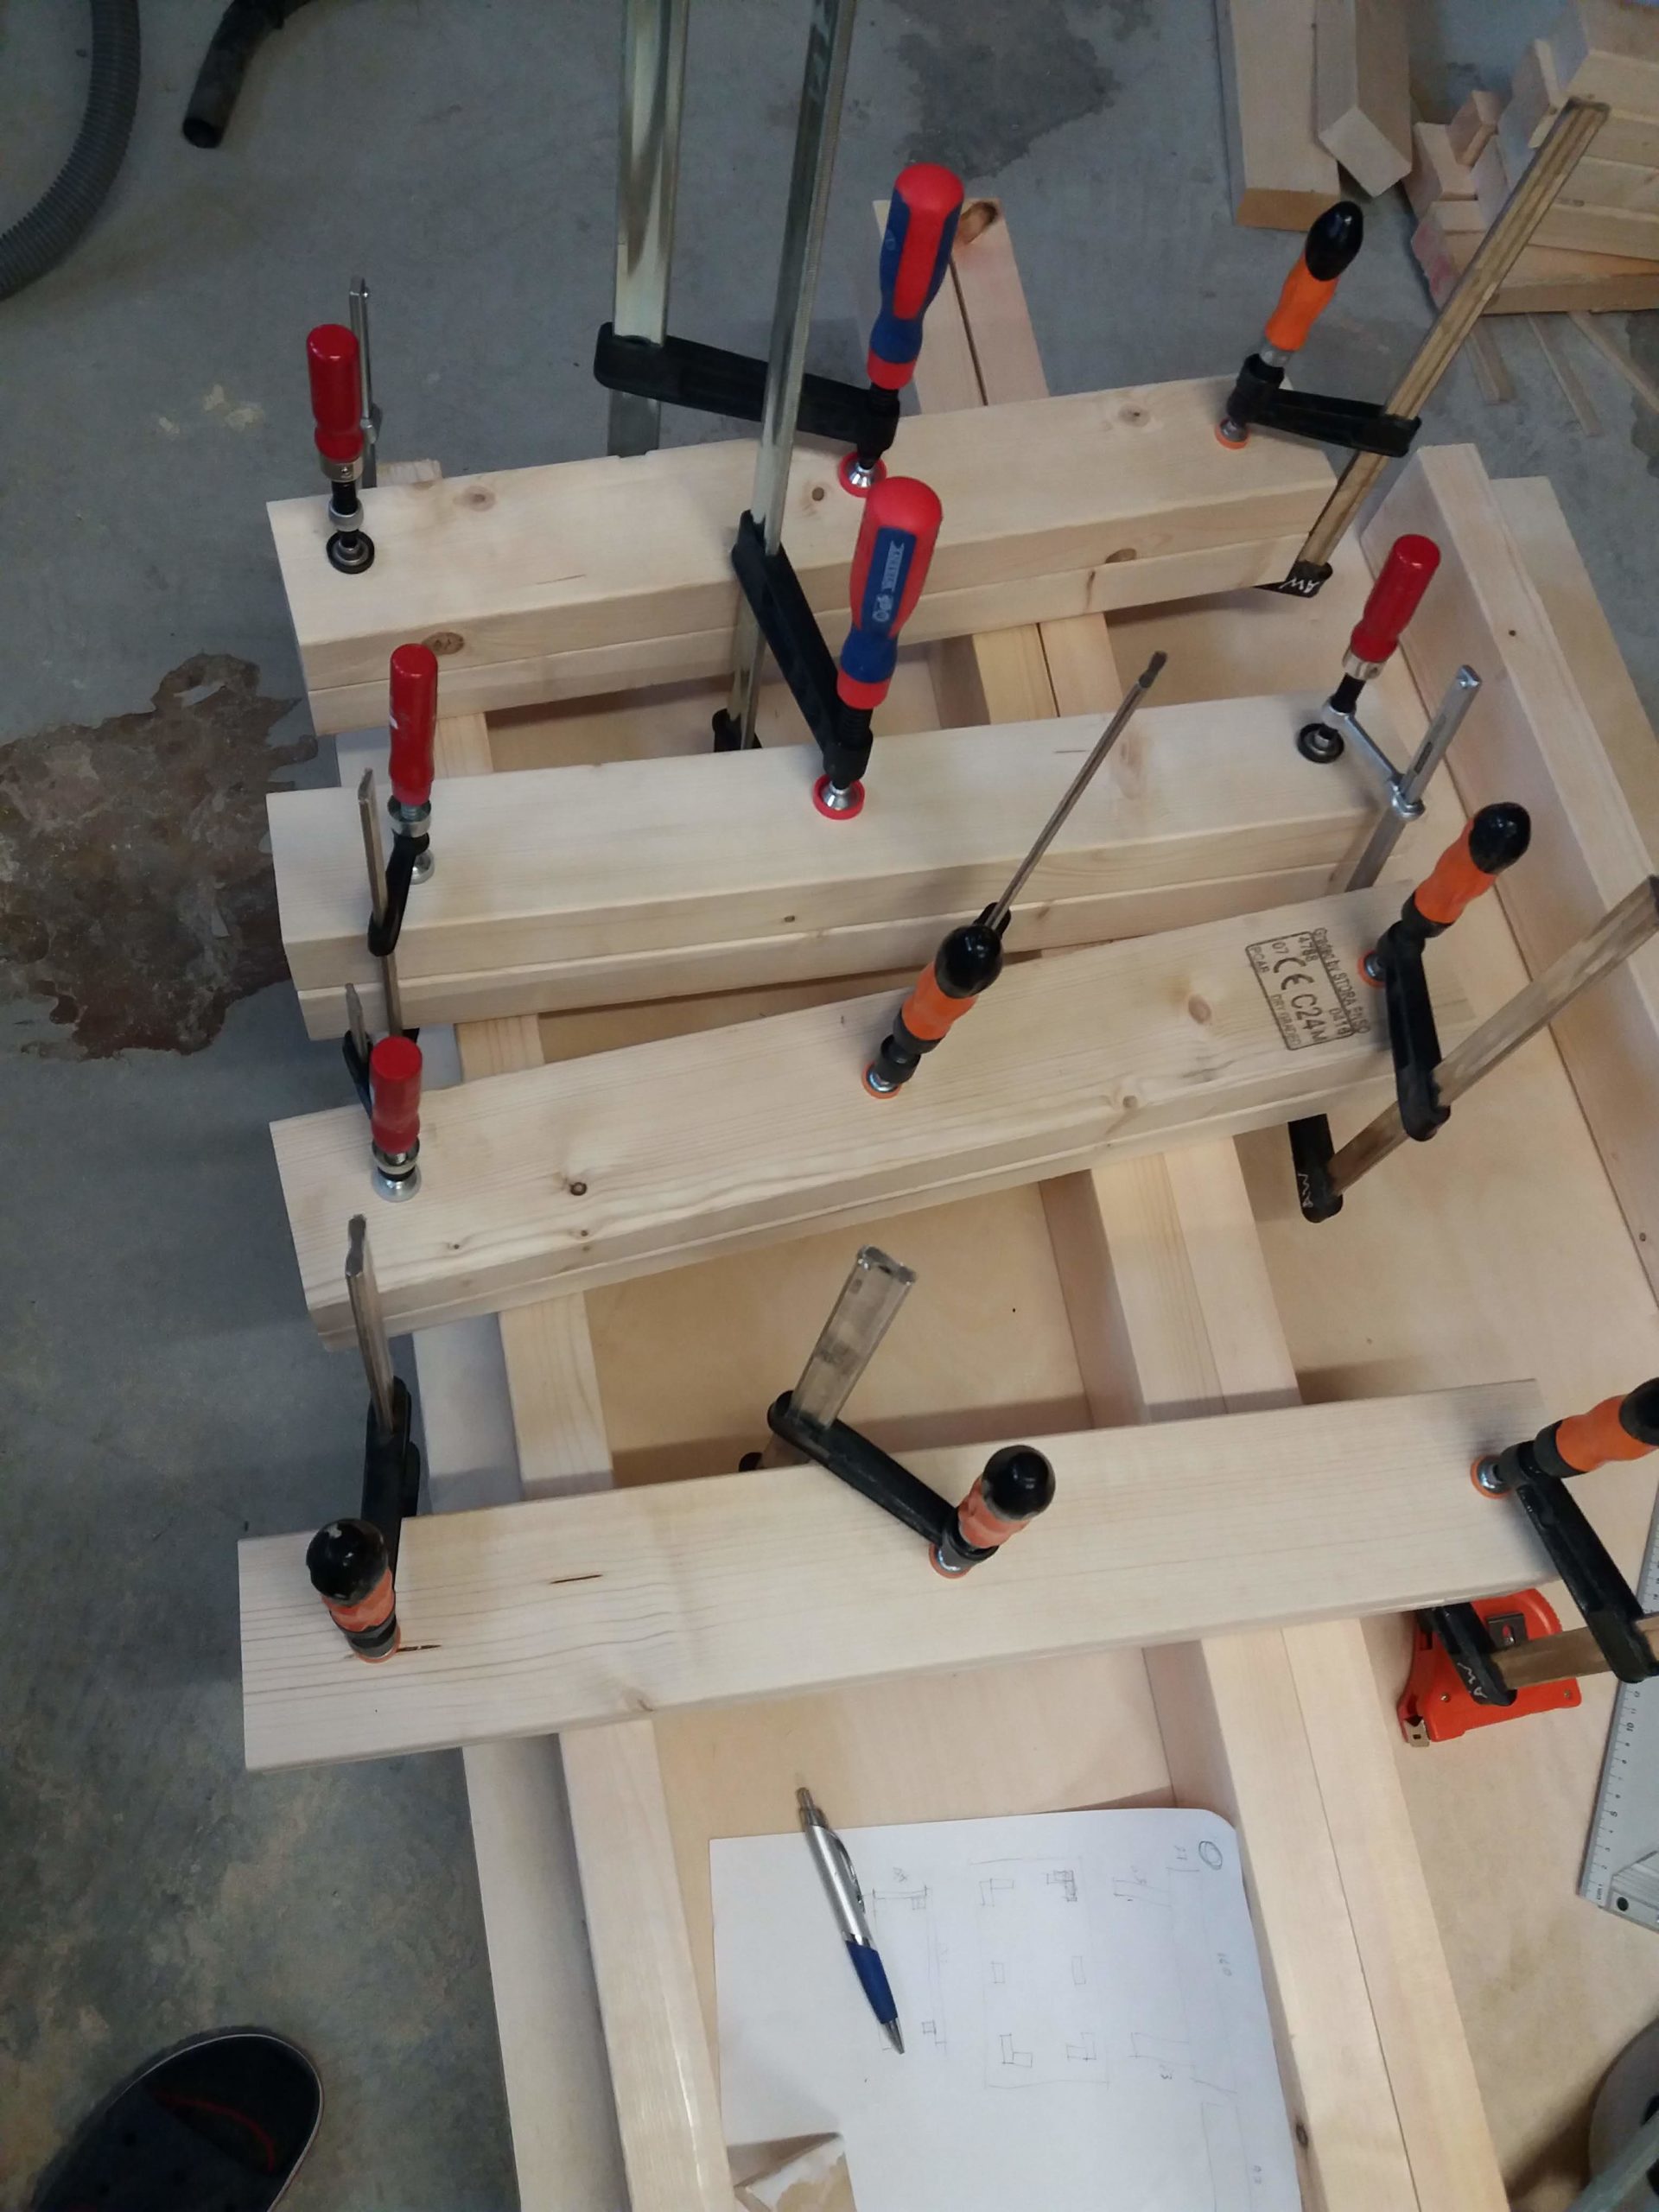
Gluing 2x4s for the legs 

Stand from 2x4s 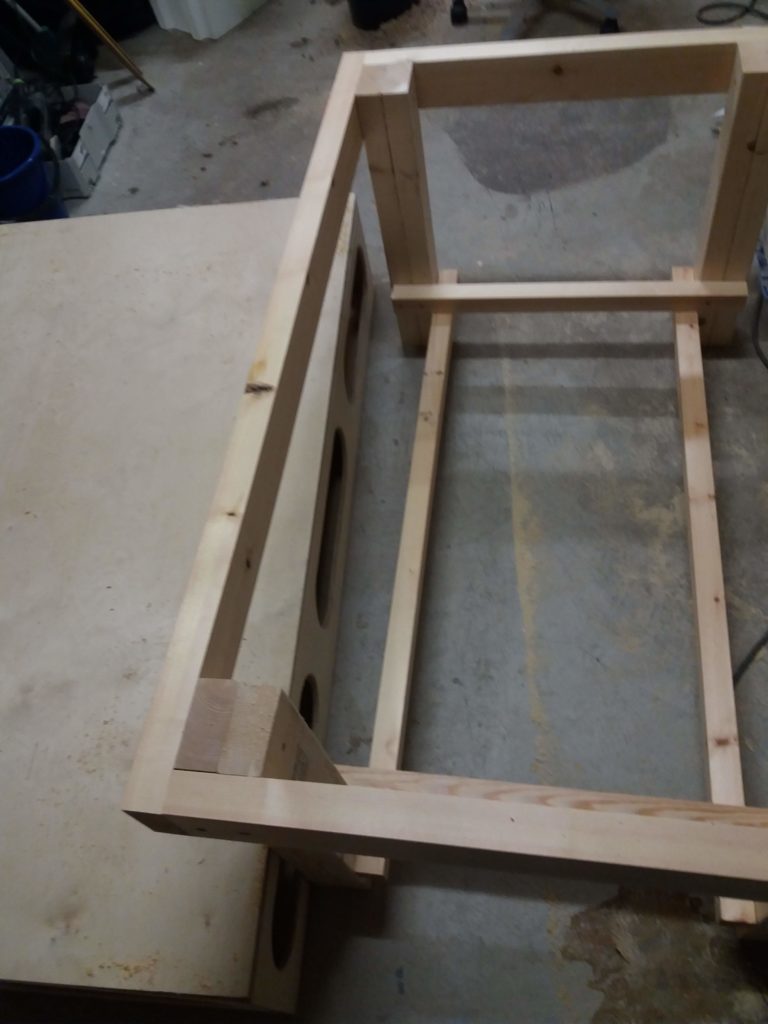
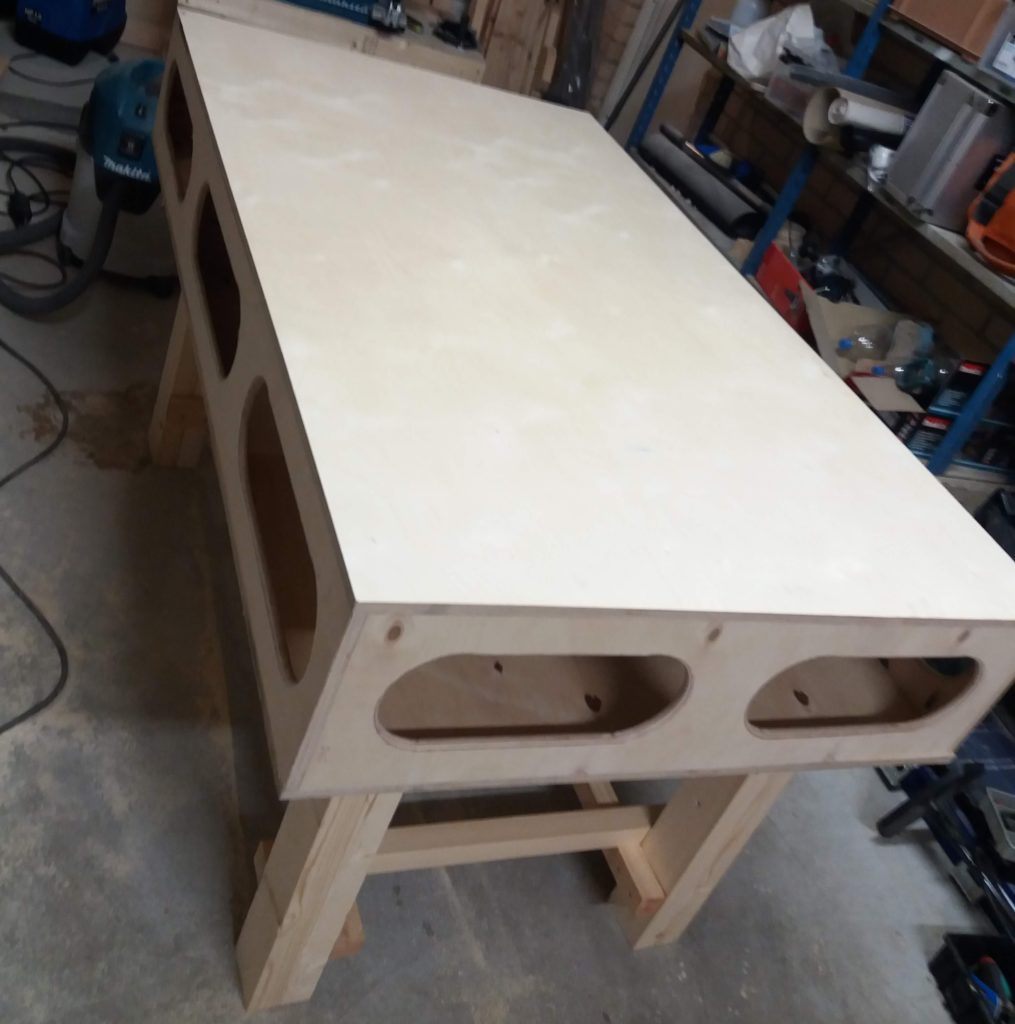
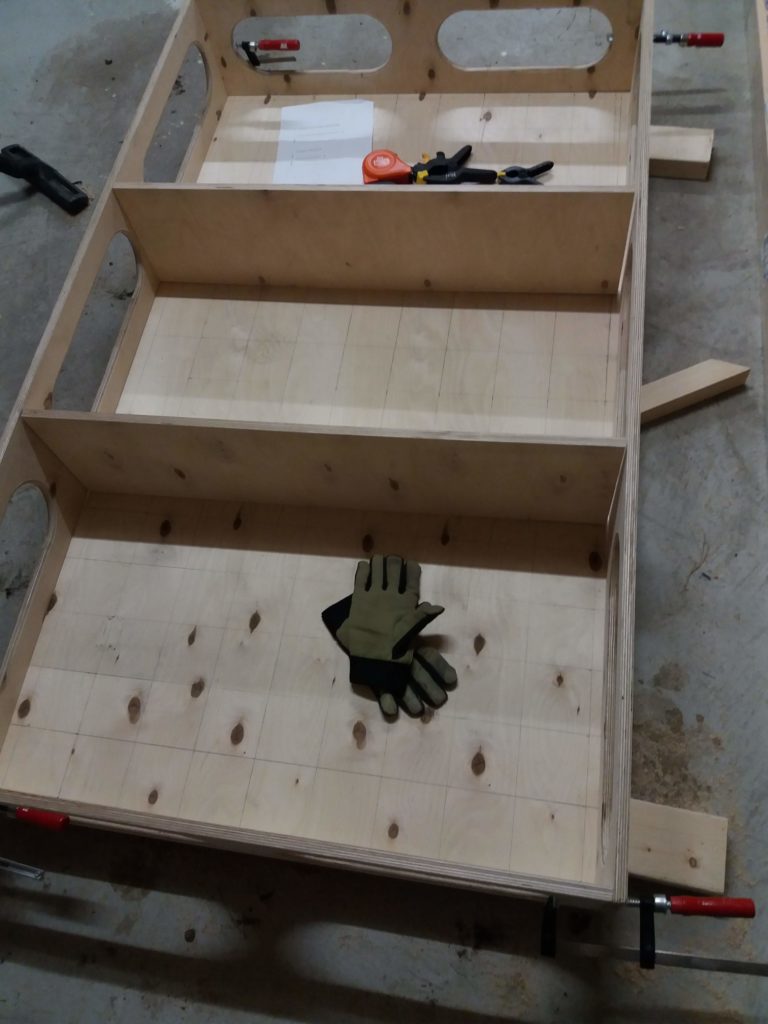
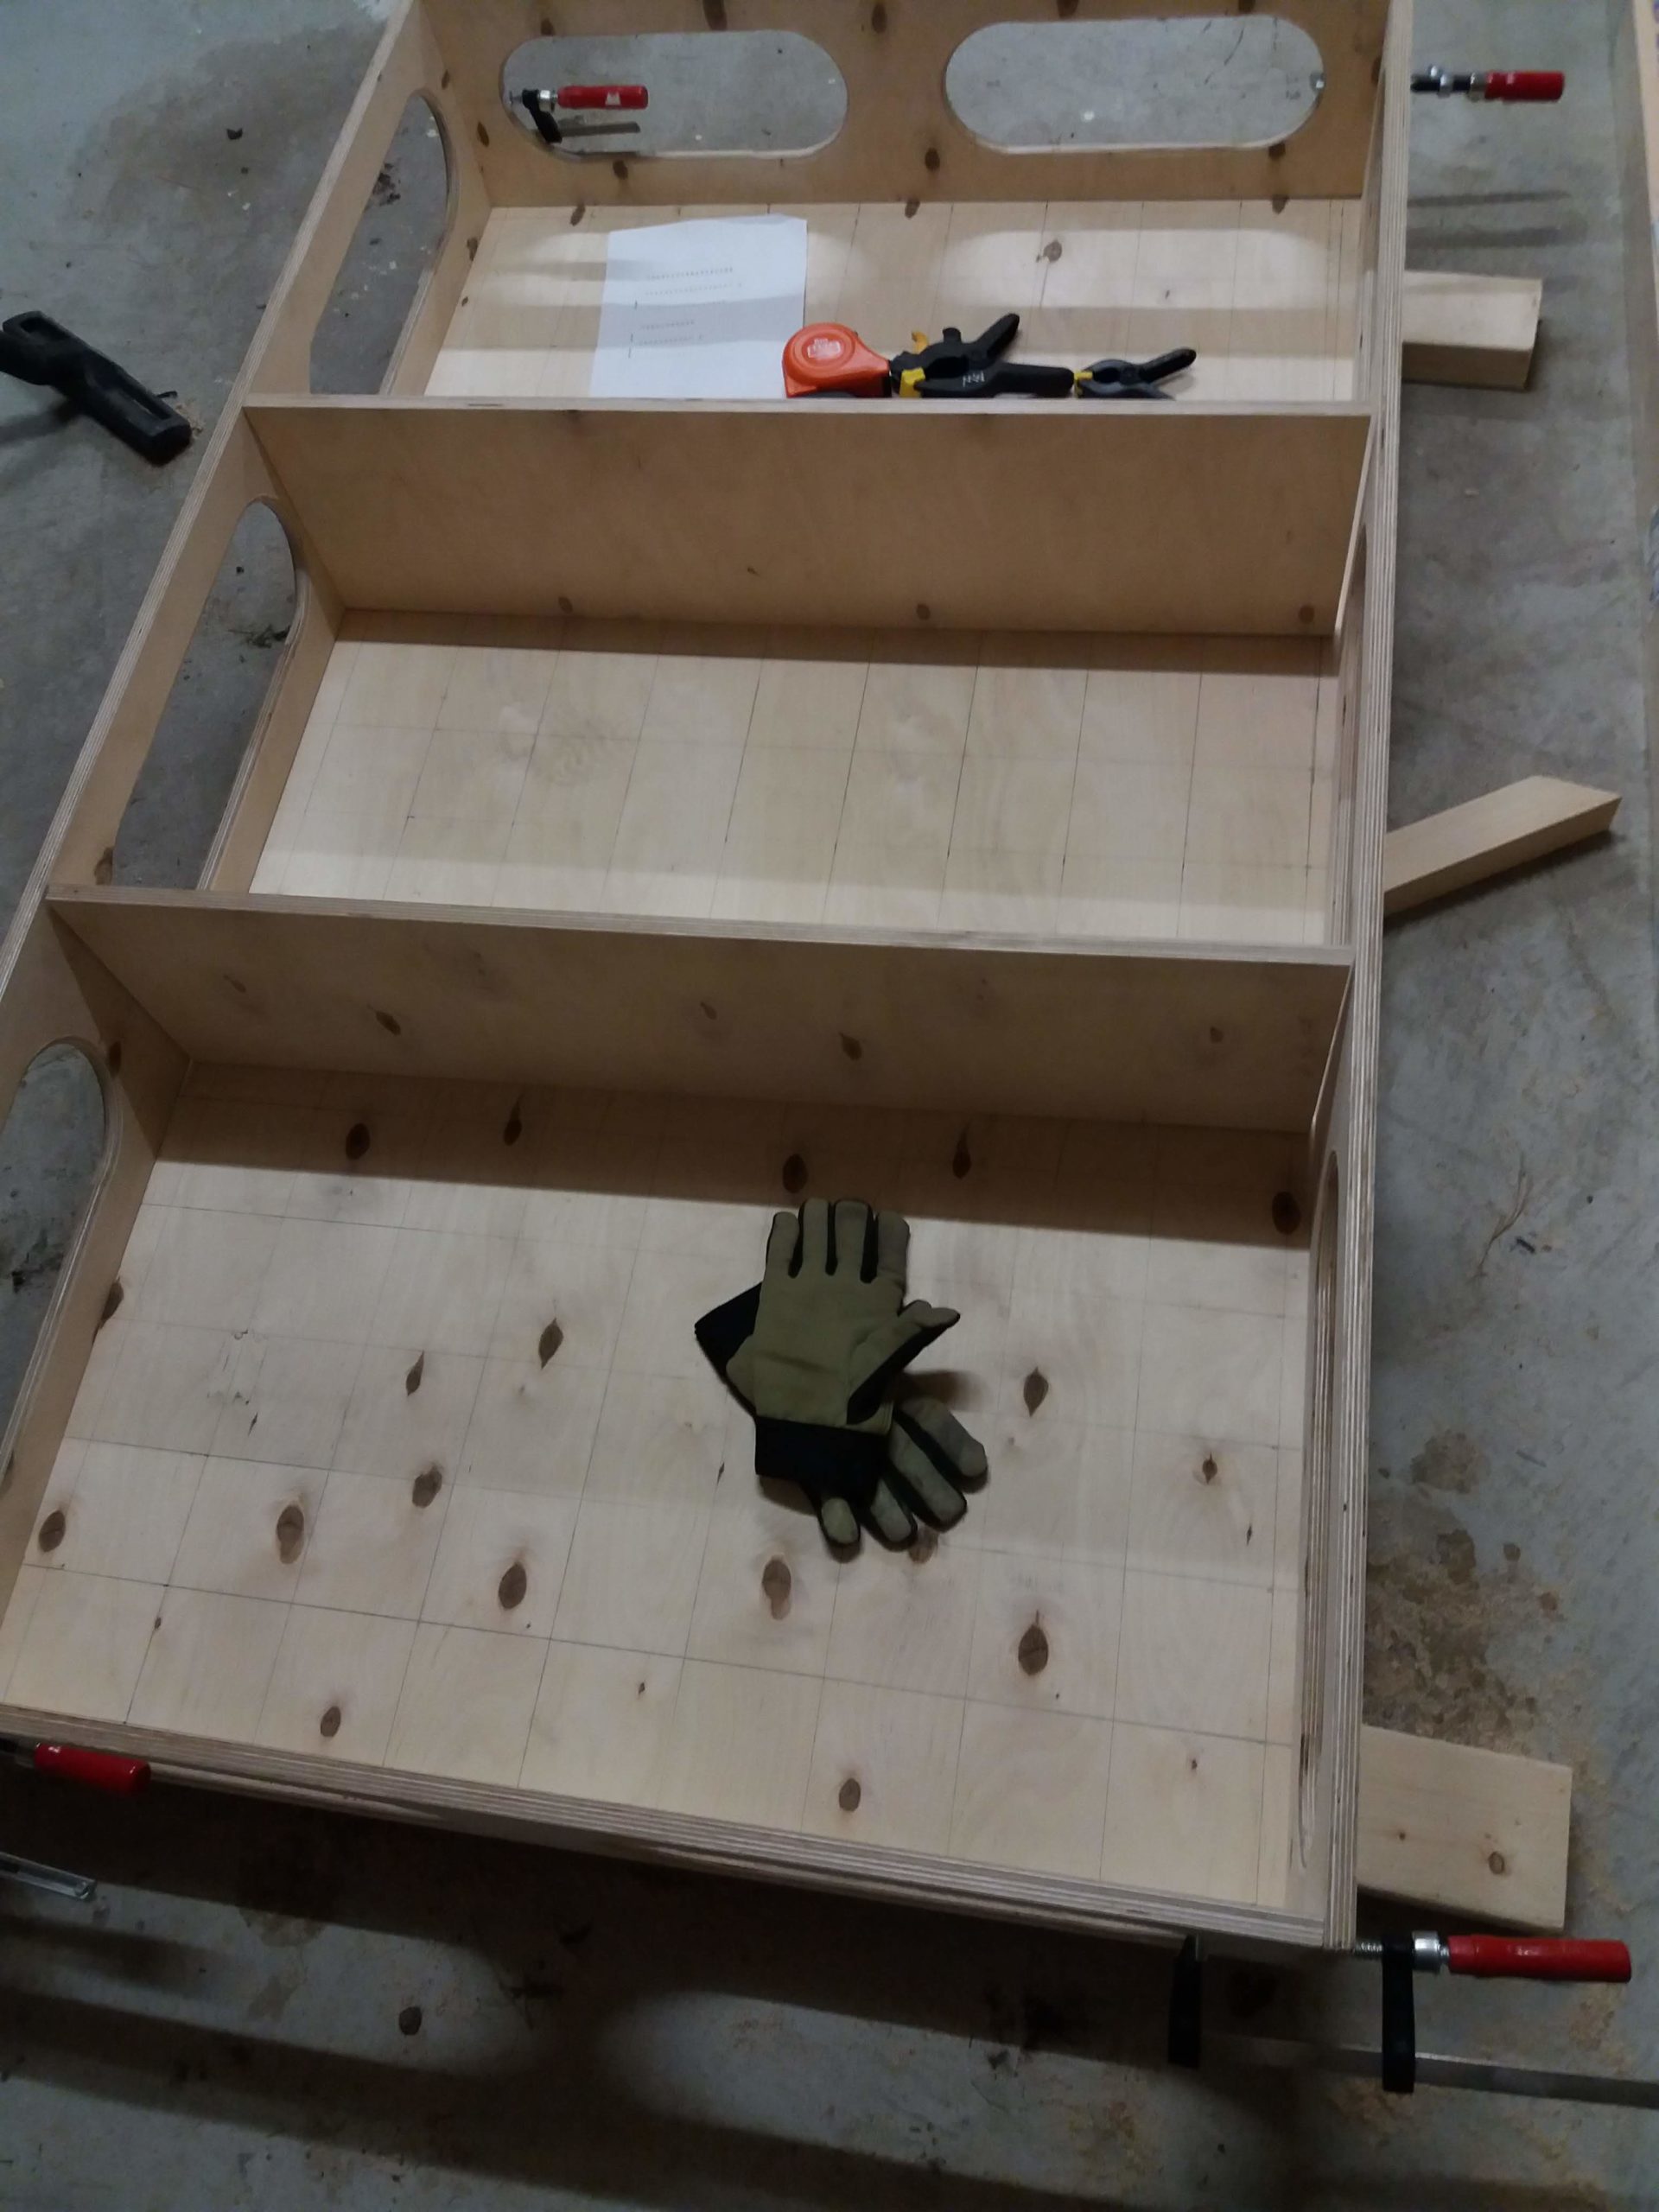
Torsion-box on stand, before drilling holes. 
Storage-bay opening. 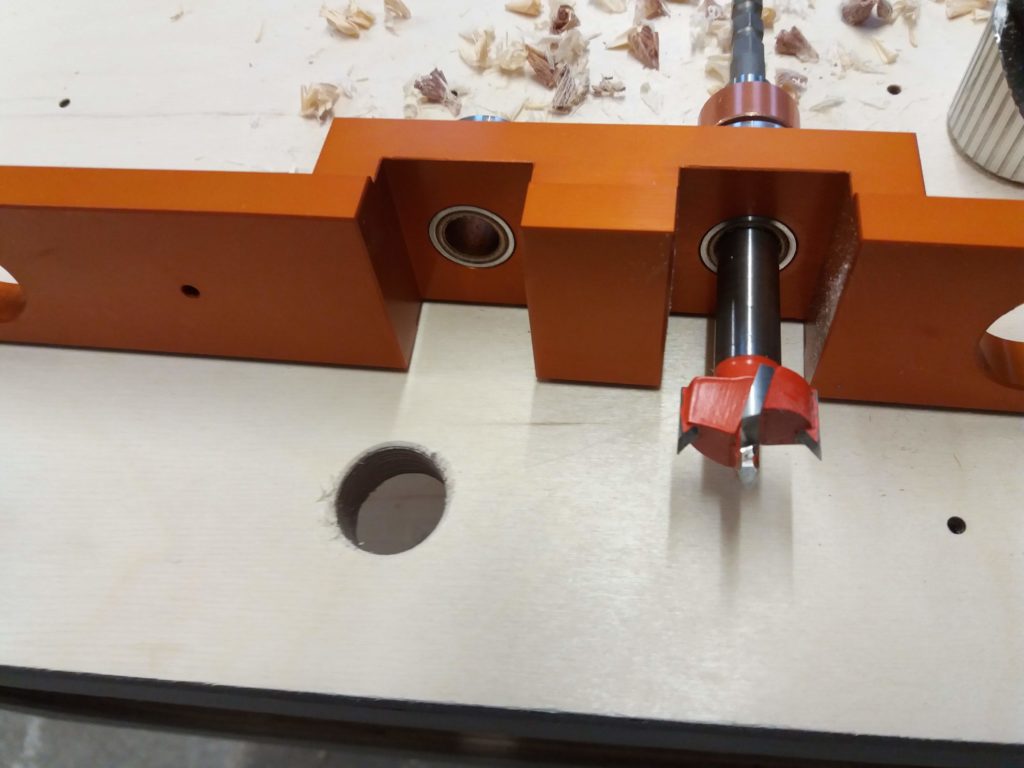
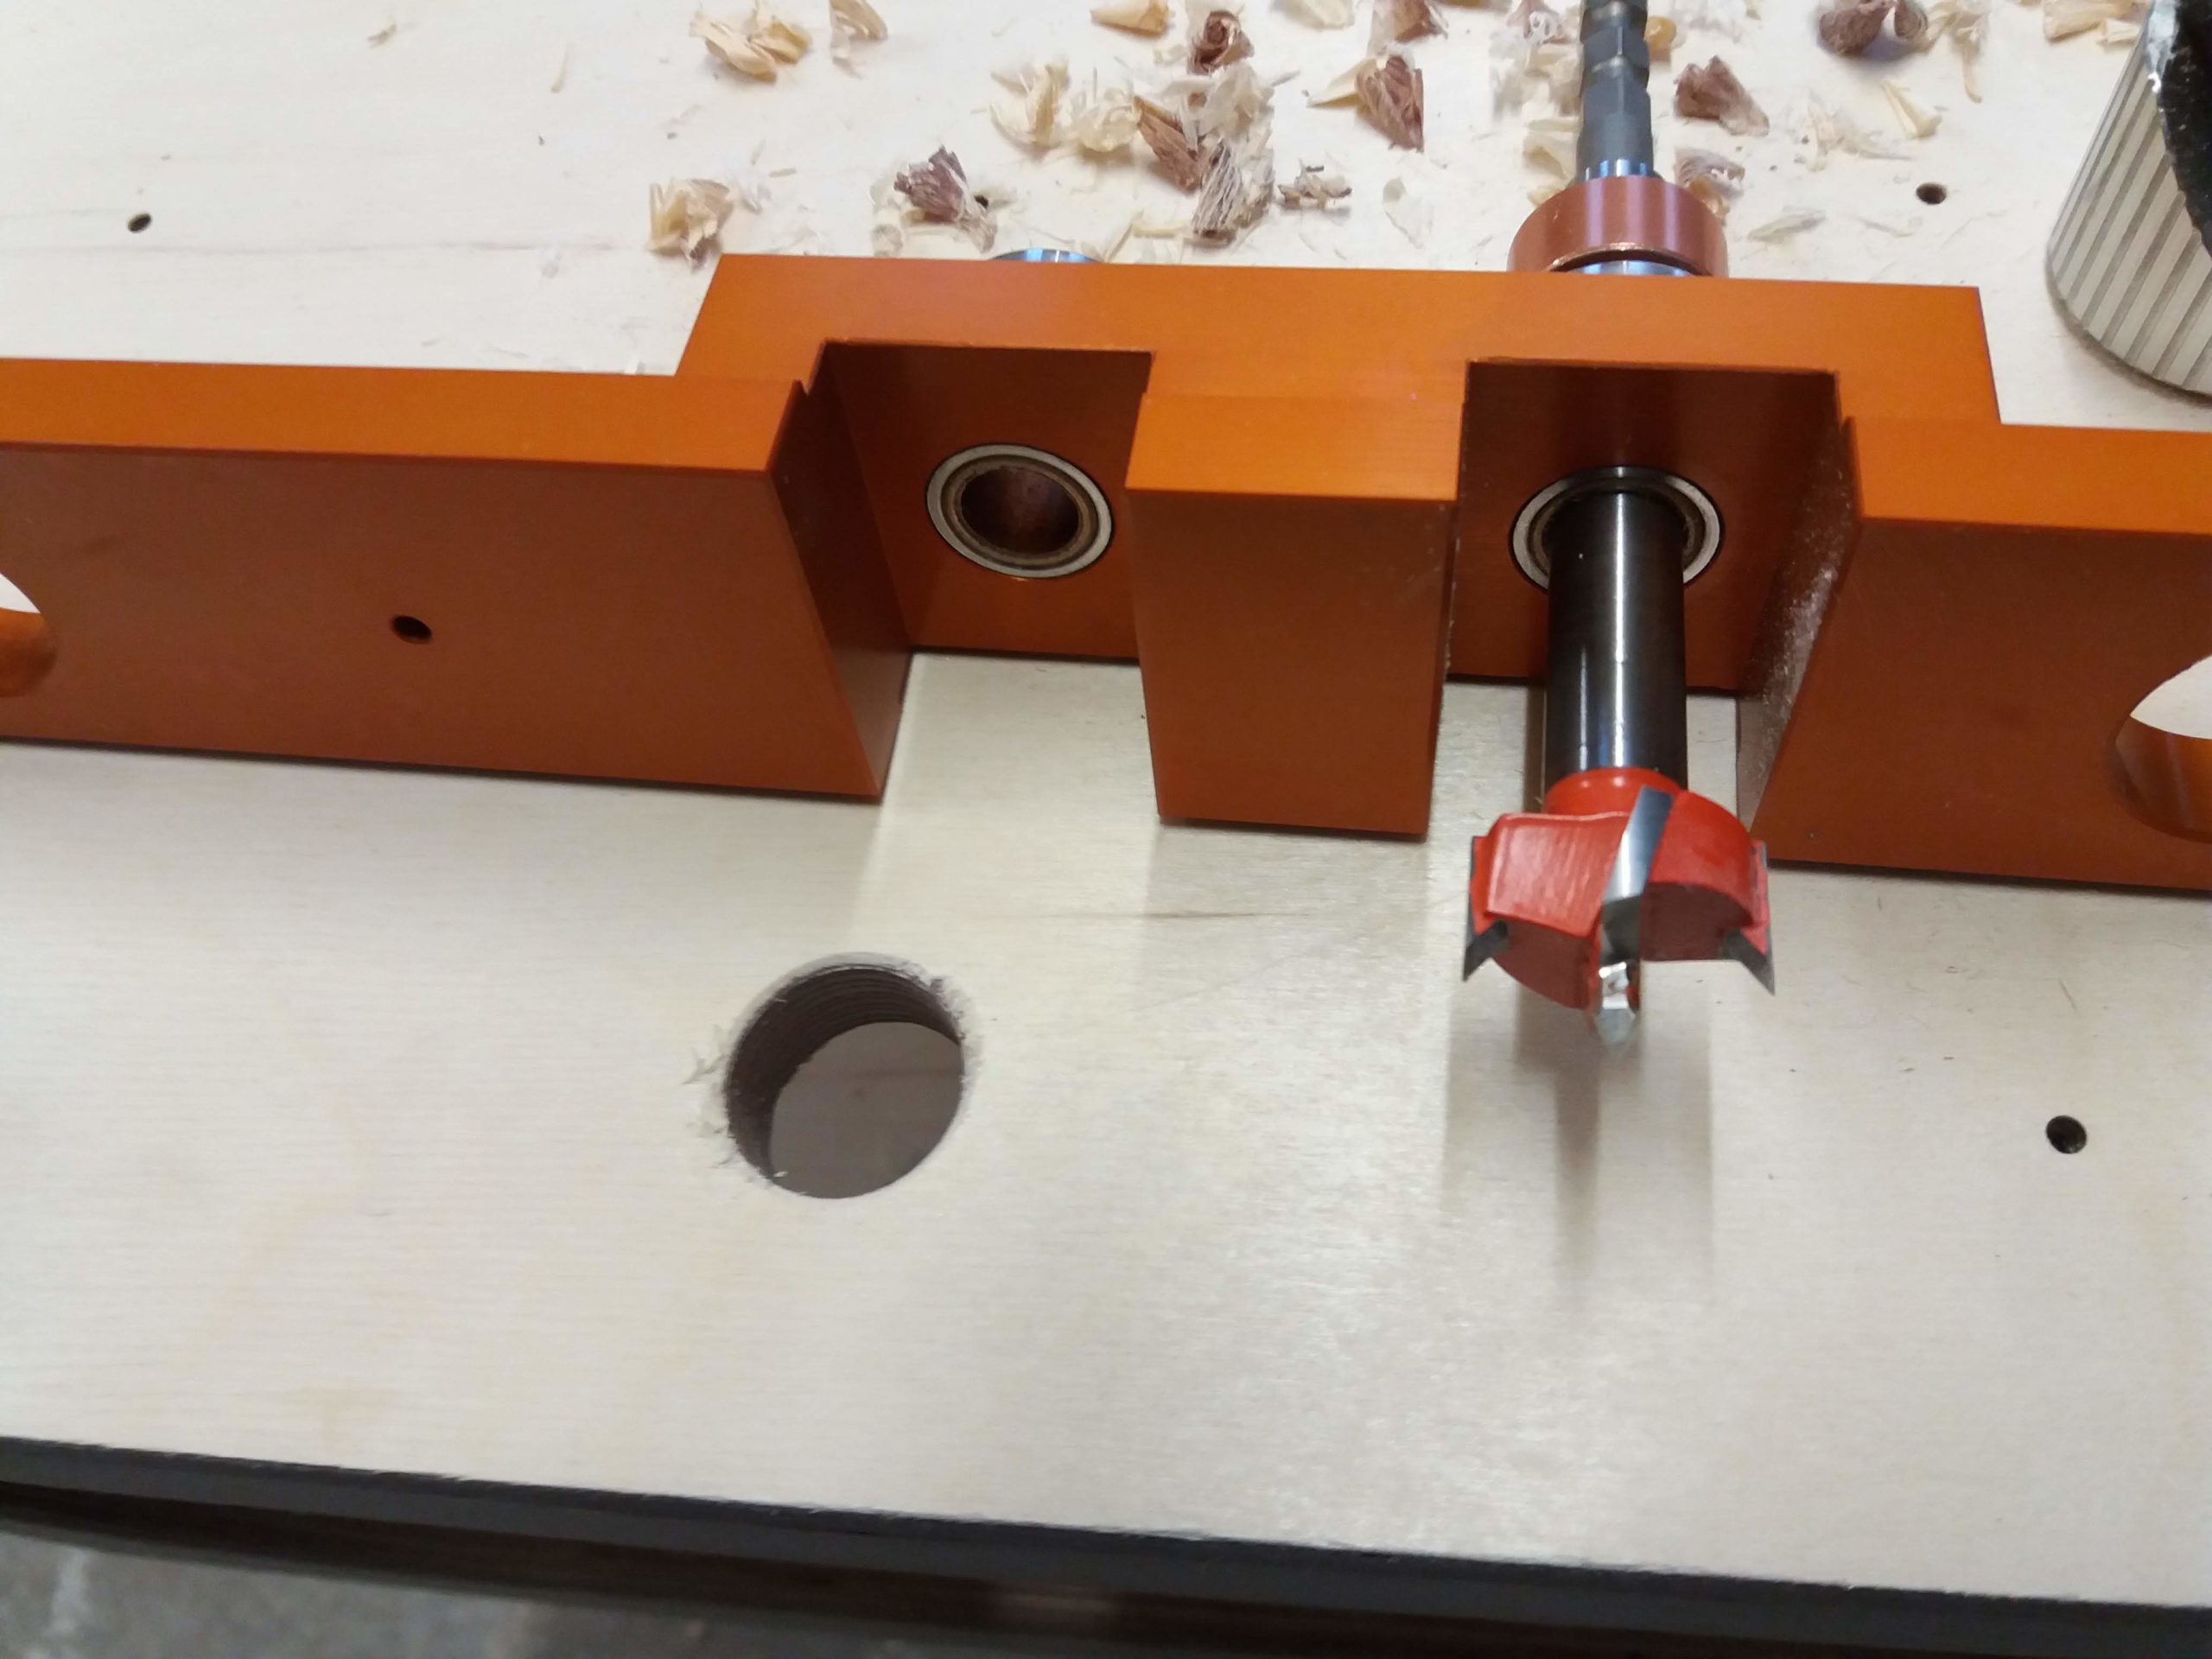
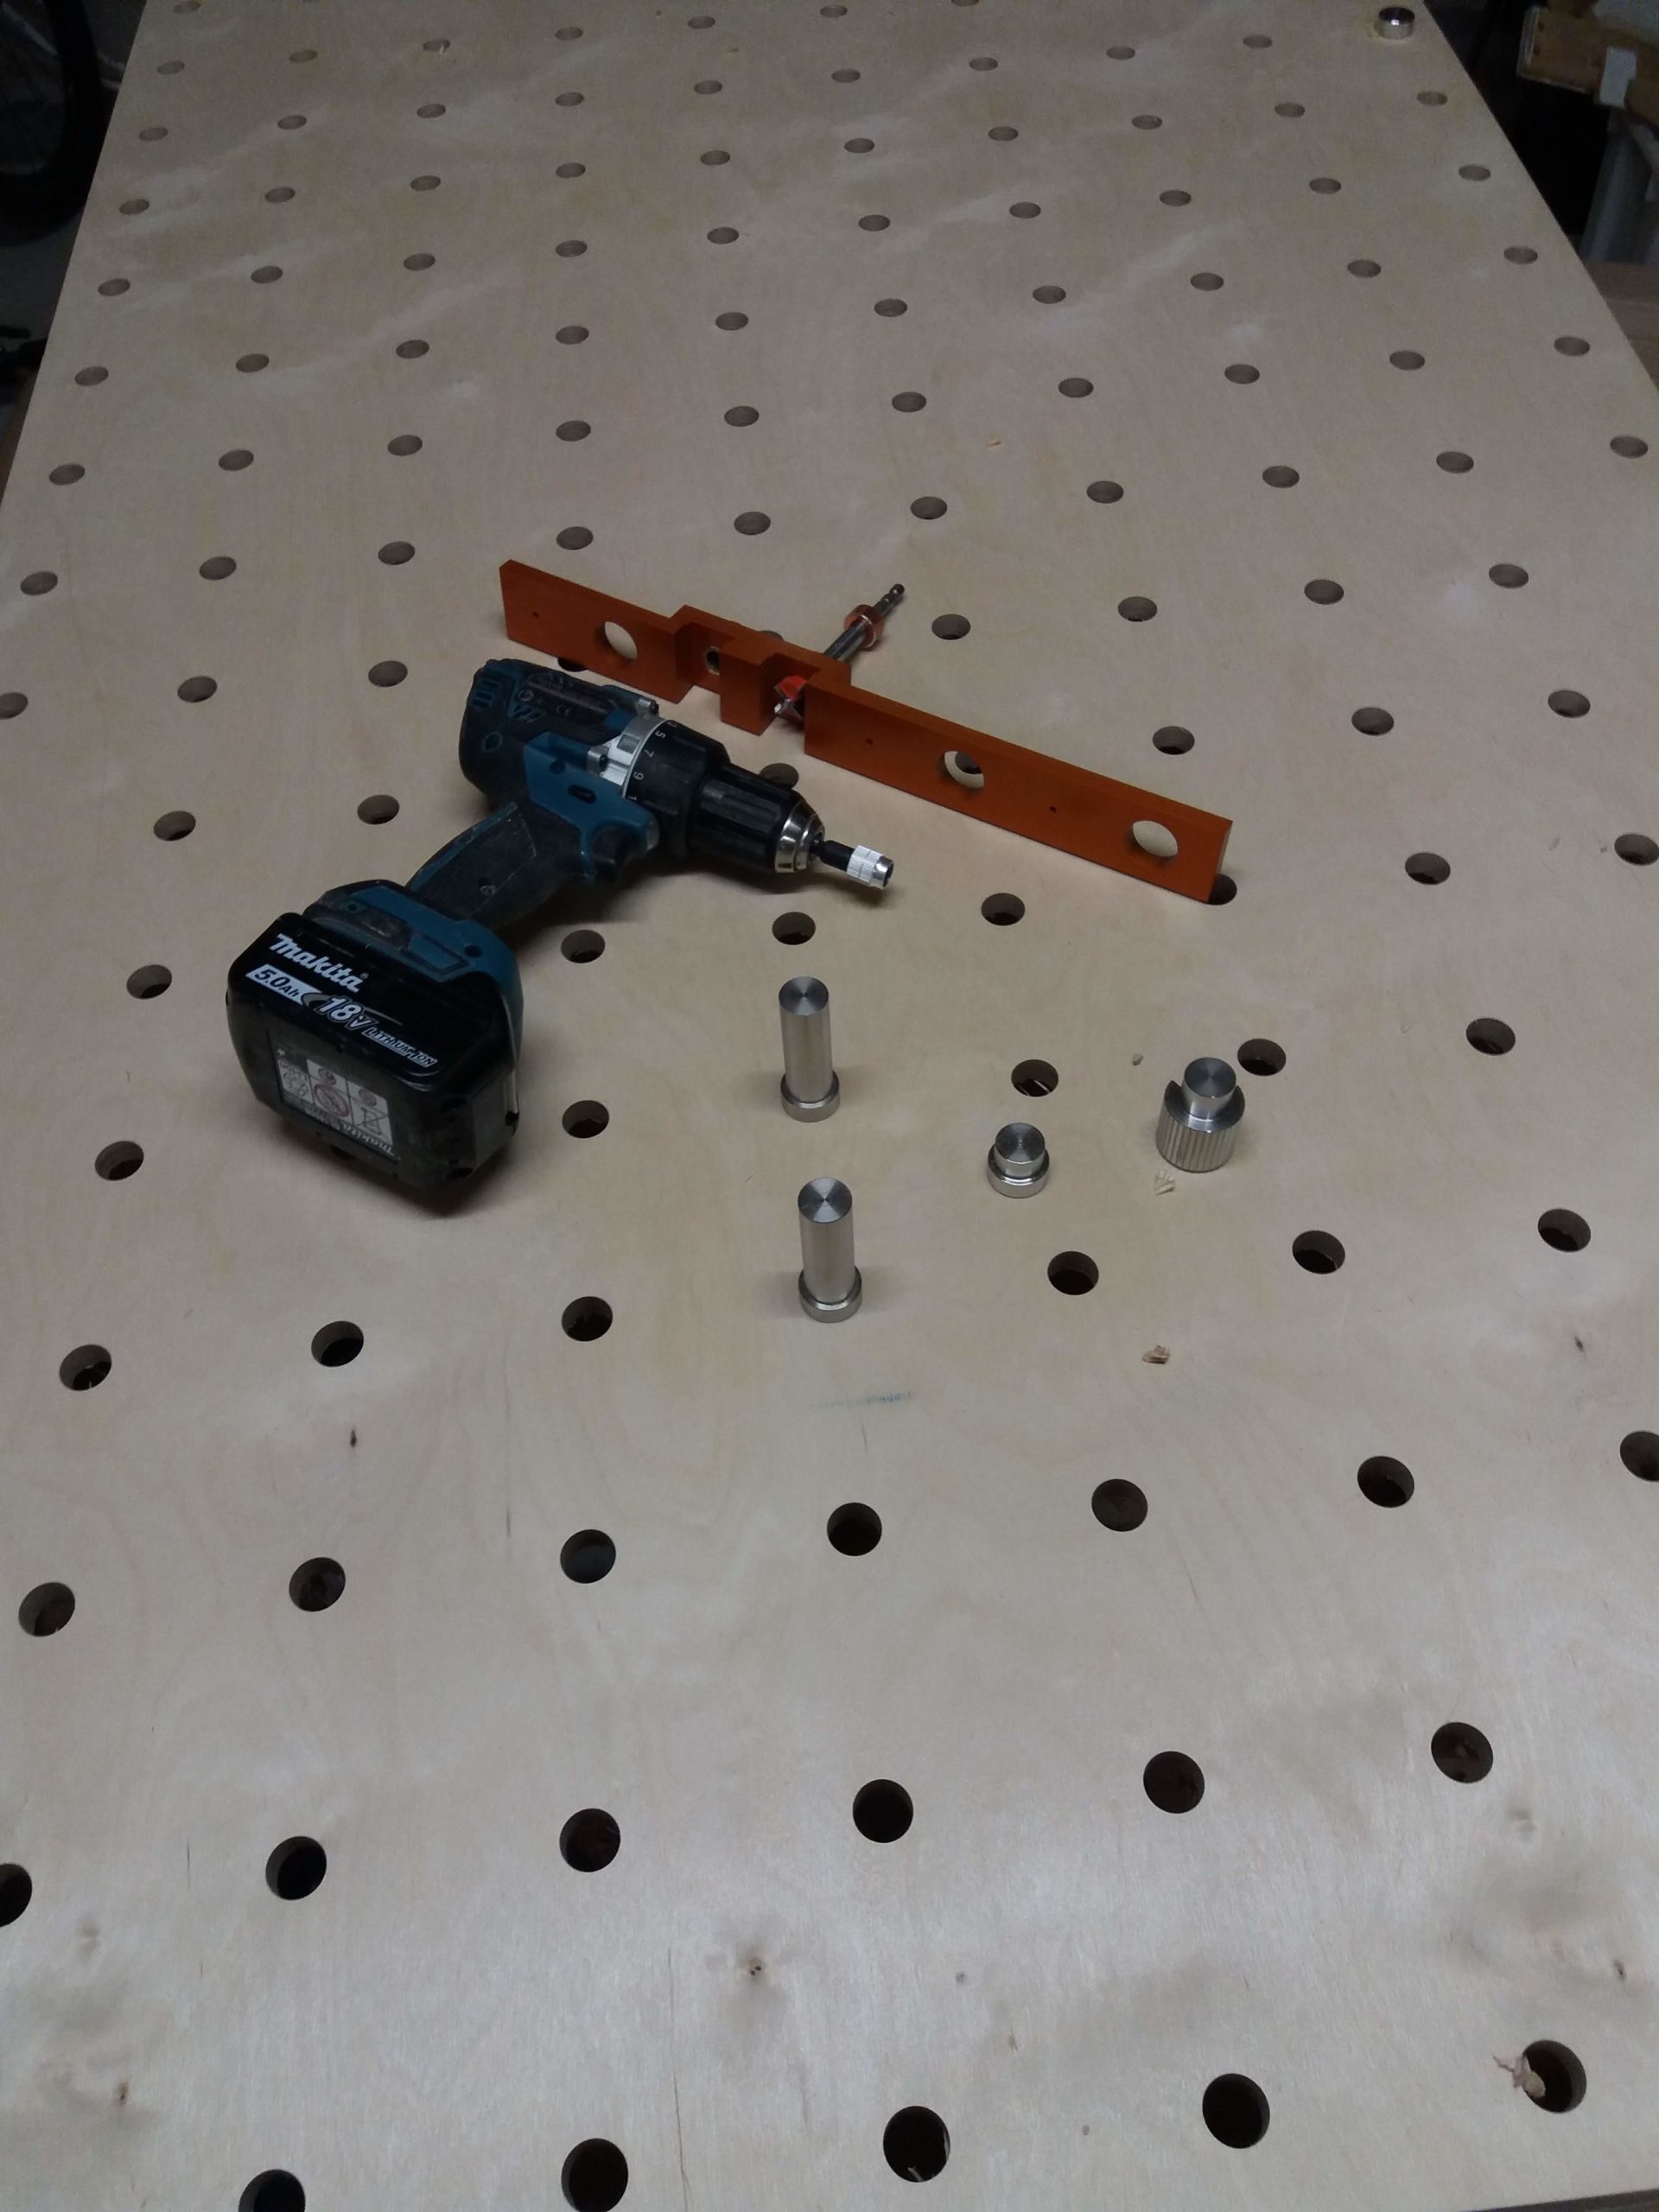
UJK parfguide system jig and 20mm forstner-bit 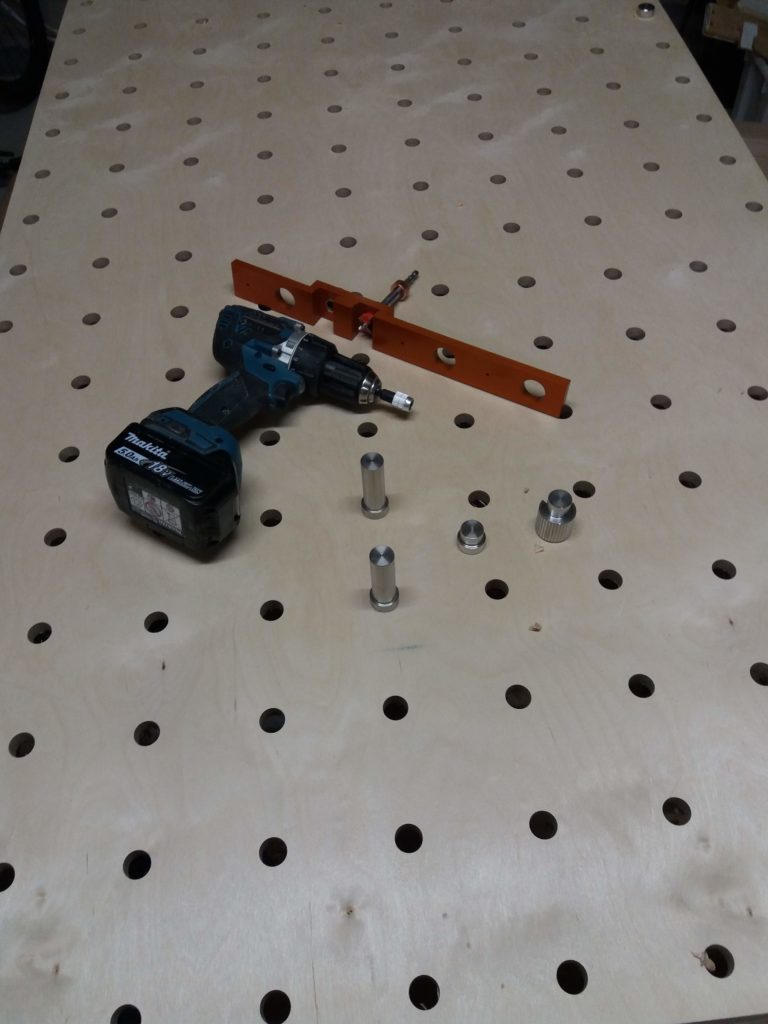
170 holes drilled! Two parf-dogs show how the holes are used.


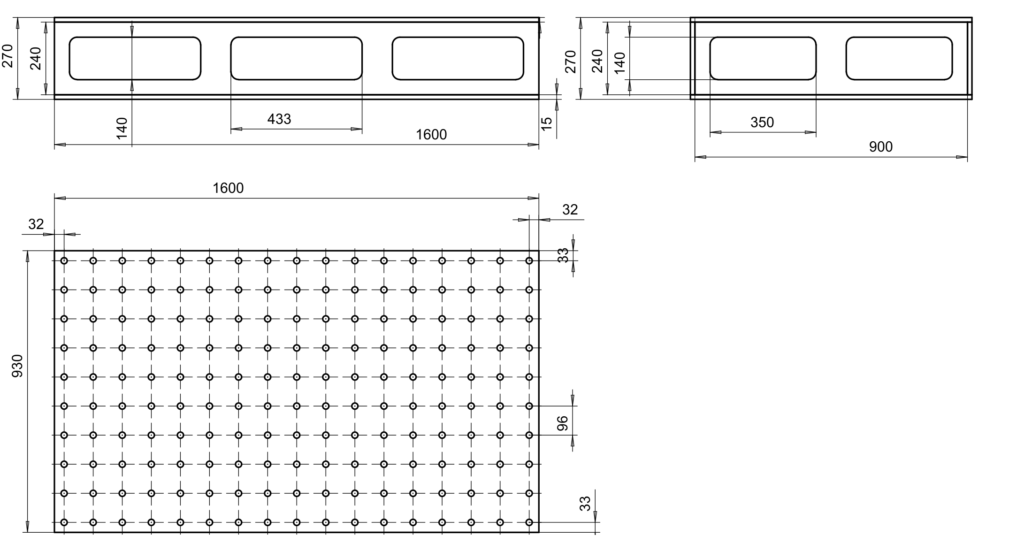
Here's a rough sketch of the dimensions. The dimensions were chosen to fit my workshop, so that it could be built from two 1220mm-by-2440mm sheets, and the dimensions rounded to fit the 96mm-by-96mm parfguide hole pattern nicely.
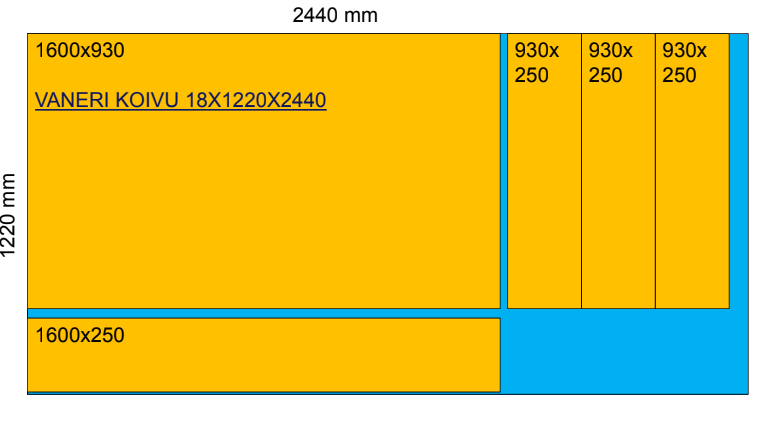
The pieces needed can be cut from two sheets of plywood, resulting in two top/bottom pieces, two long-sides, two short-sides, and four internal dividers. I only used two of the dividers.
There are a lot of torsion-box or "Paulk workbench" builds out there, here are some links:
- Jay Bates, modified Paulk bench
- Ron Paulk, Paulk work bench
- The naked carpenter, Modified Paulk workbench
Laser cutting
First try at using the 50W CO2 laser cutter at the Iso Omena library. Material is 4mm Birch ply (K-rauta). I didn't have time to optimize the speed/power settings, so the edge-finish is quite burned, and a flame appears from time to time. There was a 3M tape-film (?model?) available, which when taped over the plywood-to-be-cut should reduce burning and flaming - but I didn't have time to try it.
Workflow: DXF files exported from CAD, the into Adobe Illustrator, set all linewidths to 0.01mm, then save as PDF, then print from Adobe Acrobat to the Epilog printer-driver, set speed/power for the material, send to the machine, set the (0,0) coordinate (top left) for the job, and press Go!