RG65 Fin and Rudder moulds

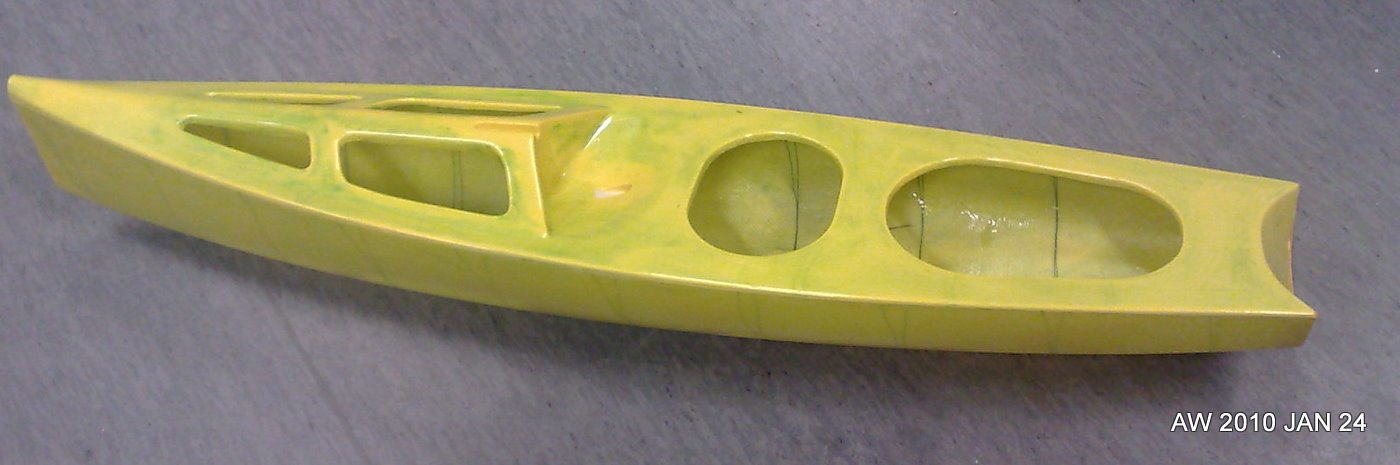
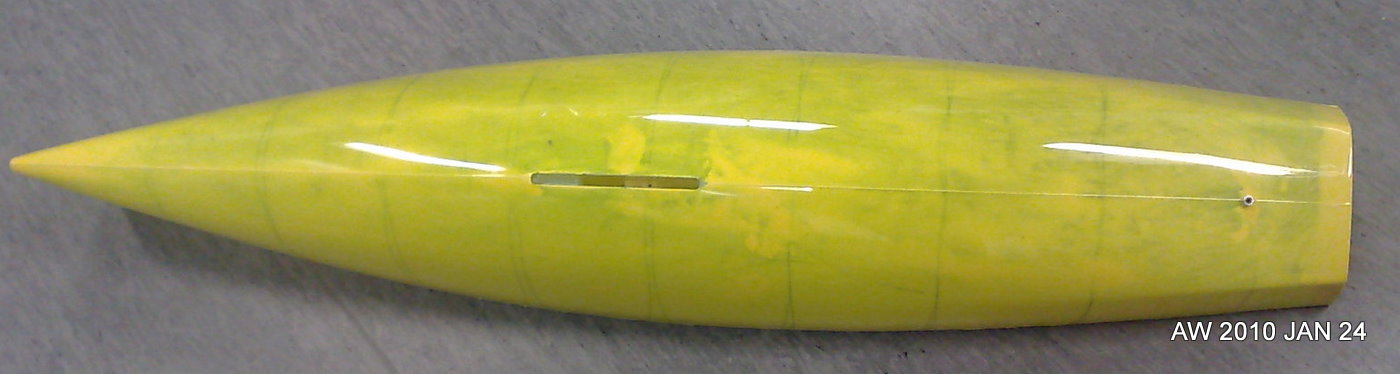
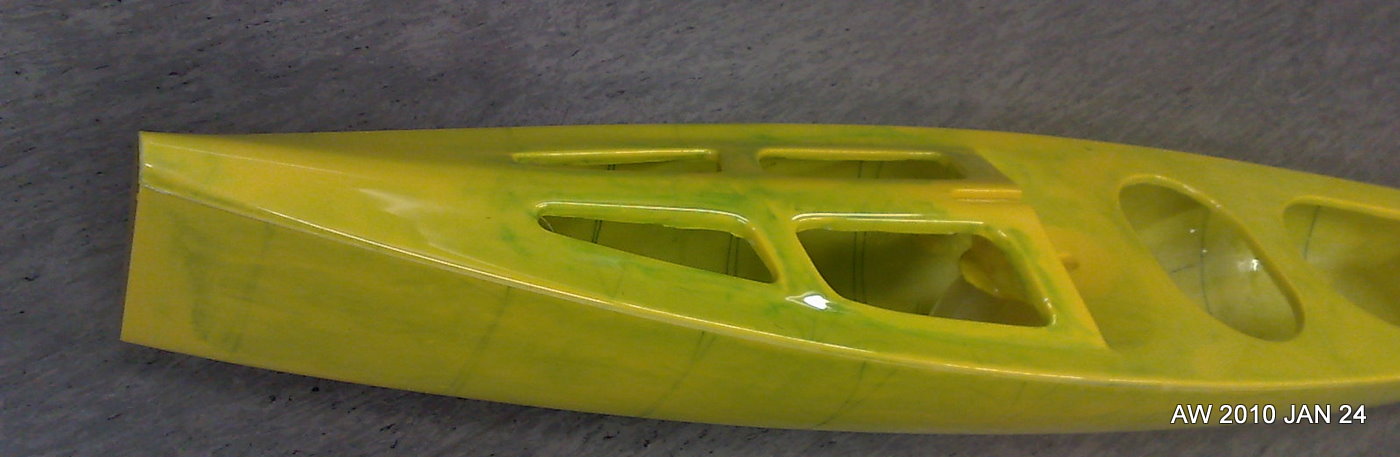
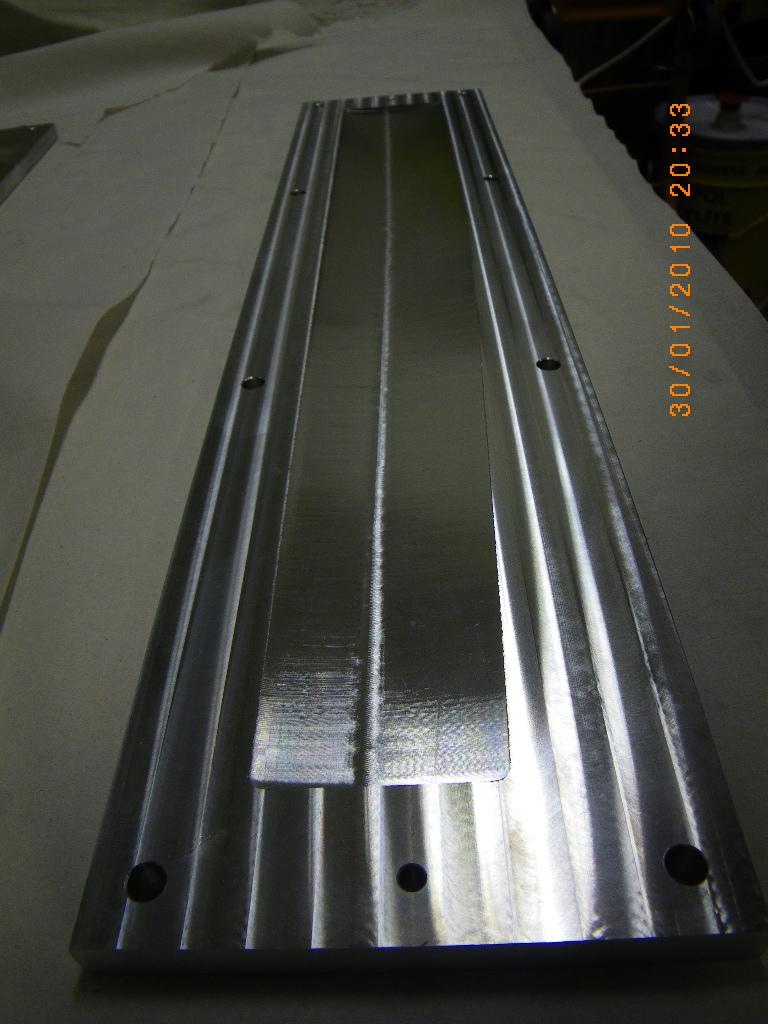
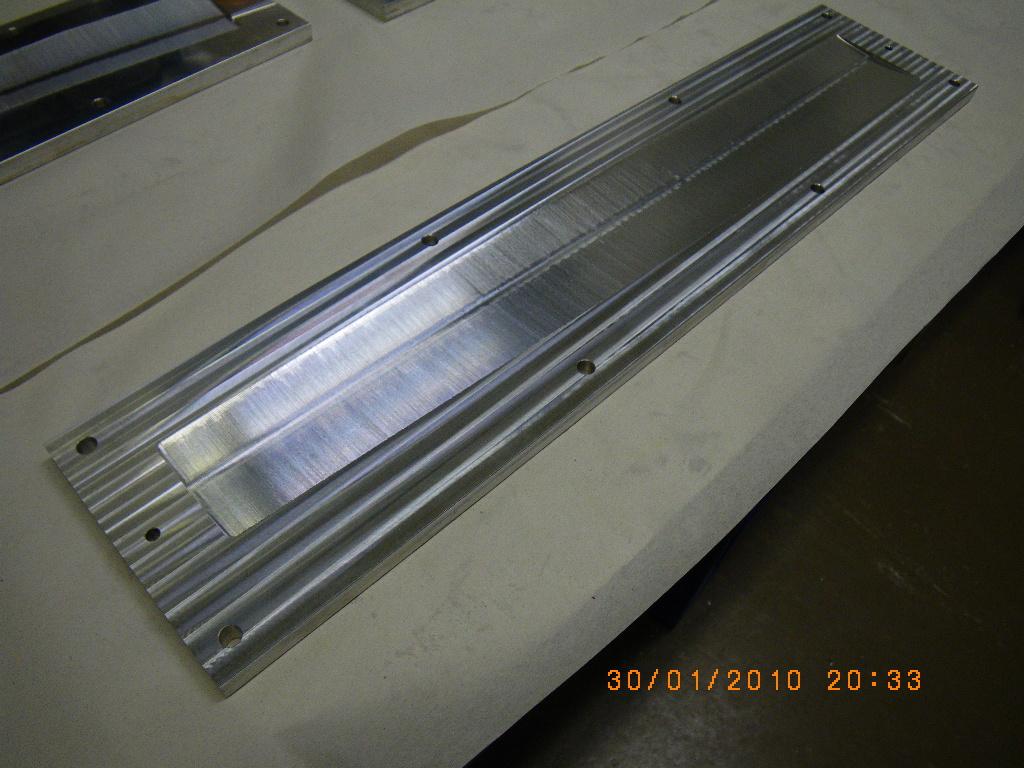
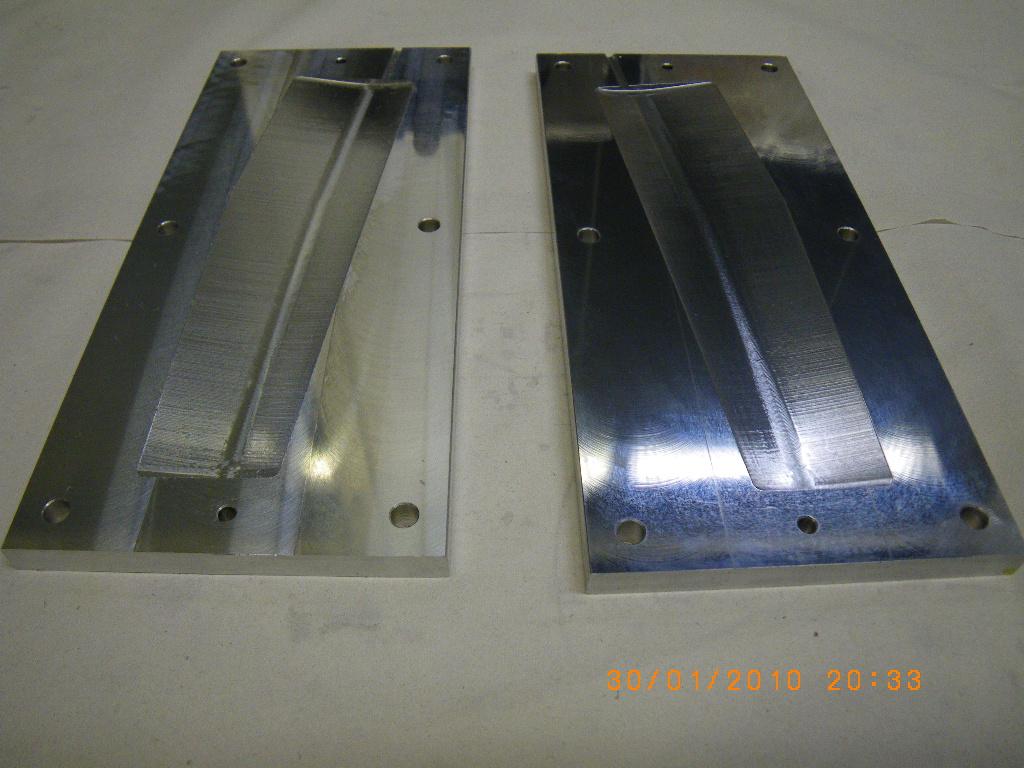
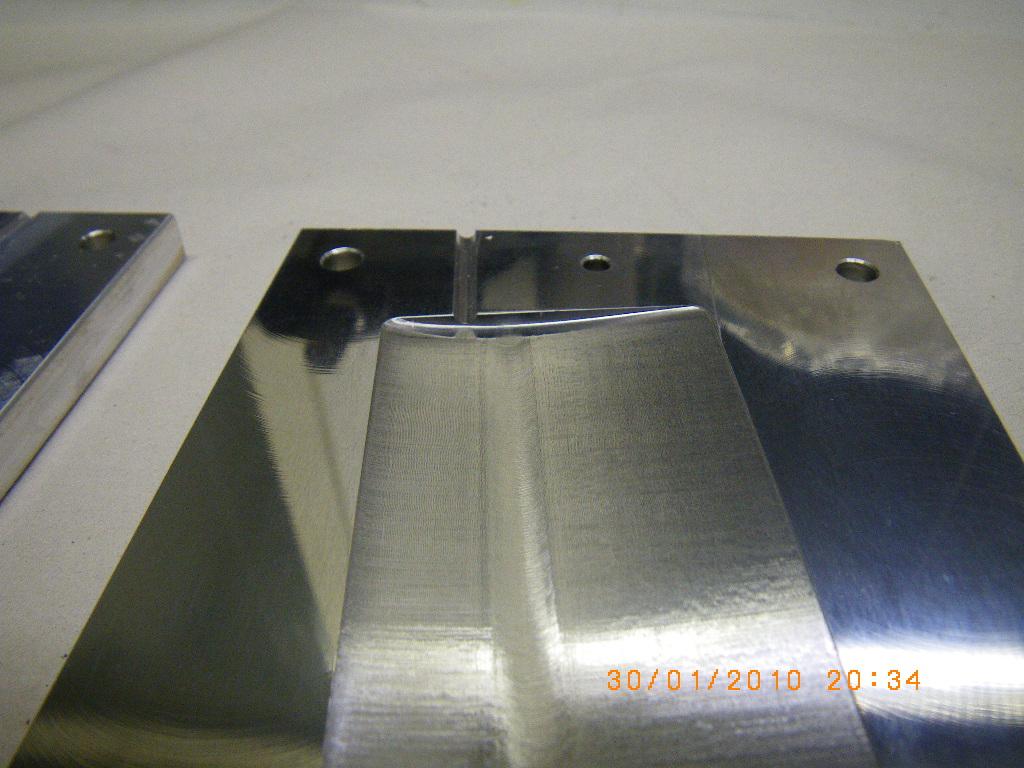
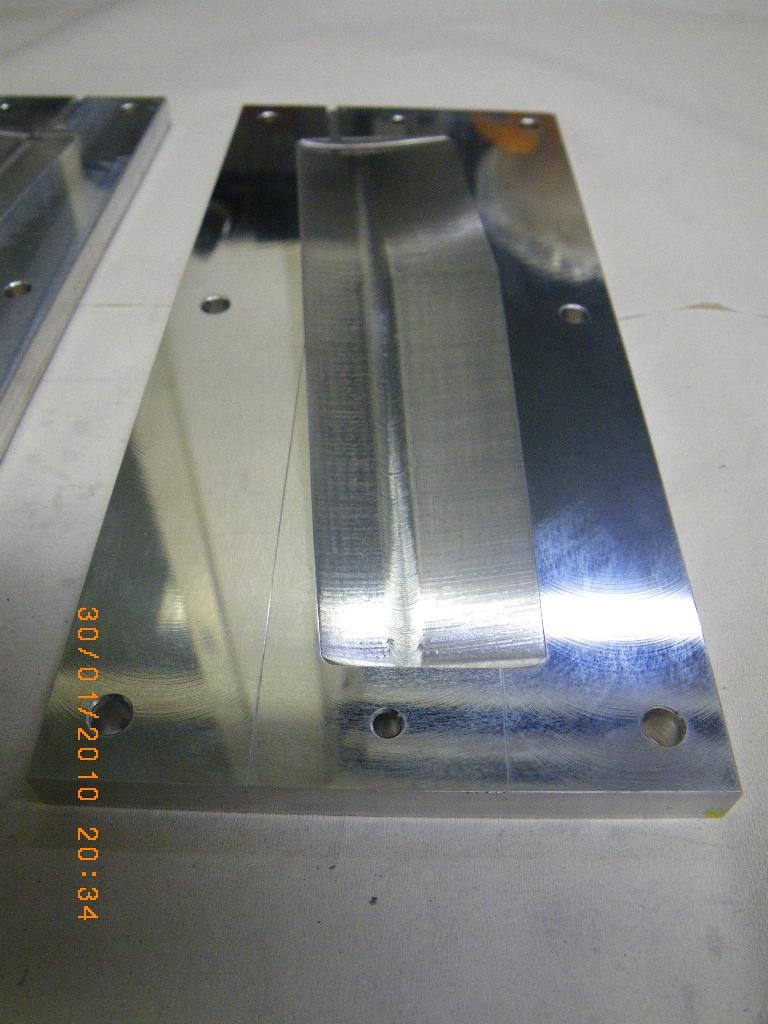
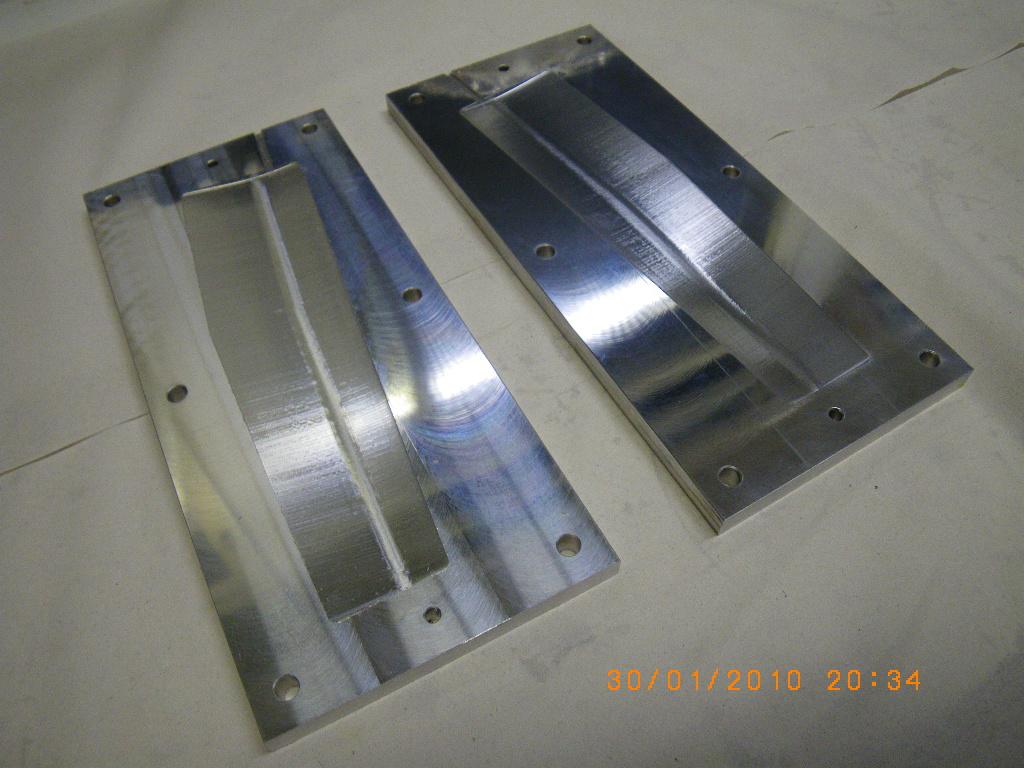
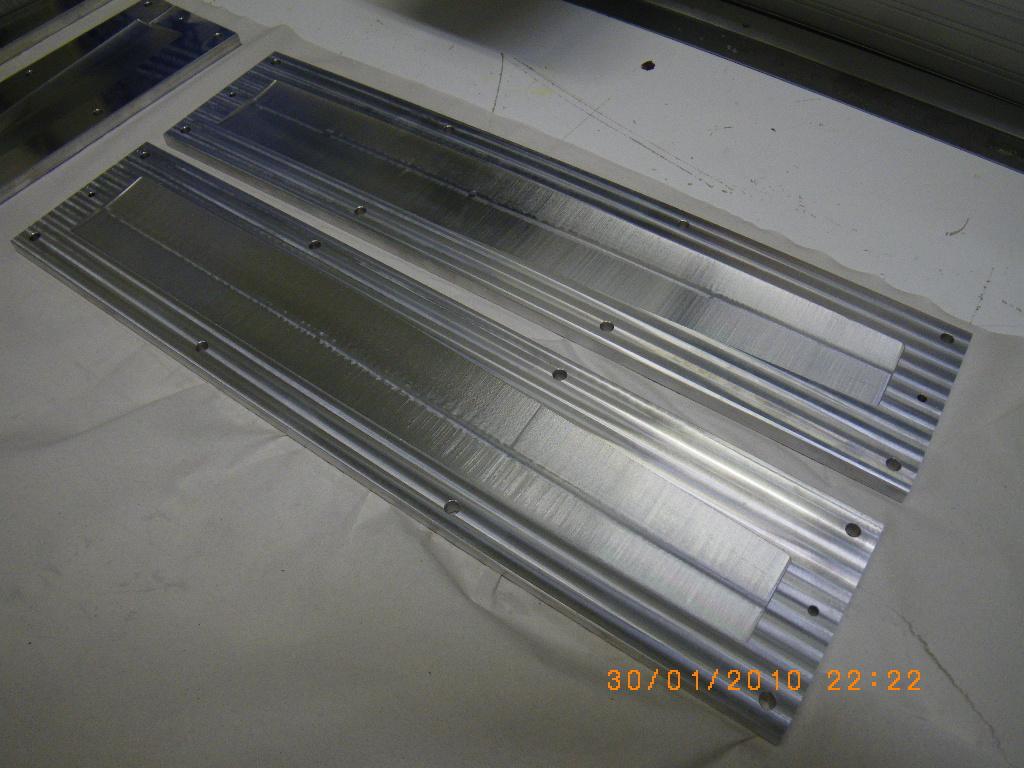
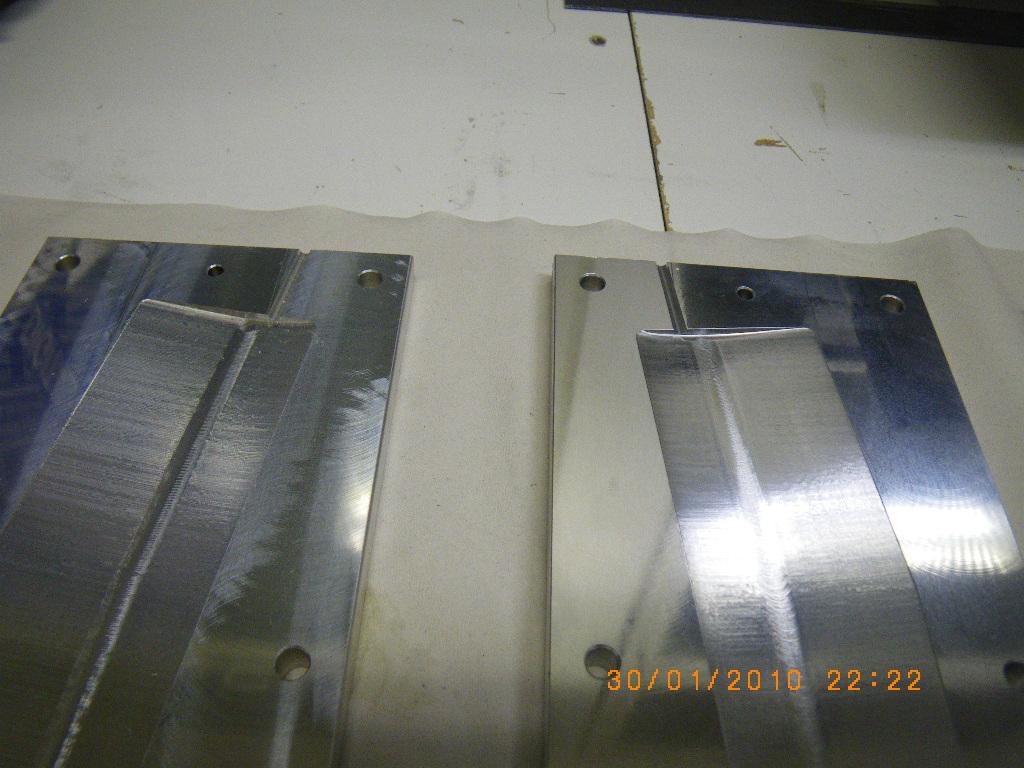
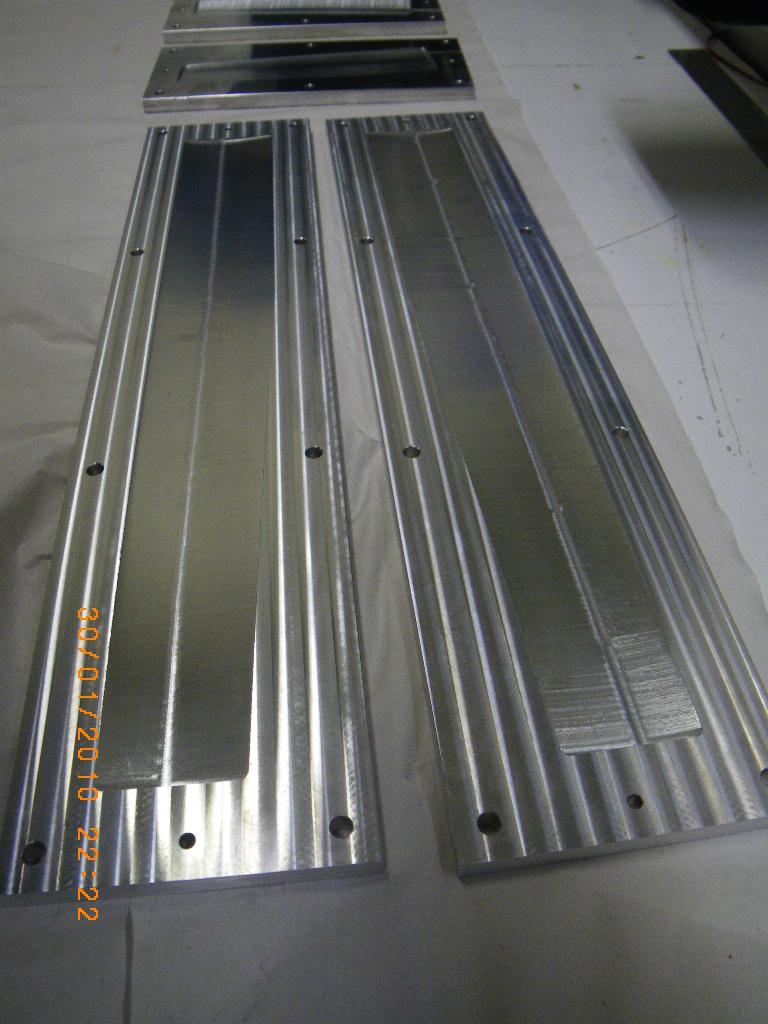
We've done the CAD design, CAM-toolpaths, and CNC-machining for a set of RG65 model yacht (looks roughly like this) fin and rudder moulds. They will be shipped to the customer on Monday.

From time to time I get enquiries about making moulds like this, for fins, rudders, bulbs, etc., from people around the world. Usually by people who've gone to a professional mould-shop or cnc-workshop with their drawings, and suffered a bit of sticker-shock when they've seen the quote. For this set of moulds we asked 500 euros, which is not a lot I claim. Production and delivery in one week or less after the final CAD-drawings were available.

If you're interested in CNC-cut moulds in aluminium or steel, please send your ideas, preferably a CAD drawing, and I'll send you a rough quote. Keep in mind that our machine has a working XY envelope of ca 500x200 mm, so no single parts can be bigger than this. There are lots of examples of what we do in this blog, you might like: bumper mould (2010 Jan), Rudder mould (2009 Dec), IOM MDF plug (2009 Feb), Microscope part (2009 Sep), IOM Fin moulds (2008 Jun), Telescope rings (2008 May).

Leo and Mars

Wide-field shot of the area around Leo. The bright dot low and right of center is Mars, and I think next to mars is the open cluster M44 (a.k.a. "the beehive cluster" or "Praesepe"). These pictures really need to be taken on nights without the moon. There's a huge gradient from dark to bright towards the direction of the moon.

I tried to add some lines and text for constellations, but it's fairly difficult because so many stars are showing in the picture:

M42 Orion Nebula

Canon 500D camera with EF-200/2.8L lens on EQ6 equatorial mount guided by a QHY5 camera and  PHDGuiding. Stacked 5 frames in Deep Sky Stacker, total exposure ca 5 minutes. Shot on Sat-Sun night 23-24 Jan 2010 in cool -18 C but calm weather. Would have wanted longer exposures and more frames, but the guiding wasn't working very well, and Orion is pretty low, hiding behind trees from my site. The dark thing on the right is a tree 🙂

Same image but cropped:

A nice improvement over my 2008 December attempt on M42.

Building Bow Bumpers

Most model-yacht classes require a soft bow-bumper to be installed on the bow of the boat, to prevent serious damage when the inevitable collisions happen.

We milled a bow-bumper mould for the PIKANTO a while back. A first test was made using the normal Frekote+wax release agent (which we use when moulding boats with epoxy+glassfiber) in this mould and a standard bathroom silicone. Not very successful. The silicone stuck to the mould, cured slowly, etc.

Googling for this a bit it seems there are separate release agents made for silicone-casting. The simplest solution I found was to use Vaseline (a.k.a. petroleum jelly). This can be diluted in some hydrocarbon solvent to make a thinner Vaseline release-agent.

We've used RTV-615, a two-component silicone, previously in the lab for various projects, so I decided to try it for bumpers also. It looks like this, and is mixed in a 10:1 (A:B) ratio.

The closest thing to Vaseline I found lying around was this High-vacuum grease, which I applied to the moulds undiluted. In the future it's probably better to dilute it a bit to get a thinner mix and a thinner coat of release-agent on the mould surface.

I mixed 22 ml of the RTV-615 (a transparent liquid), added about three tea-spoons of white microballoons to produce a thick white mix, and poured this into the mould. At room temperature the RTV-615 cures in about 6-7 days (!), which is clearly too slow for me. However, at +100 C the curing time is reduced to just one hour. After an hour in the oven the bumper felt fully cured, and released from the 2-part mould by applying light pressure. Voila!

The bumper looks good without any major air-bubbles visible, and weighs about 16 grams (never mind the decimals 🙂 ).

I would be interested in hearing about how other builders make bow bumpers. Anyone know where to order some RTV-615? Use the Add Comment link above!

Pikanto hull nr 3

Our third PIKANTO hull, a.k.a. "Yellow Submarine" was taken out of the mould today. As expected, the yellow gelcoat doesn't cover very well which gives the boat a very "prototype" and/or "artsy" look 🙂

I used a dremel with a cutting-wheel to cut off the extra glassfiber from the deck openings, and then a sharp knife and sandpaper to finish the join between the hull halves and between the deck and the hull.

For various reasons it seems hulls nr1 and nr2 will be demo-boats, and nr3 will be the first one to sail. Weight is slightly more than before, 620 g. As predicted, by hull nr 5 or so we will have mastered at least the basics of how to produce nice looking strong and light hulls from these moulds.

Winter Wonderland

I took some astro-photos on Sat-Sun night, and then these "winter wonderland" pictures on Sunday morning. -15 C is not cold or unpleasant if you dress well and keep moving and generating heat. If you stand still or the wind is blowing then anything colder than -10 C is miserable. Shot with the 17-40/4L and a circular-polarizer(*) (from Dealextreme), which produces very nice deep blue skyes, and a gradient in the wider shots from almost white to dark blue. Something to practice with more in the future.

Astrophotos will appear when I have time to process them. Also stay tuned for "yellow submarine" fresh out of the mould!

Nerdy Physics Note:
(*) There's no such thing as a "circular-polarizer", in the sense that a single optical element would only pass circularly polarized light (AFAIK), and what they sell in stores as "circular-polarizers" should of course be called a "linear polarizer followed by a quarter-wave plate", but I guess "circular-polarizer" is just shorter and easier. The quarter-wave plate is there because the autofocus system on many cameras uses polarizing beam-splitters for different paths of the beam, so a simple linear polarizer would sometimes cause the autofocus to fail.