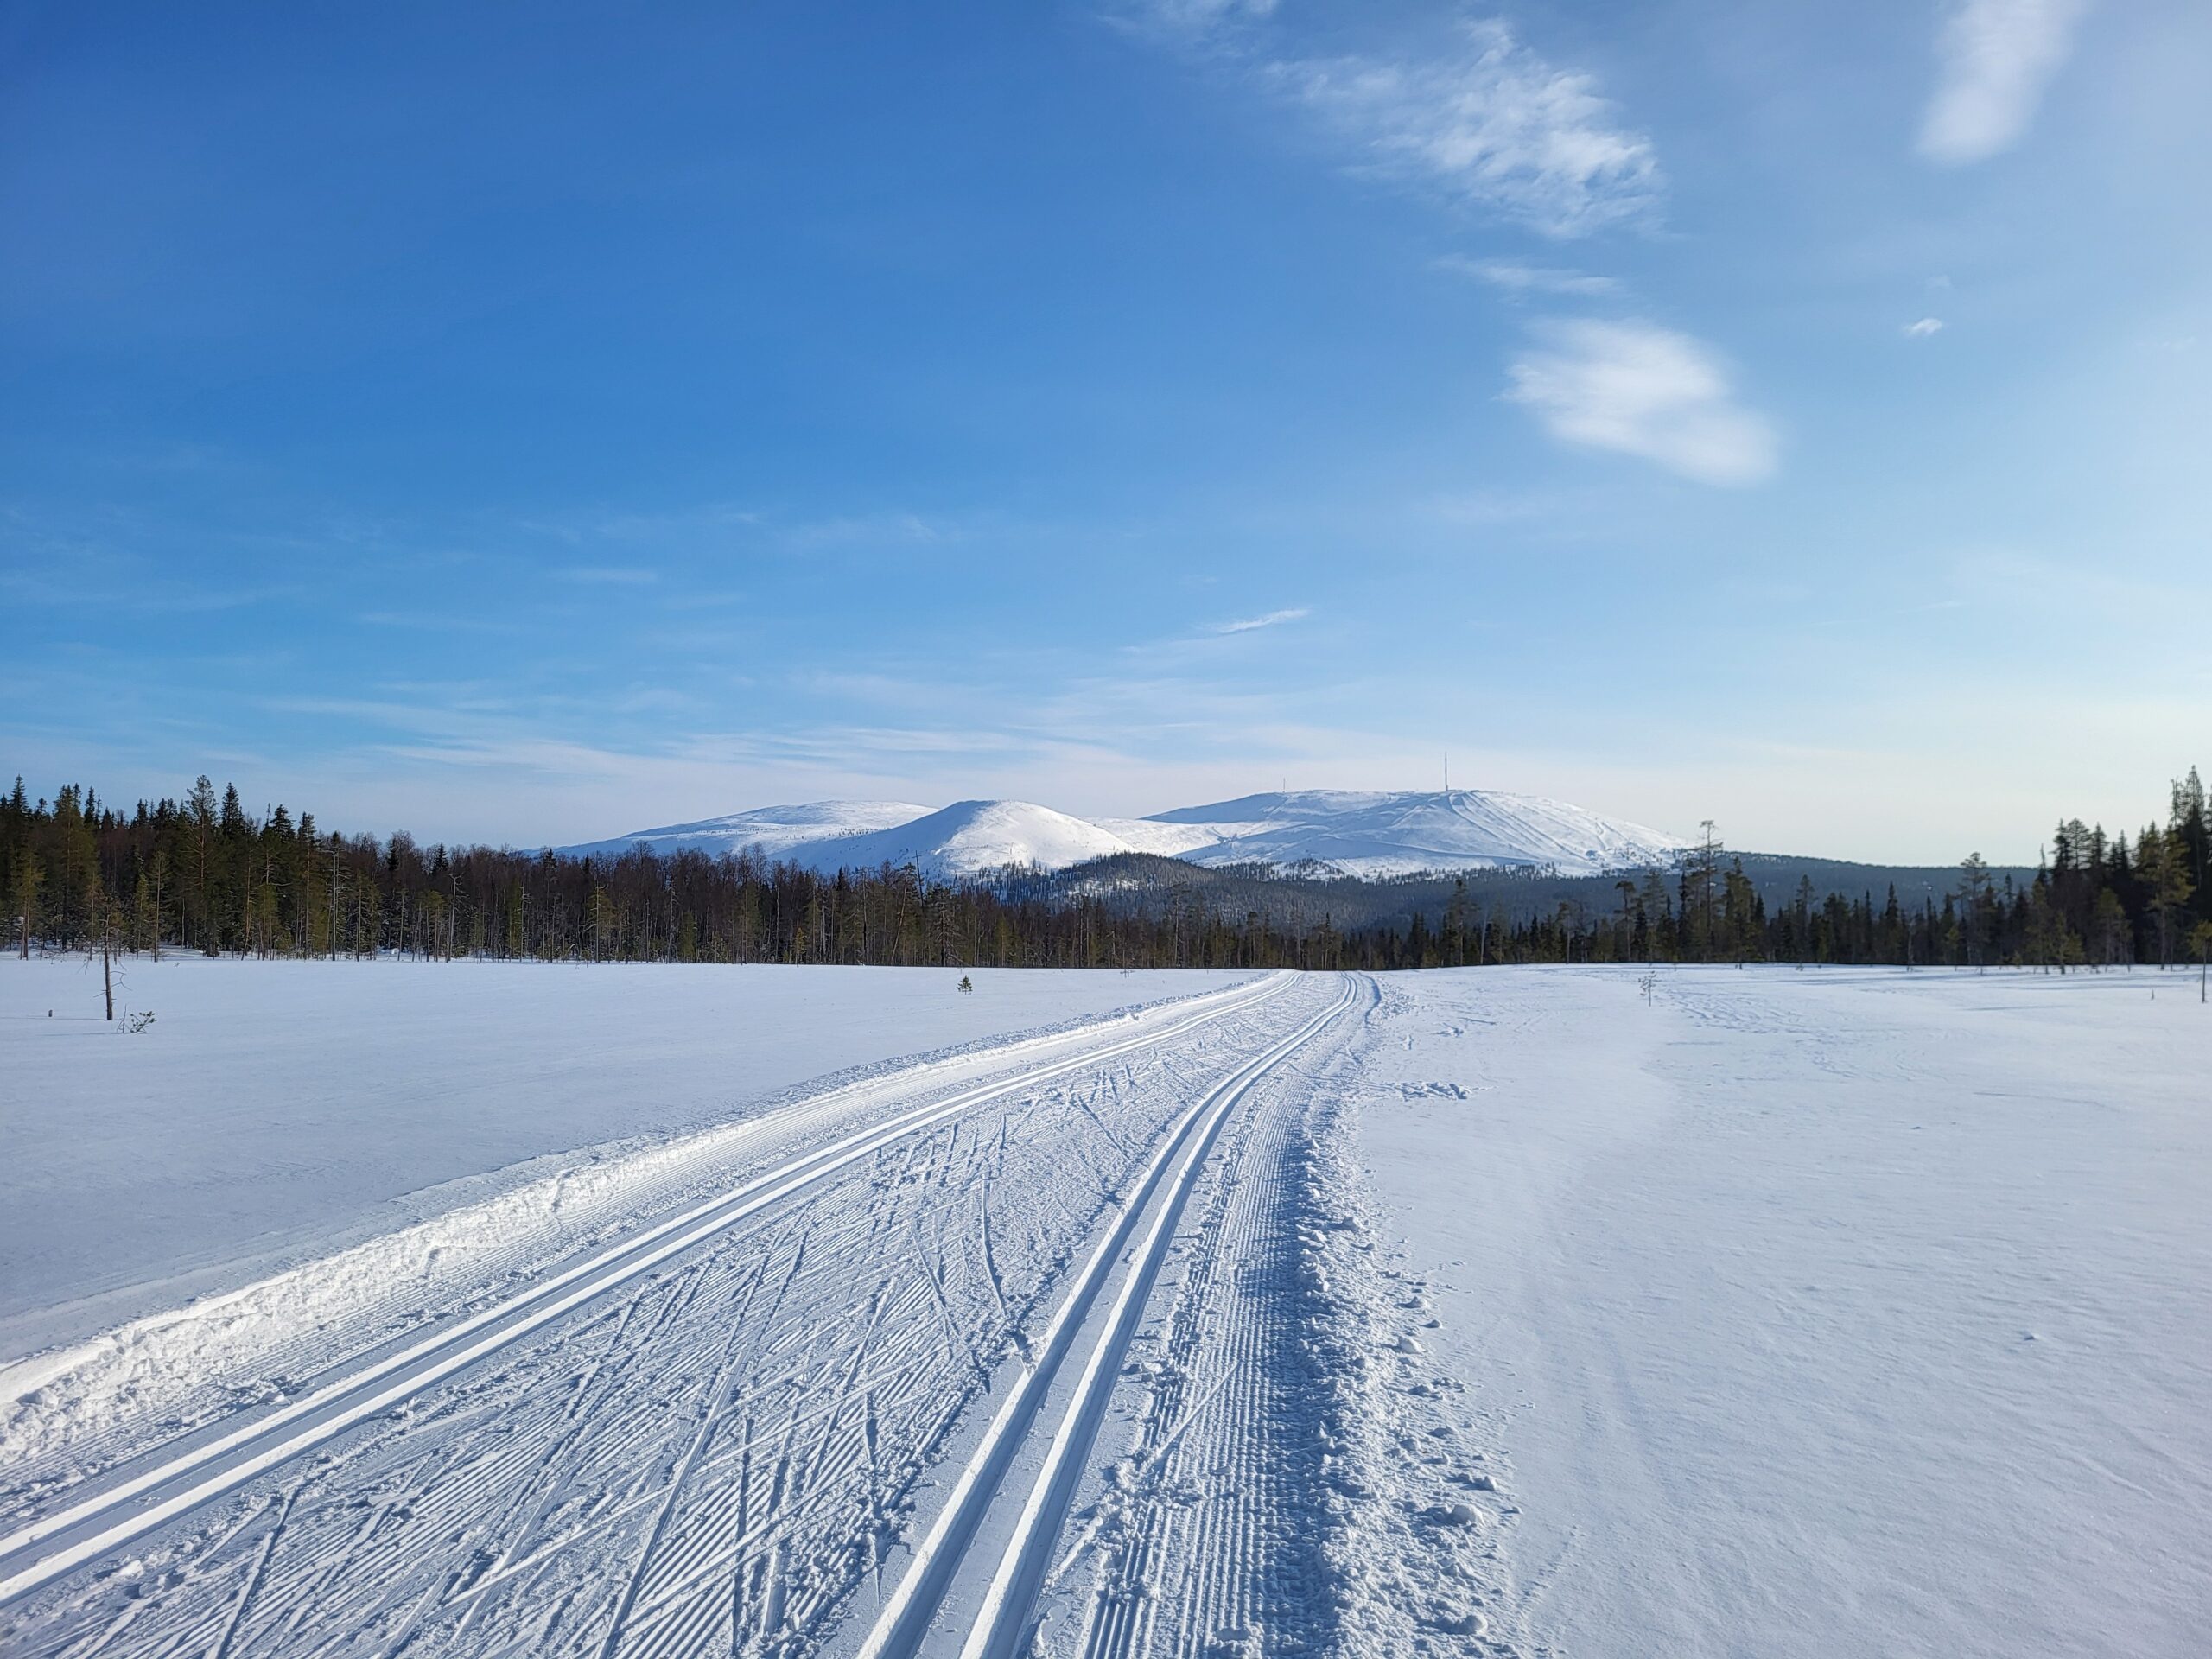
Long time no blog..
Five days of skiing in Äksälomopolo, punctuated by two days of Norovirus 🙁
Great winter weather, possibly because of the early dates for Easter this year.
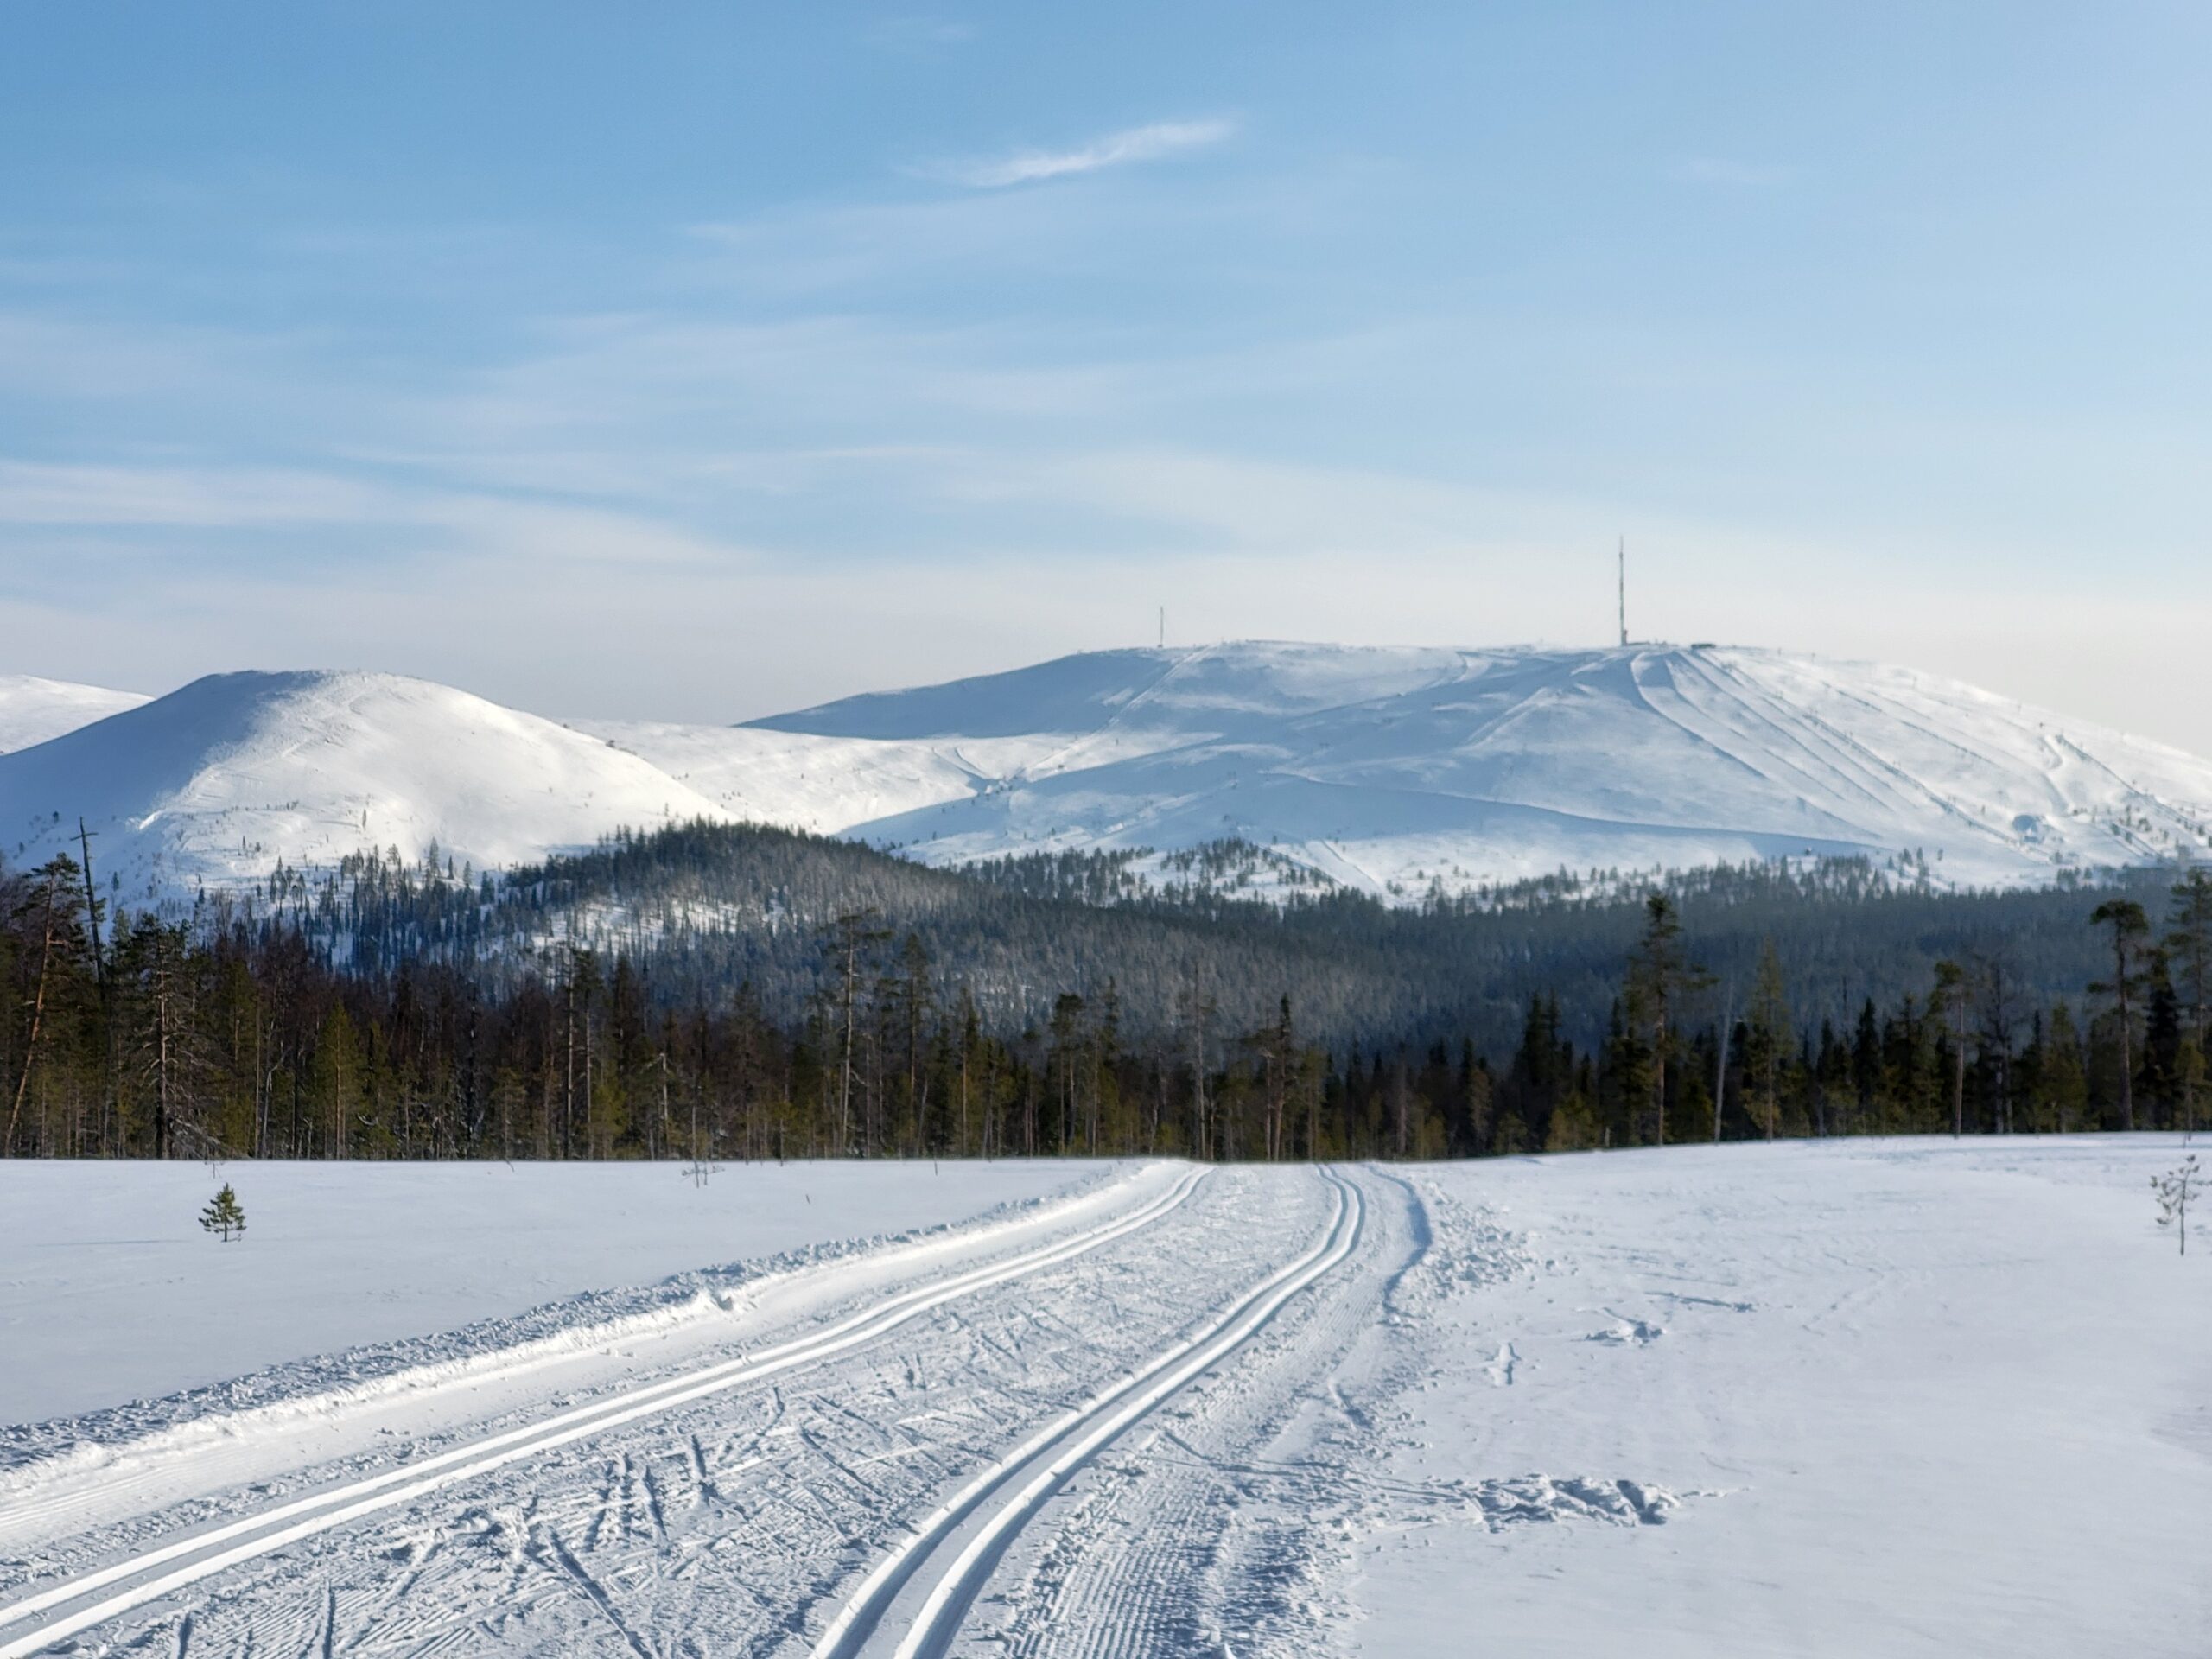


Long time no blog..
Five days of skiing in Äksälomopolo, punctuated by two days of Norovirus 🙁
Great winter weather, possibly because of the early dates for Easter this year.
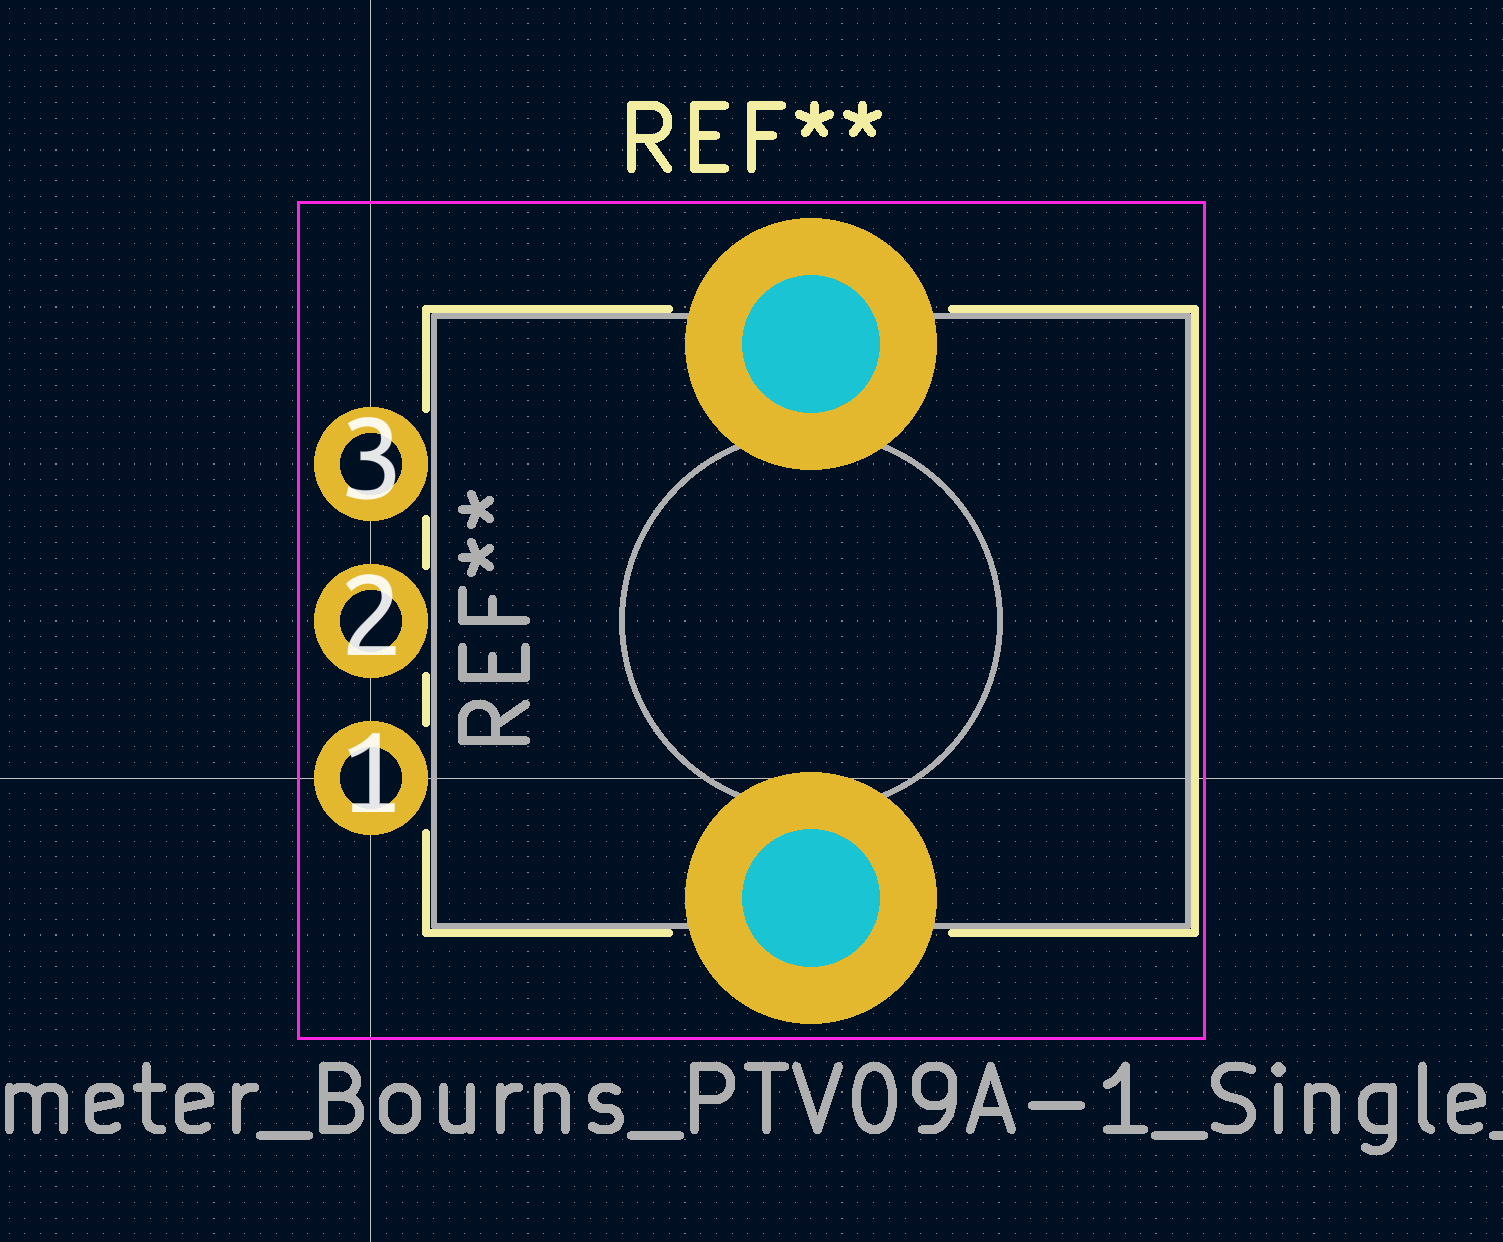
This footprint had too small mounting holes, and the potentiometer-shaft in the wrong place. https://gitlab.com/kicad/libraries/kicad-footprints/-/merge_requests/2991
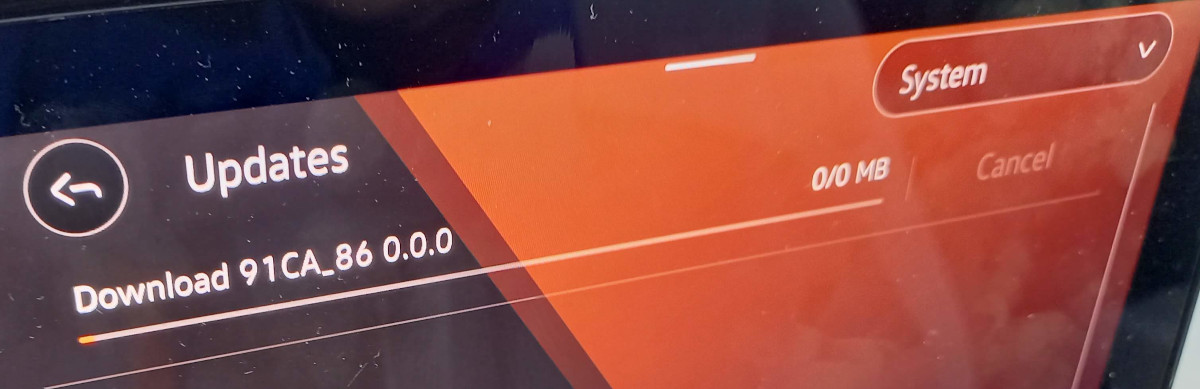
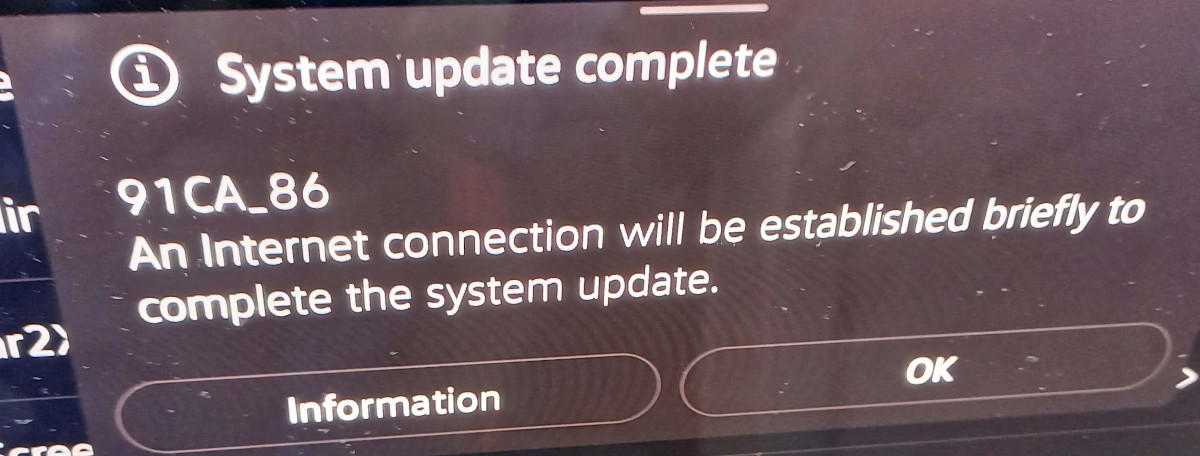
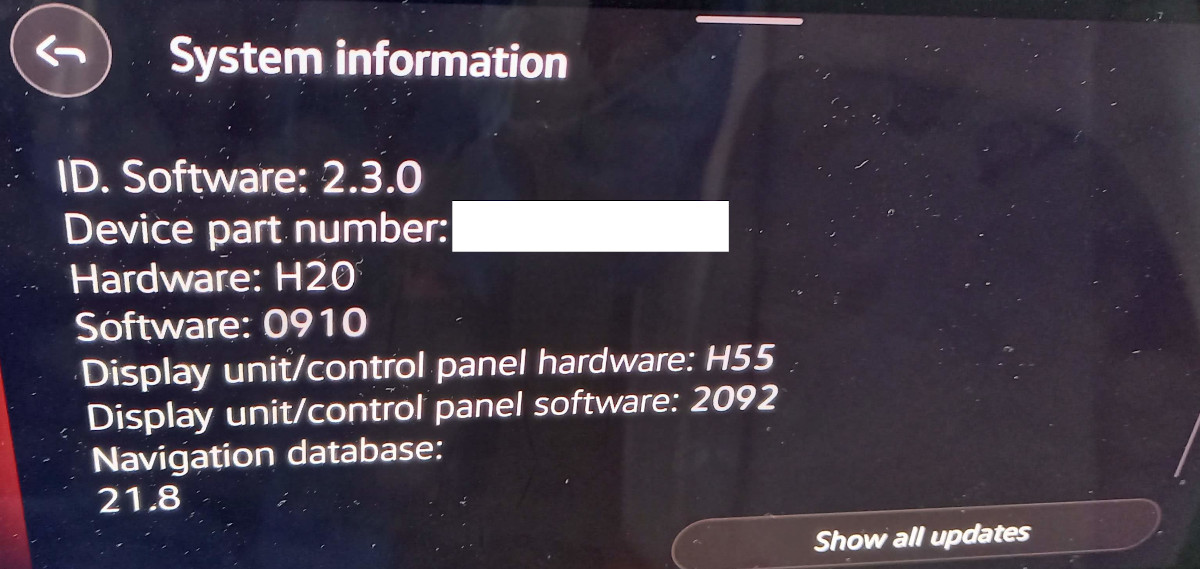
First larger firmware update for the Voltswagen. For details see Battery Life or ID.Furkan or Schräg.


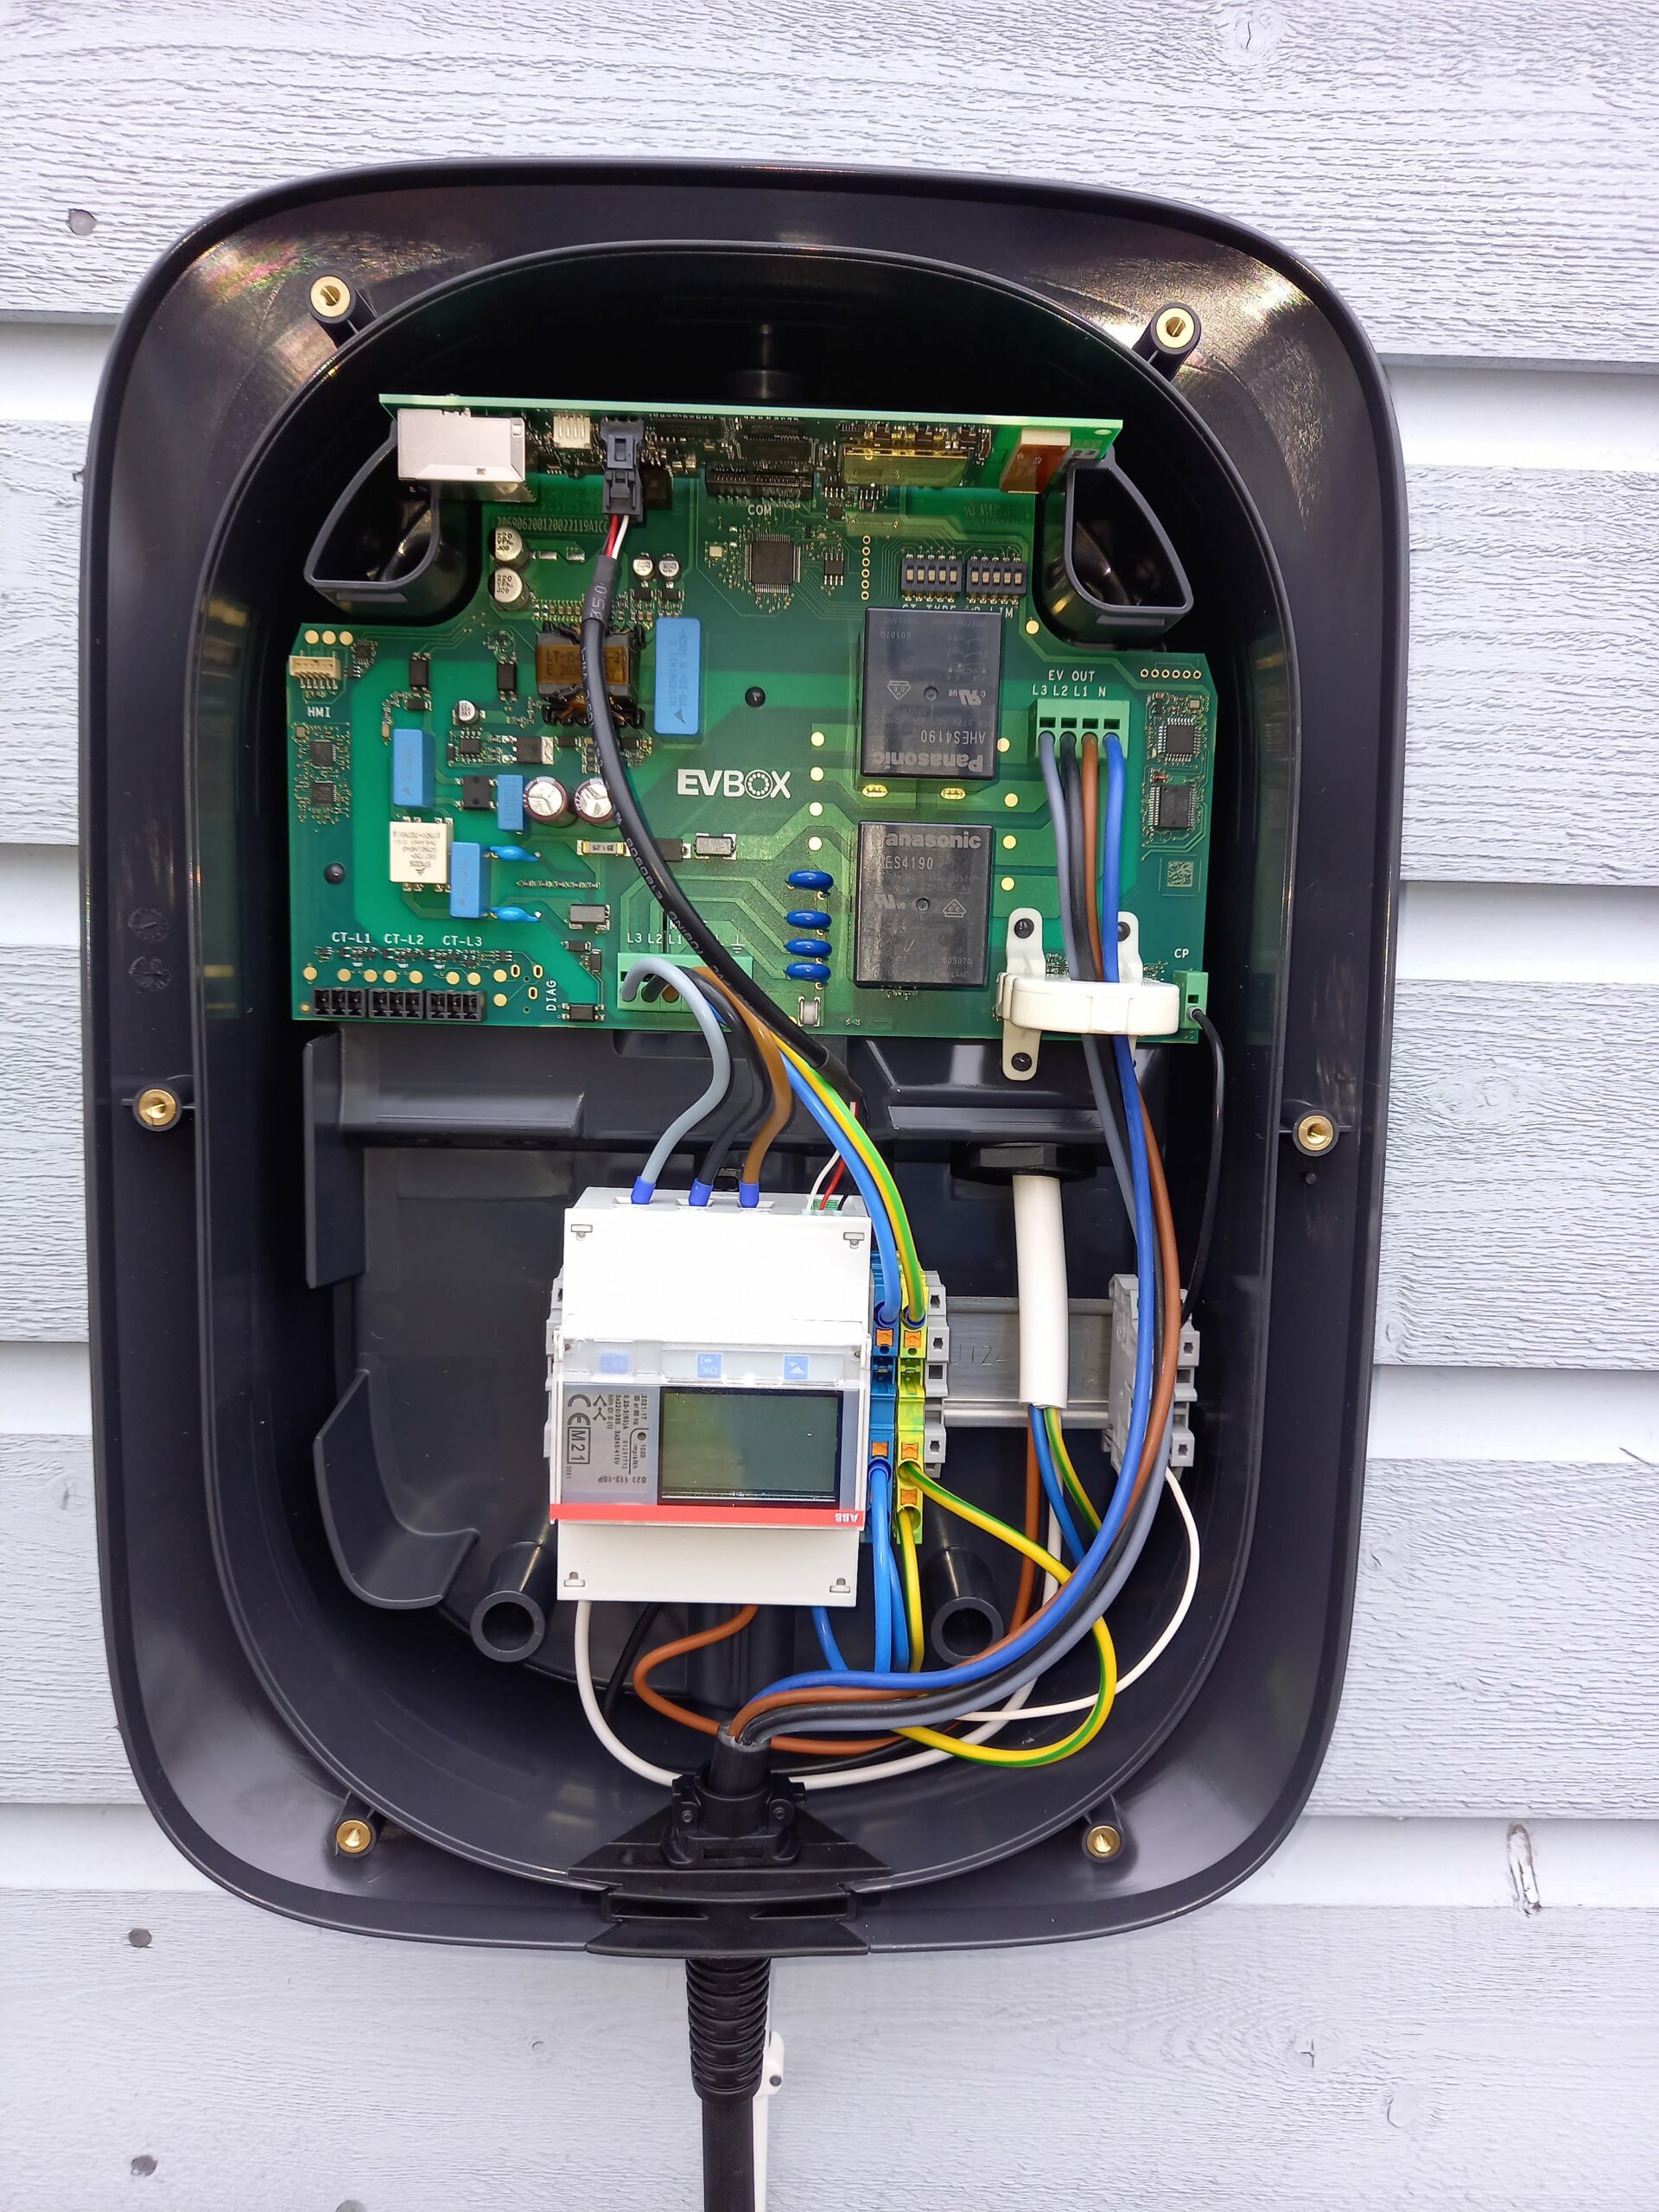
ID Charger pro EVSE for the new Voltswagen.
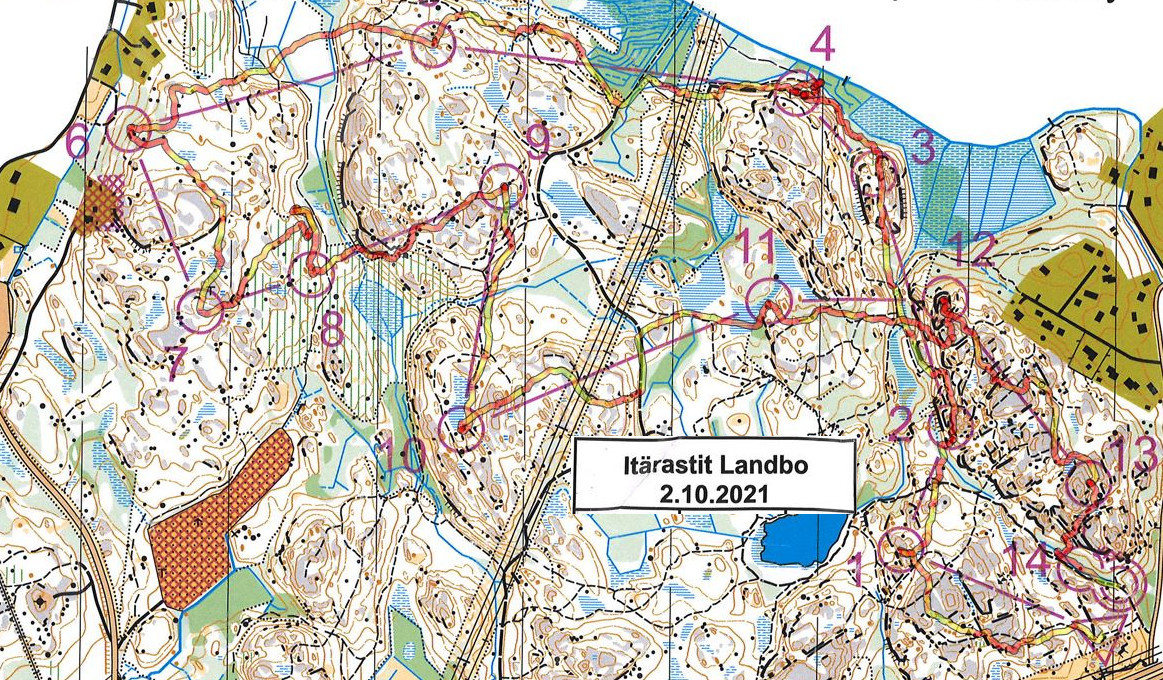
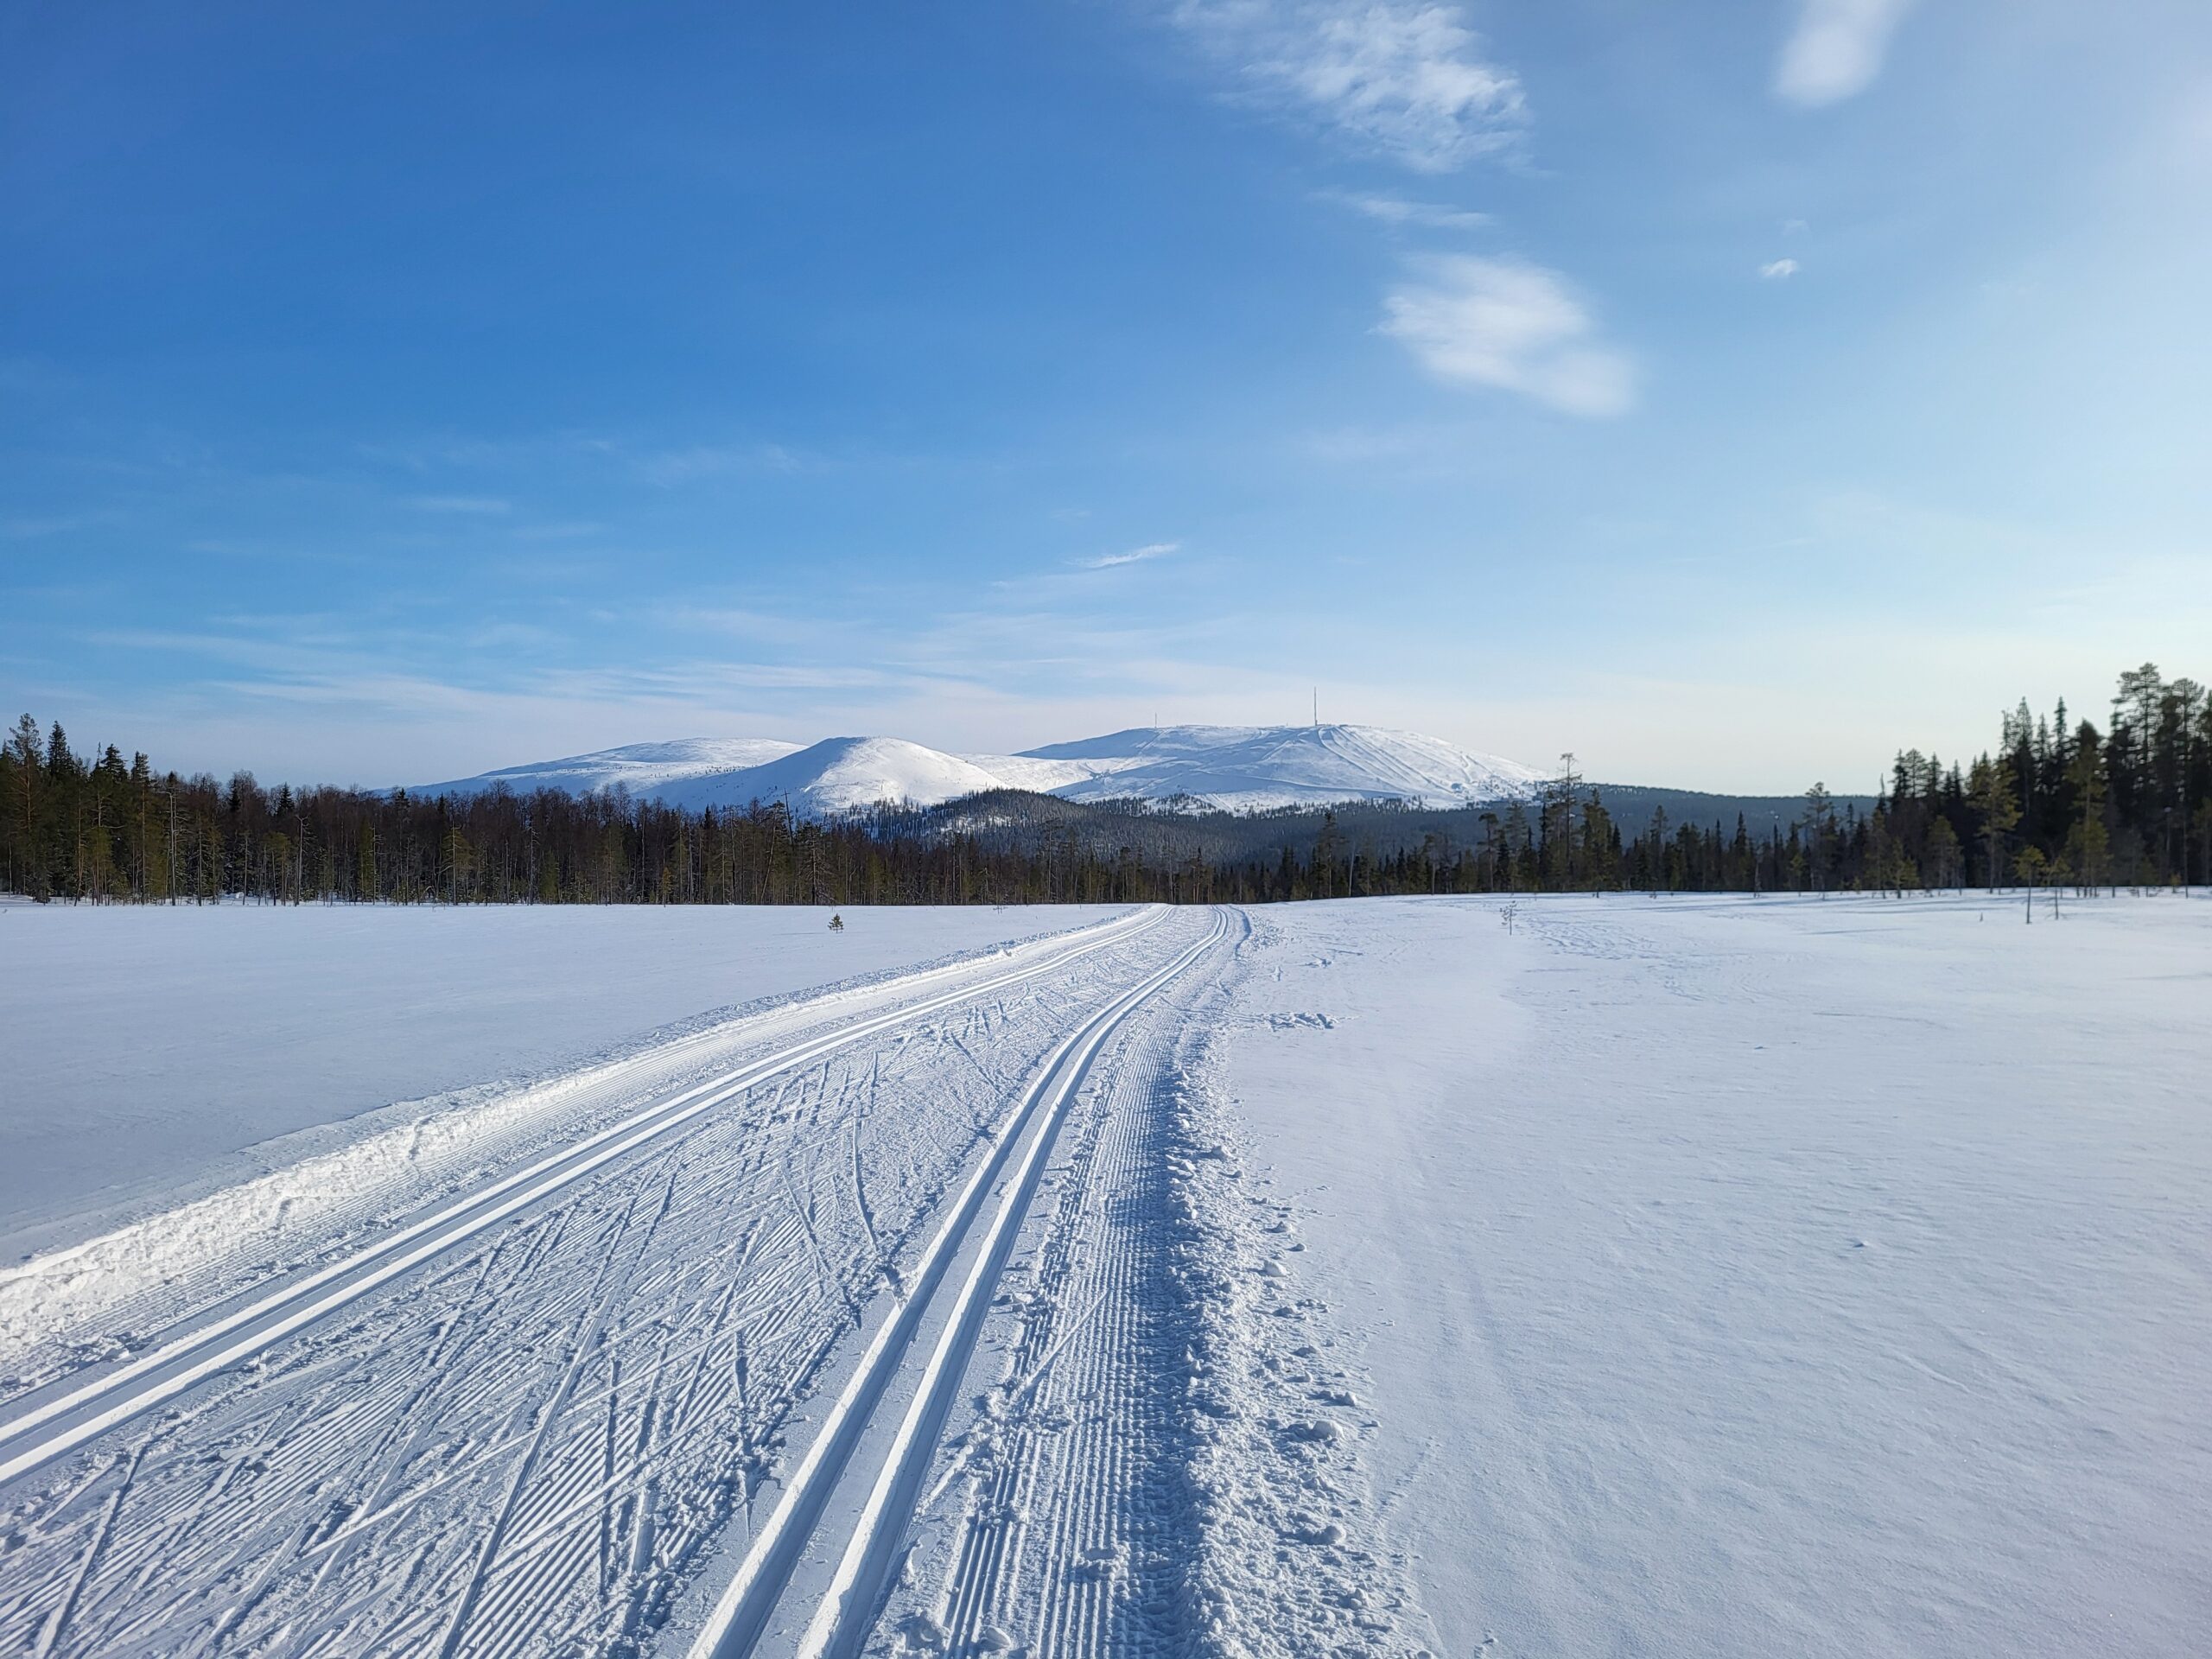
Mistakes on #4 and #8 - slow terrain.
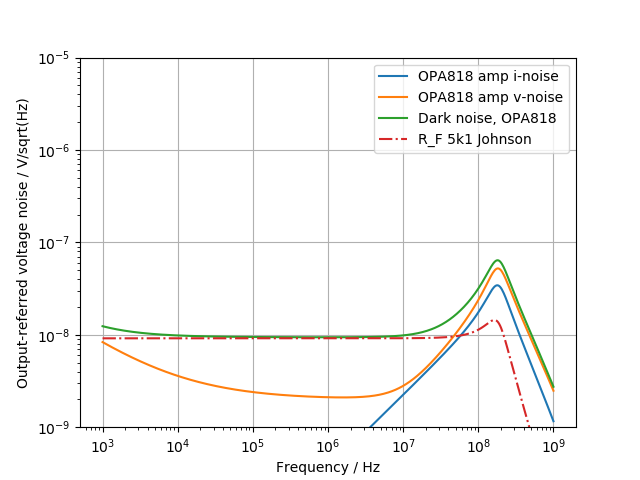
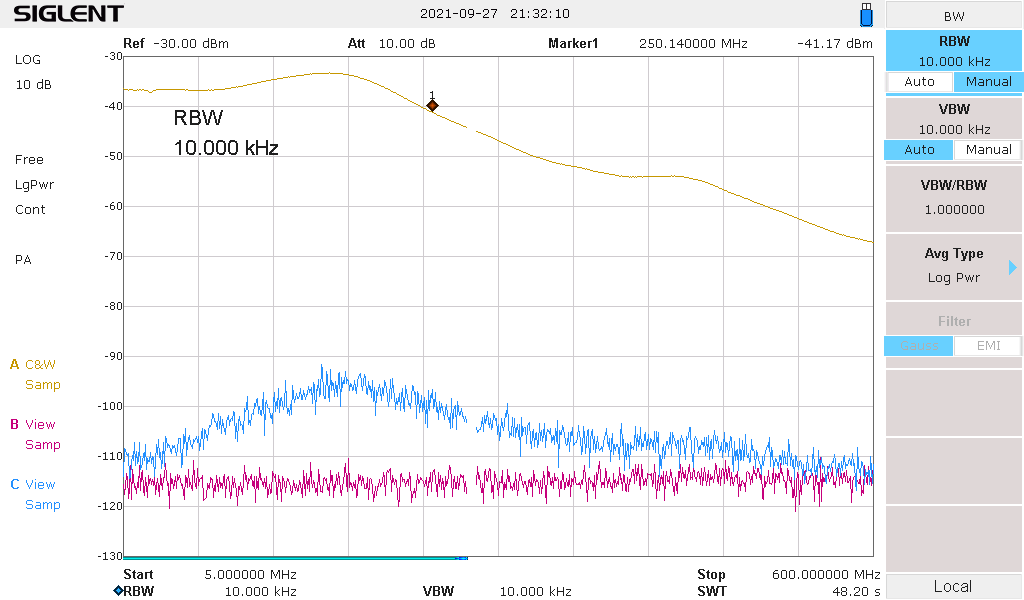
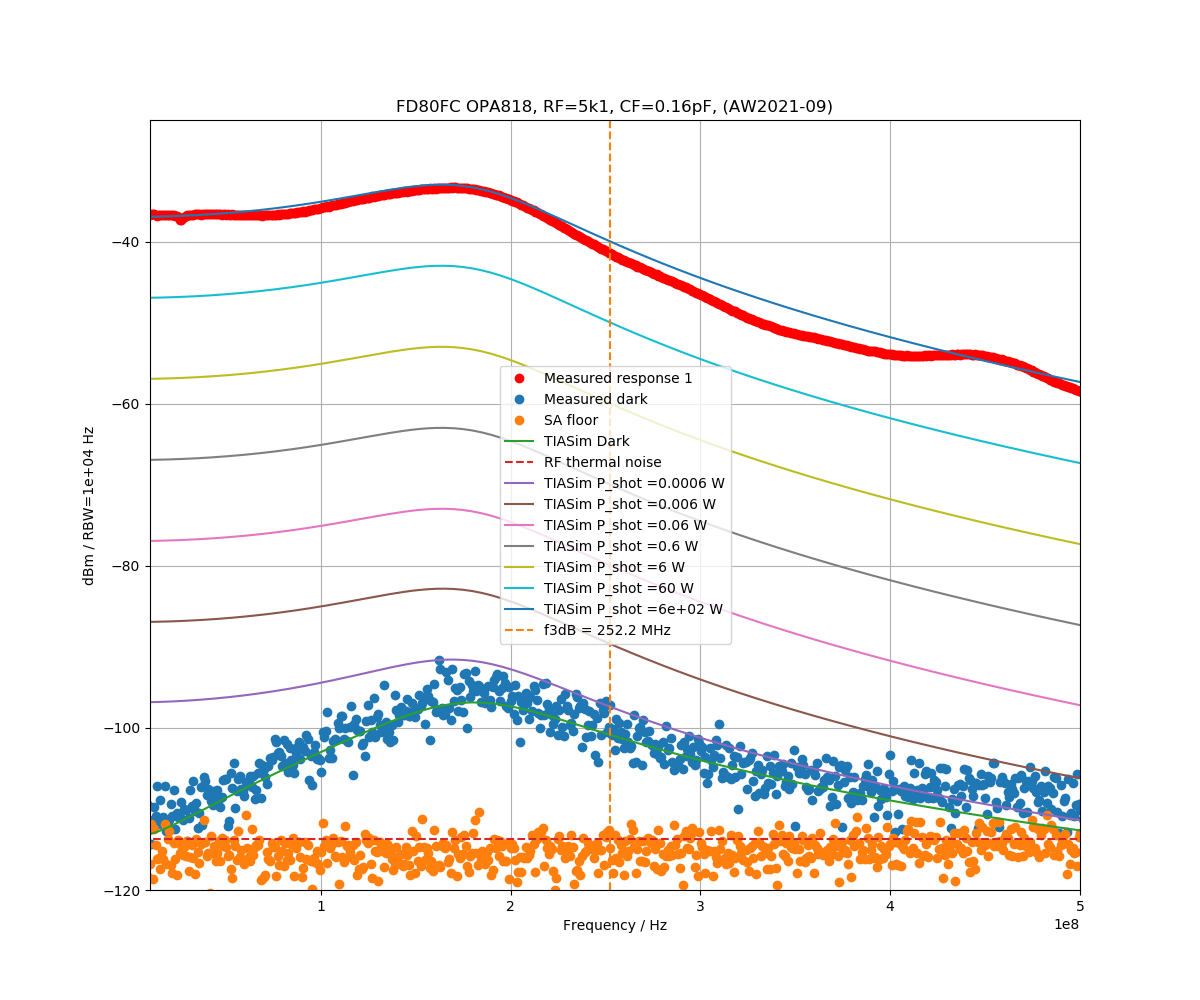
Here's anoter one-inch-photodetector with a Fermionics FD80FC photodiode and 5k1 transimpedance. Bandwidth around 250 MHz. Predicted dark noise and frequency response with TIASim. The Fermionics diode has a capacitance of only 0.4 pF (80 um diameter active area), giving slightly better bandwidth than a Thorlabs FGA01FC (2 pF capacitance, 120 um diameter active area).
Sunshine and maybe +11..13C.