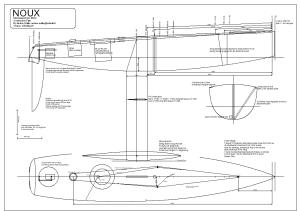
IOM Bulb Mould plans

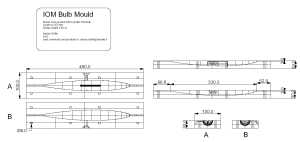
Update 2015-03-01: by popular demand, IGES files for the top and bottom bulb mould. Use at your own risk.

  • bulb Dated 2003-05-01. If you don't have a CAD program that opens these, you can use an online IGES viewer to view the files.

Our bulb moulds are CNC milled from aluminium and more than 15 bulbs have been made successfully from them.

Note that it could be useful to make the hole through which lead is poured in a little larger than shown on the plan.
Continue reading IOM Bulb Mould plans

2003 IOM Worlds Pictures (Vancouver, Canada)

Click images for high-resolution jpegs.


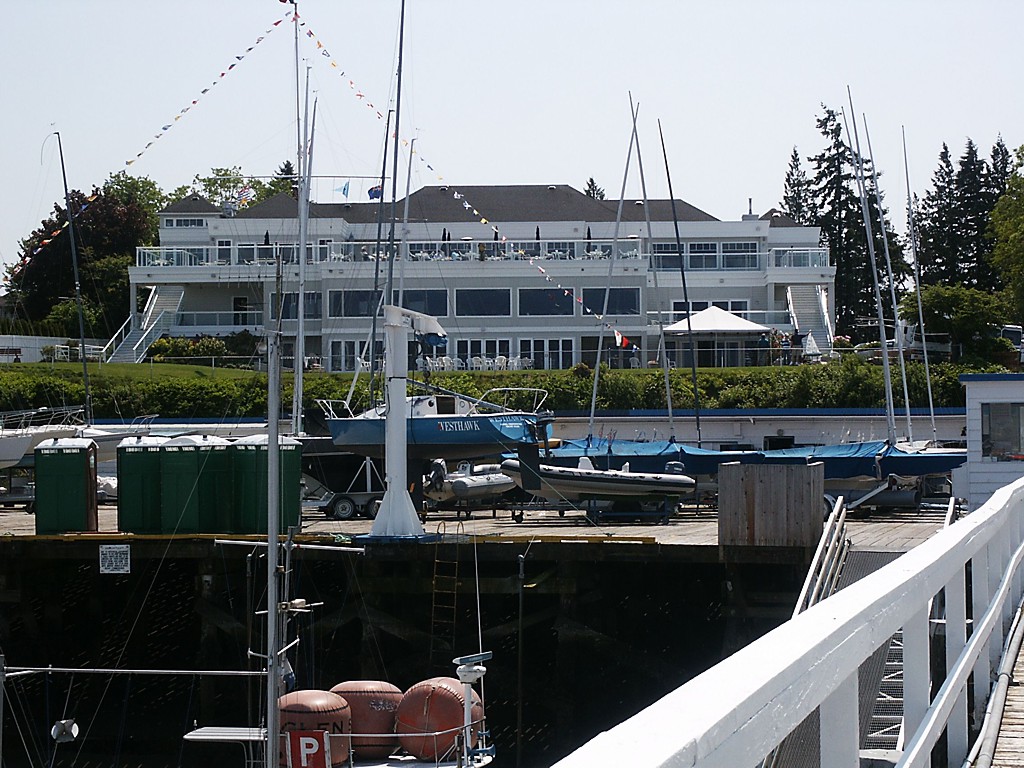
Royal Vancouver Yacht Club hosted the 2003 IOM World Championships.


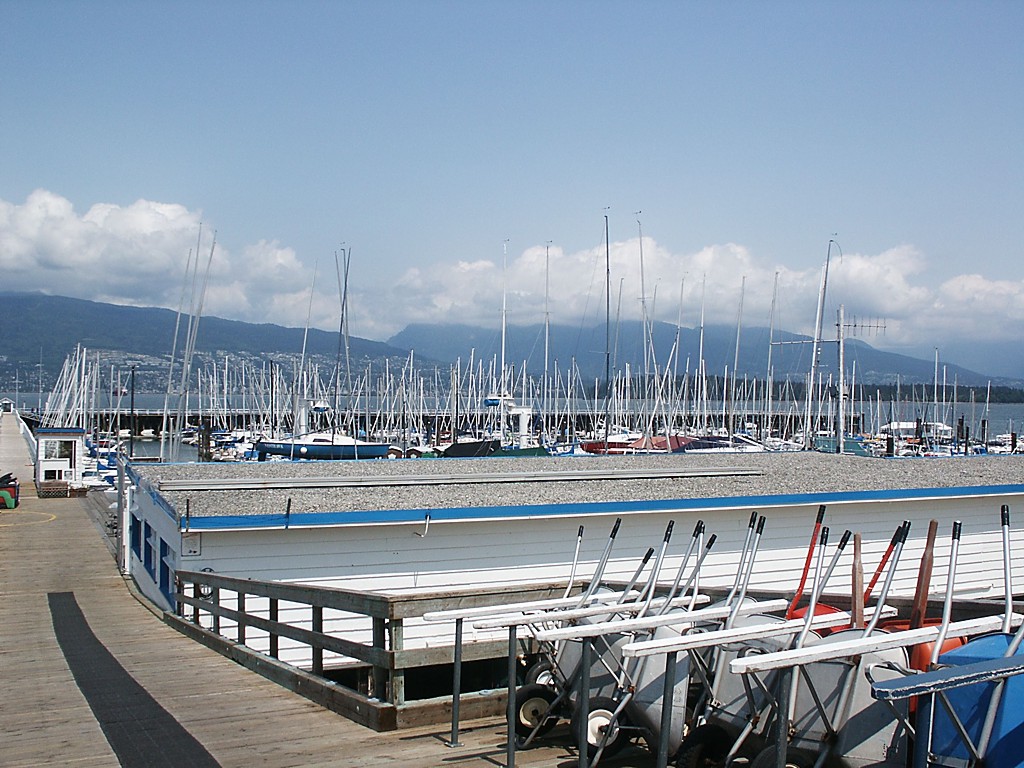
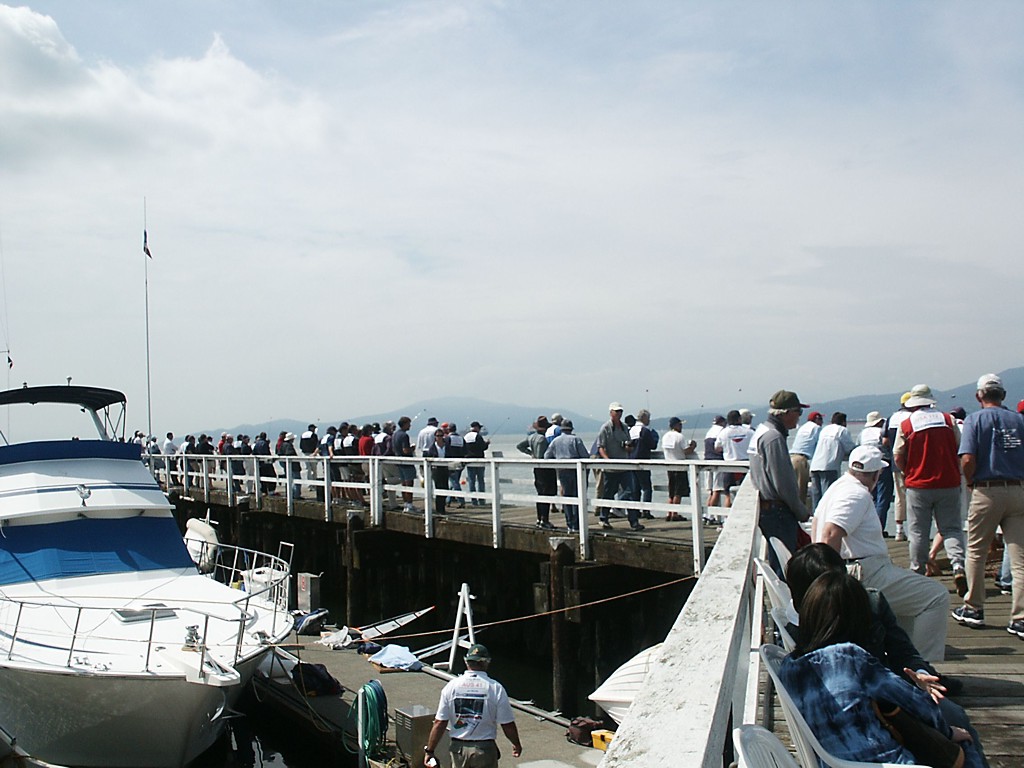
A view of the marina. We sailed outside the high breakwater in the background.


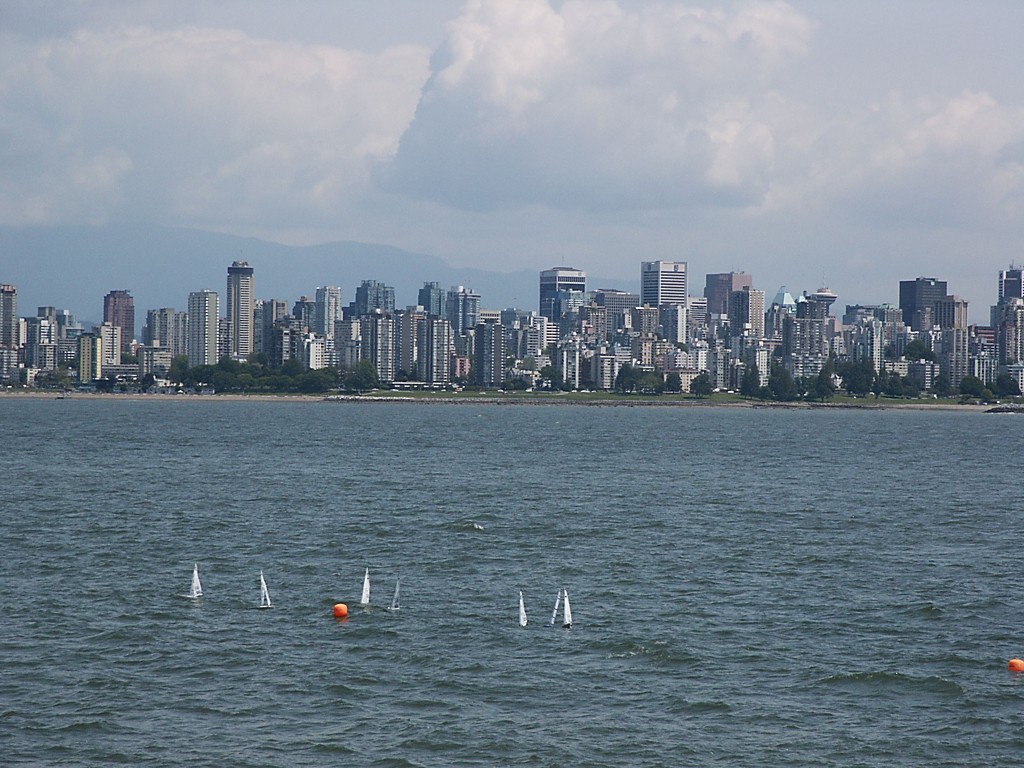
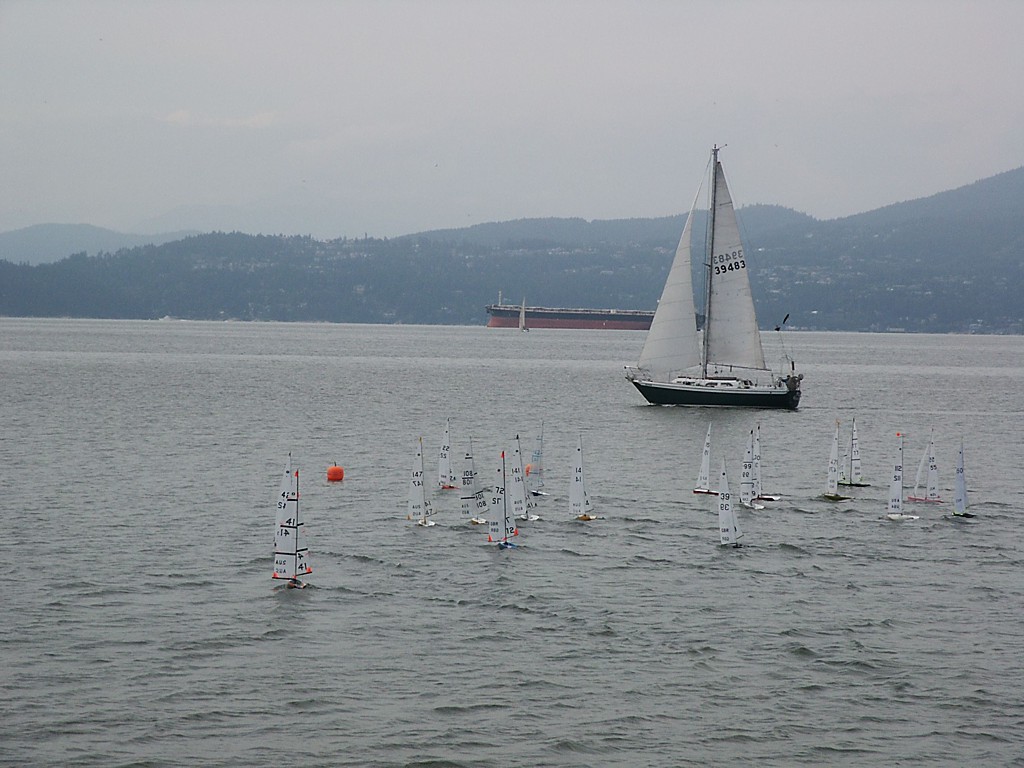
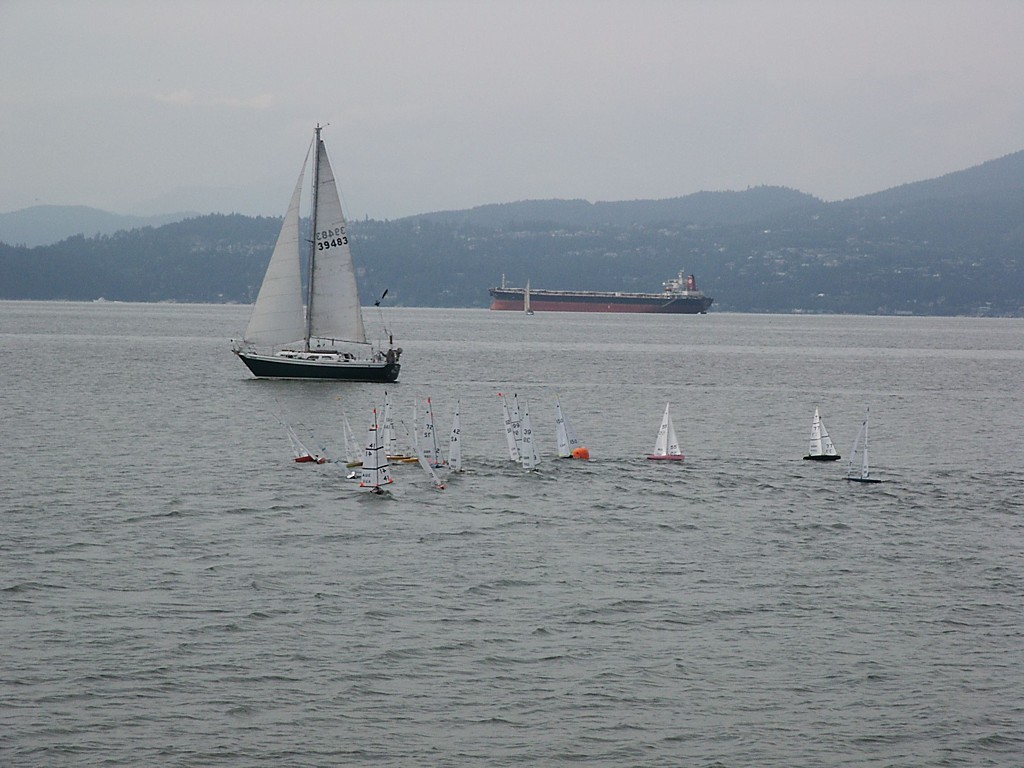
Practice sailing on day 1 with downtown Vancouver in the background. Notice how tiny the IOMs look with a small ring when viewed from the breakwater!


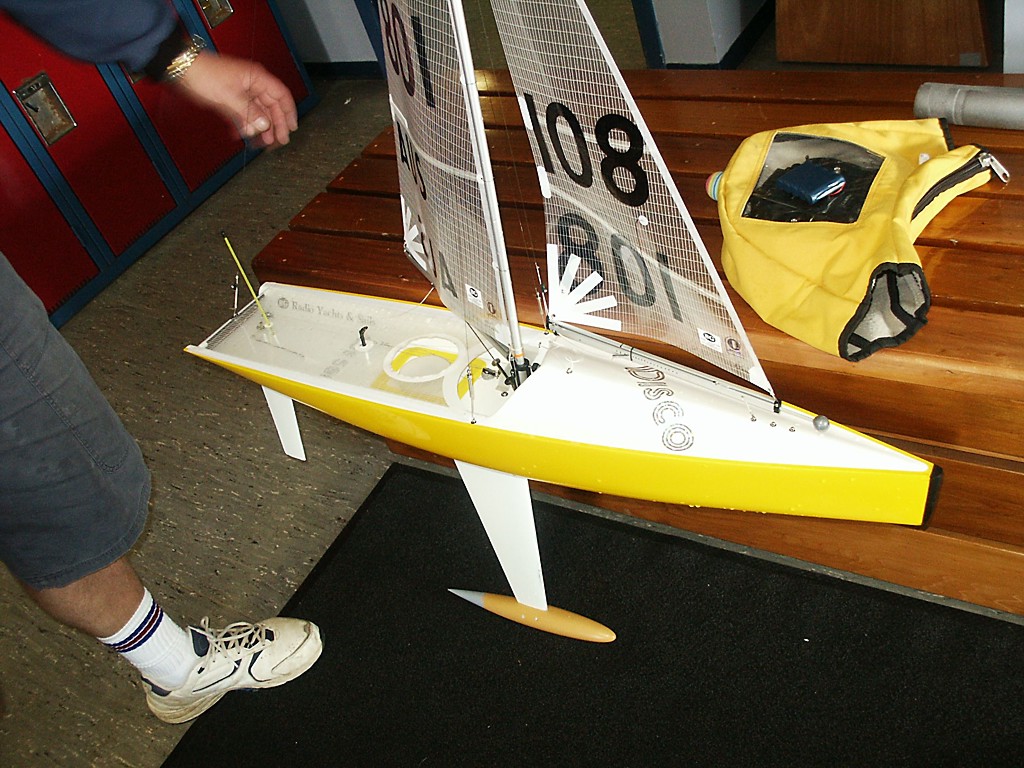
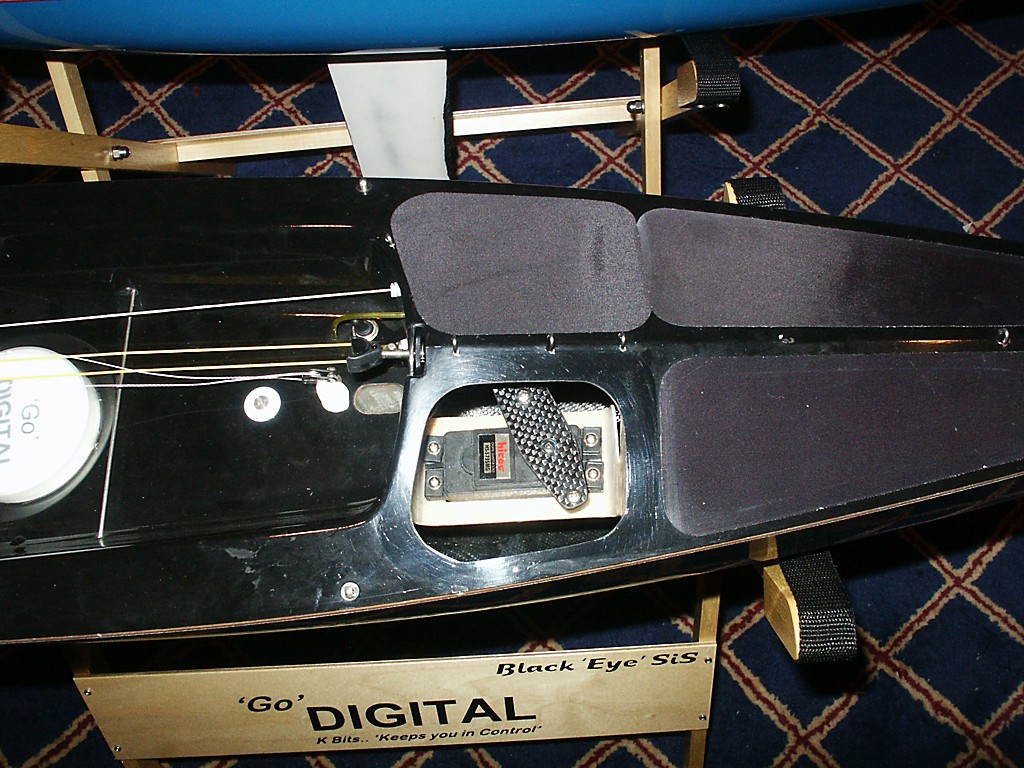
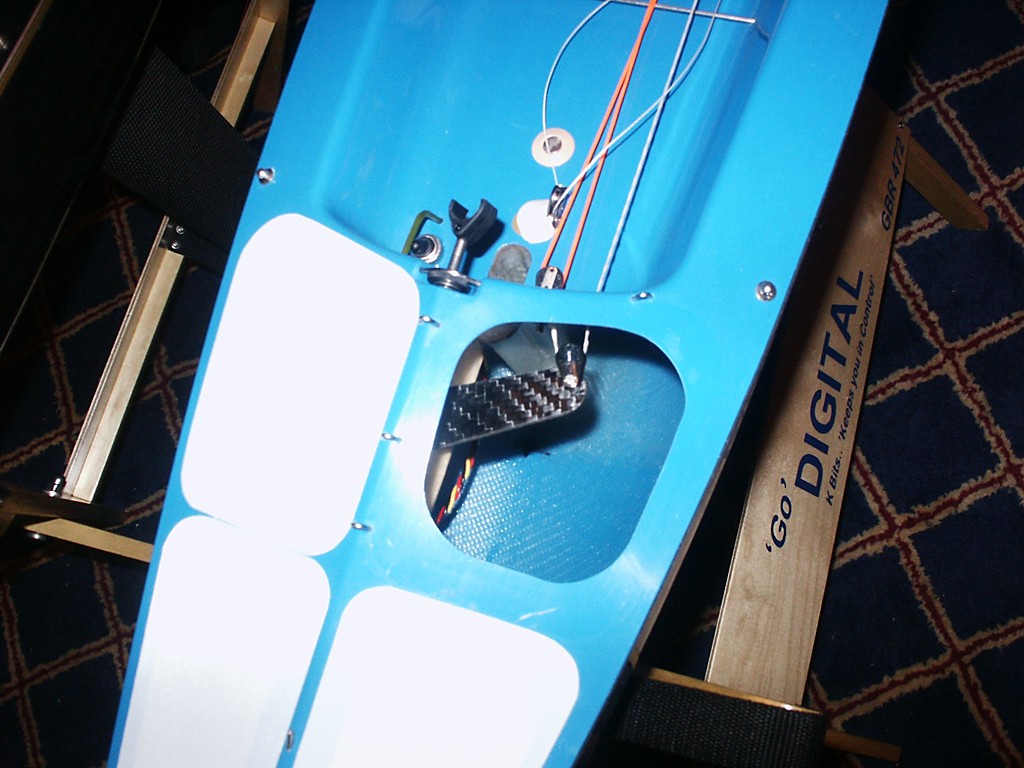
The Discos sported an aft deck patch to prevent the 'NZL-effect'


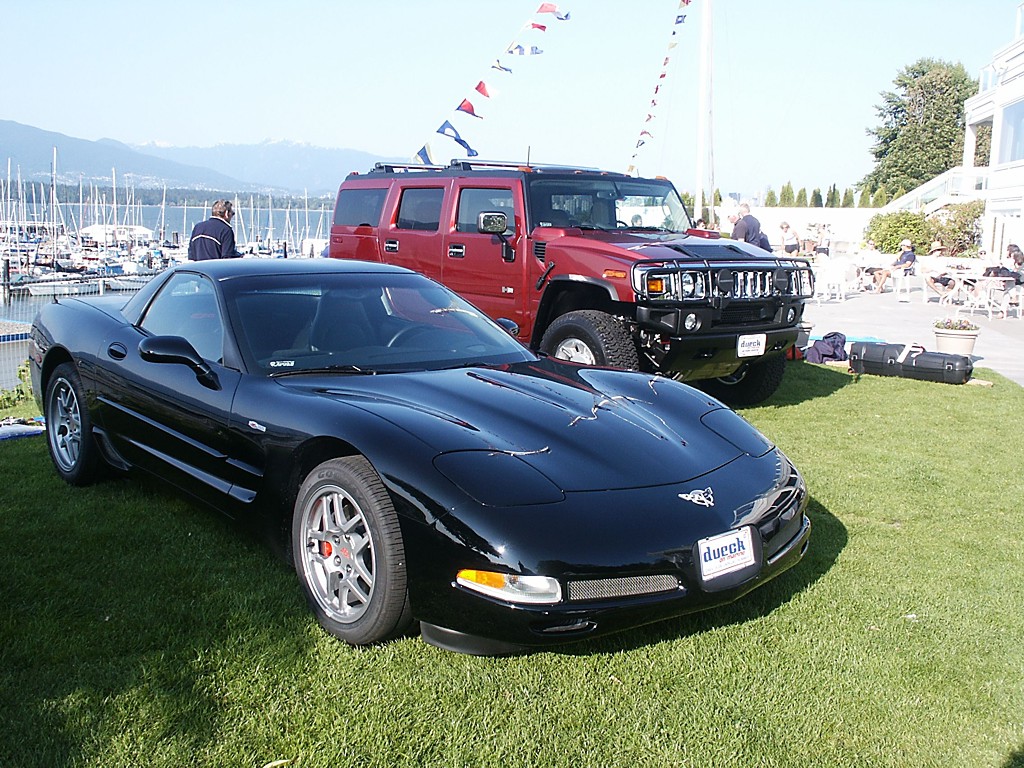
The event sponsor had some nice cars on display parked just outside the yacht club!


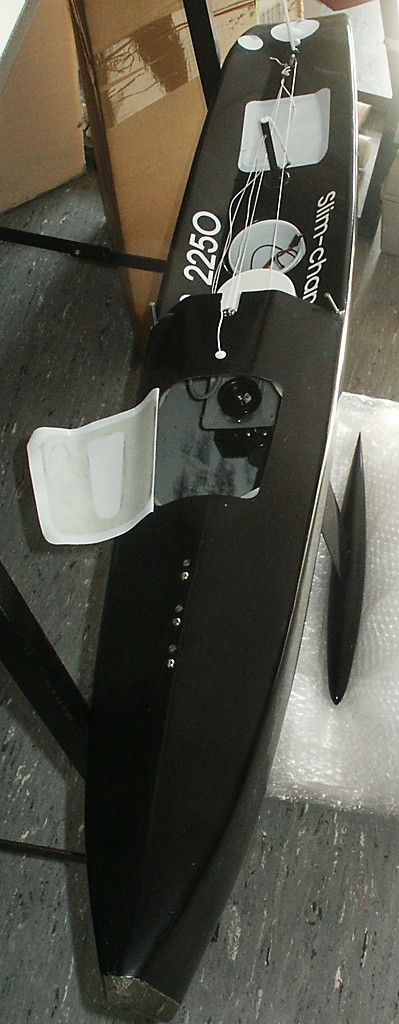
Slim-chance, a UK design I had not seen before.


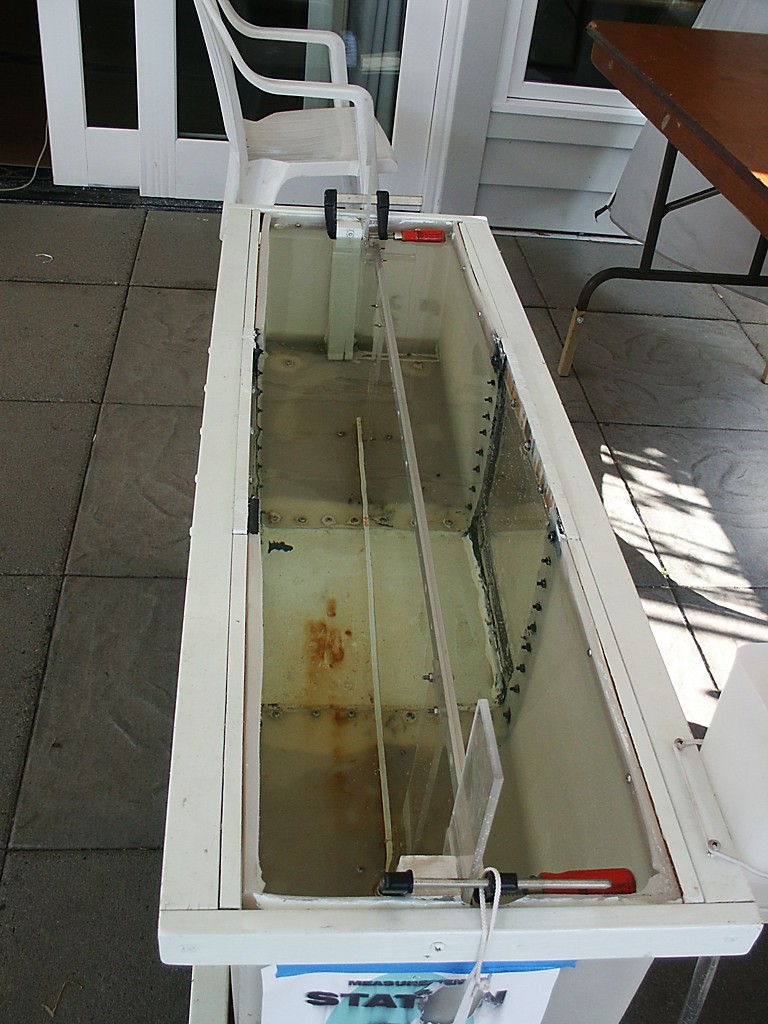
The measurement tank, with vertical bars for checking LOA, and horizontal bars for checking overall depth and hull depth.


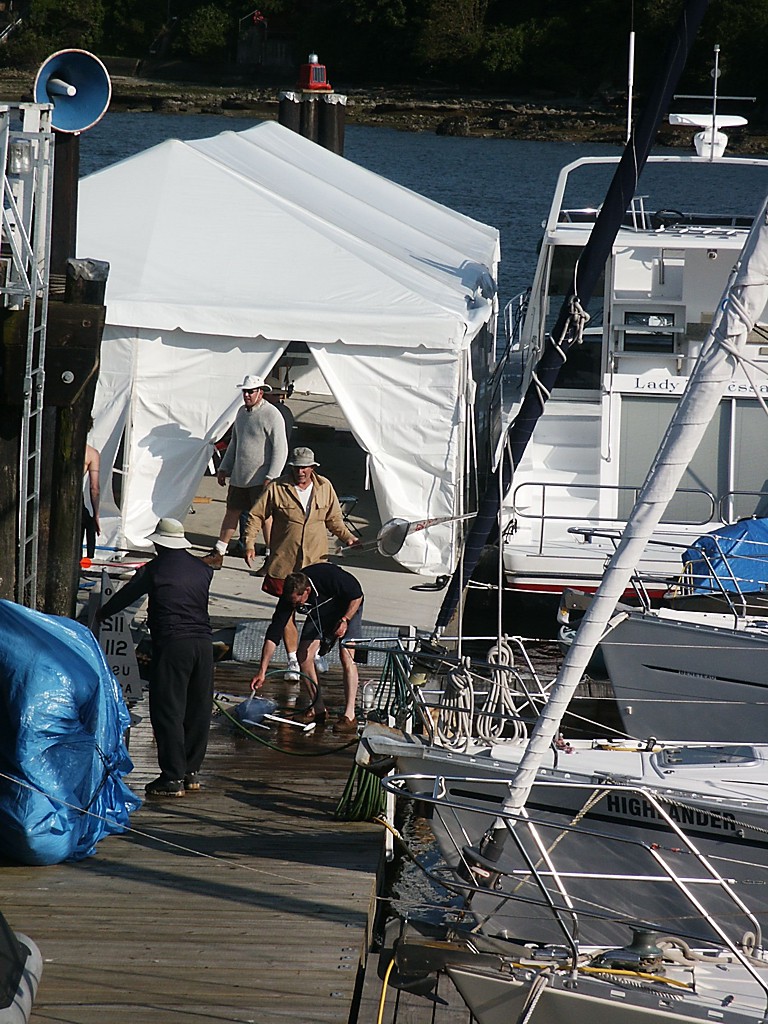
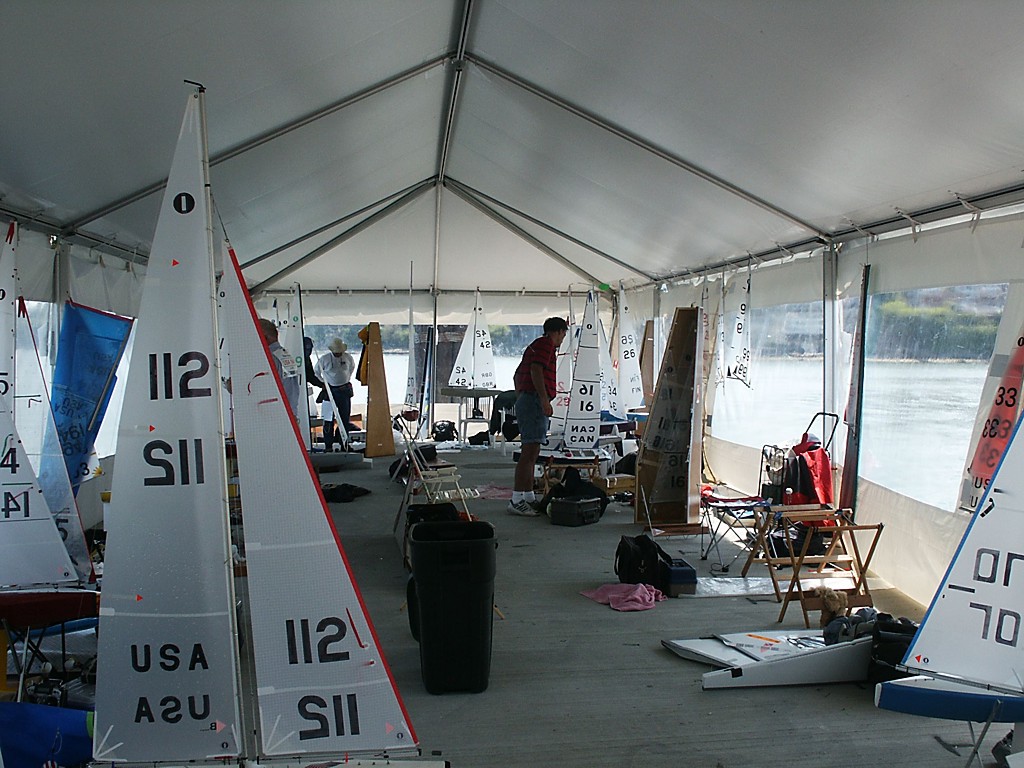
During sailing we could store our boats in a tent on a pontoon at the end of the breakwater.


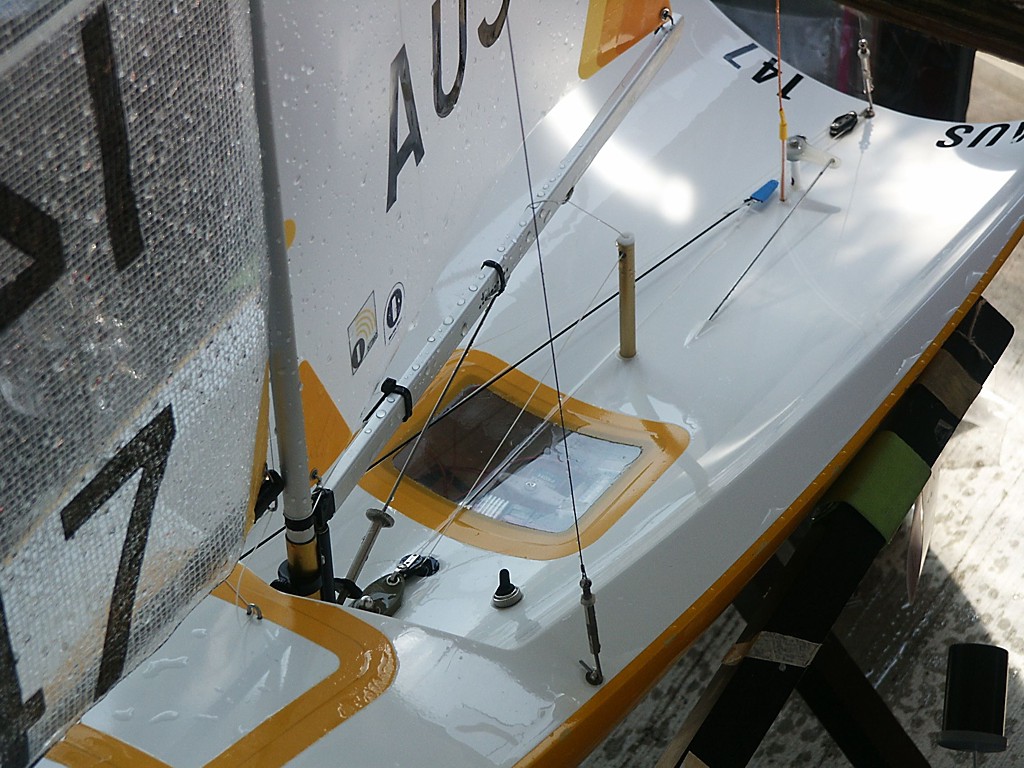
Craig Smith's TS-2.


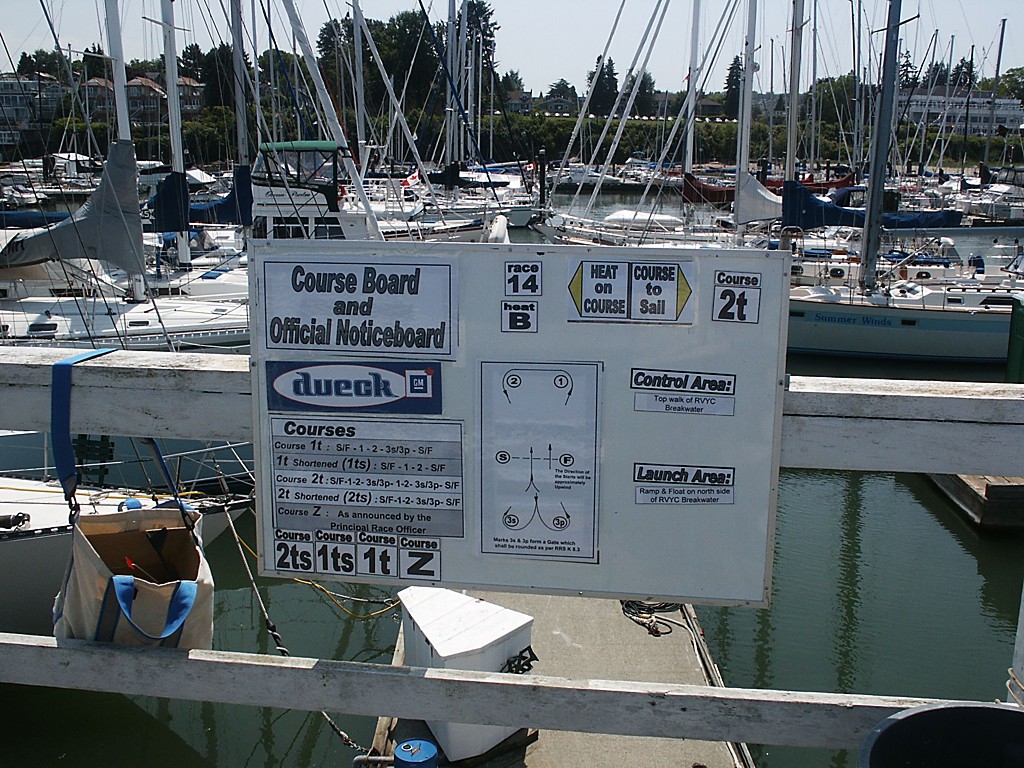
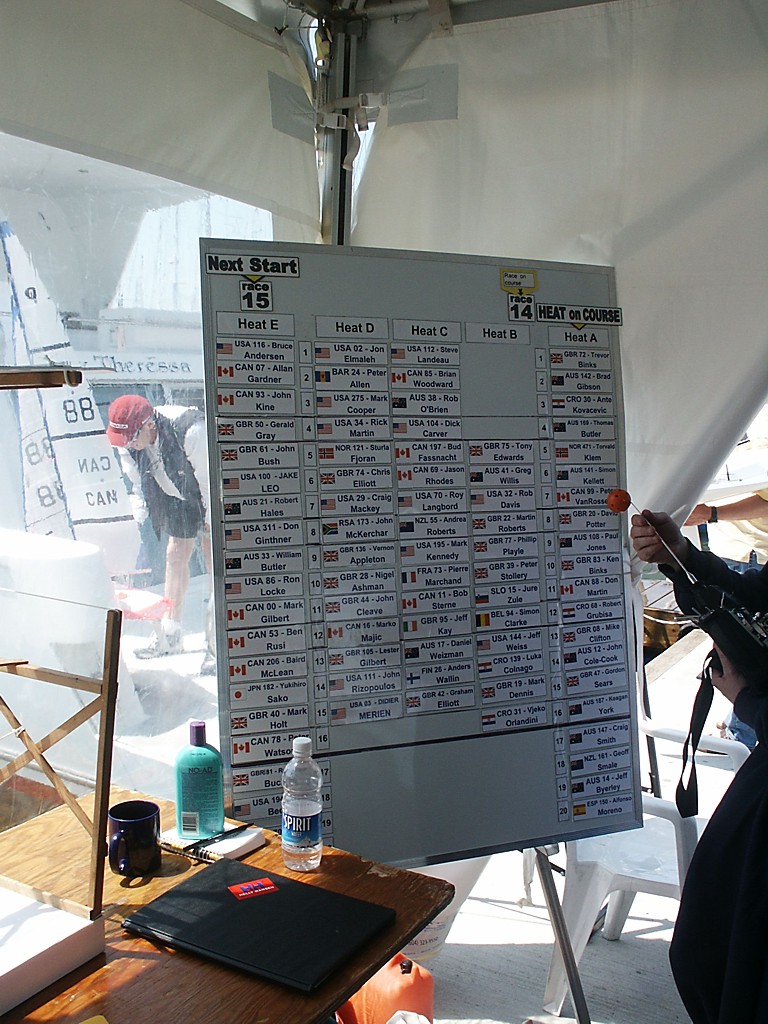
The courseboard described the course and what heat was currently sailing.


At big events a heat-board like this is mandatory - it allows competitors and organizers to check in which heat a skipper is sailing.


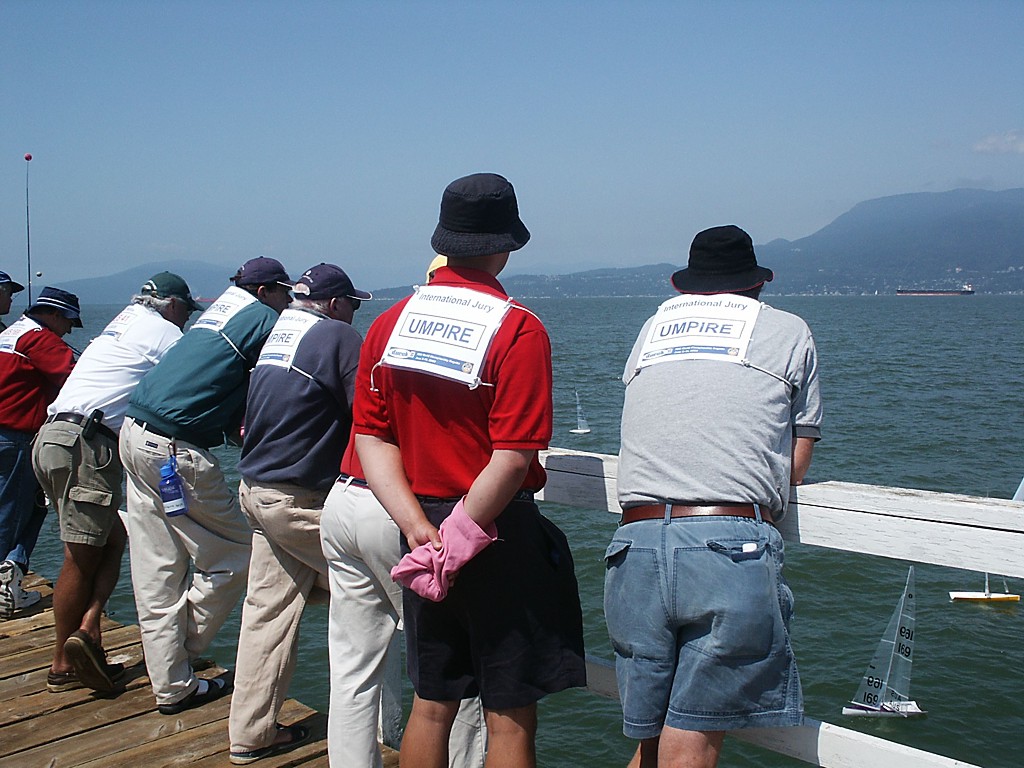
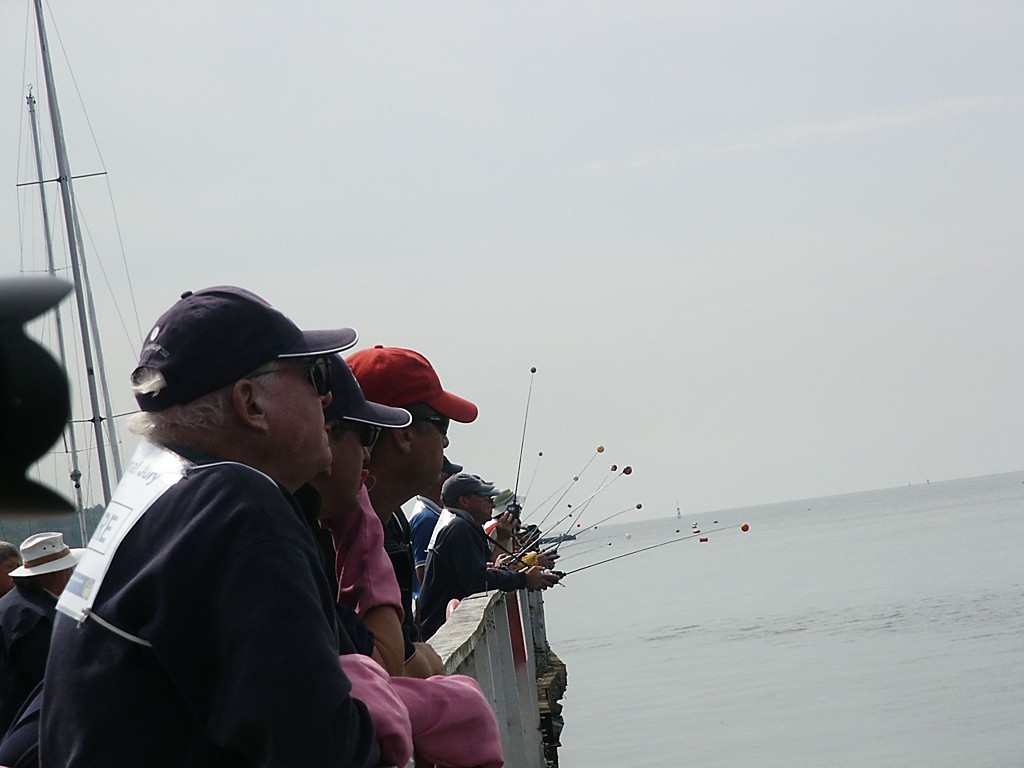
Some judges. Note the 'umpire-red' glove! On the water judging worked really well at this event - partly I think due to the great visibility from the breakwater: both competitors and judges always had a clear view of what was going on. So more elevated control areas for international events please!


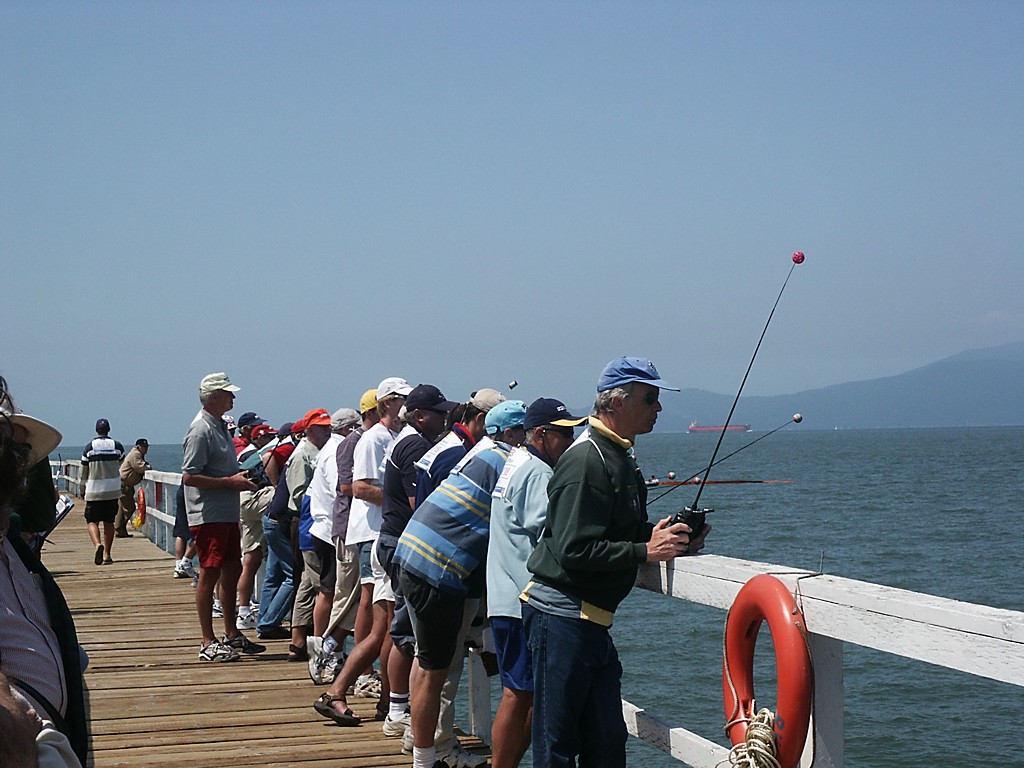
Sailors on the breakwater.


A view from inside the boat-storage tent.


All of the A-heat boats heading for the downwind gate...


and here we see the leaders have already rounded.


This was the event where the arm-winch made its breakthrough. Here's a view from one side of the Isis...


and here's the other side. This is Trevor Binks' boat, he won the event.


A local sea-creature.

See also:

Mt Shasta and Lassen Park

Visiting the northern parts of California by car with a friend we stopped to look at Mount Shasta and drive through Lassen Park.


Mount Shasta, the second highest peak in California outside Sierra Nevada, 4322 m high. Last erupted around 200 years ago with a high probability of erupting again...


Another view of the peak hidden in clouds.


A landscape not so different from Finland ?


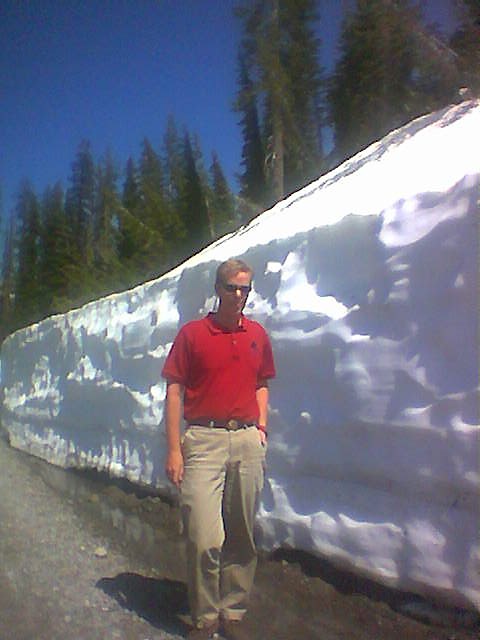
Wondering at the amount of snow (in June !) in Lassen Park. The road through the park had opened the same week. This was unfortunately a trip on which I learned the hard way about battery management for digital cameras. The batteries to my real camera (a 4 Mpix Minolta S404) died very early on and so all I have from the rest of the trip is taken with the then novel phone camera (like this pic), with not so satisfying results...

Making a Bulb


A short description of how we cast bulbs.
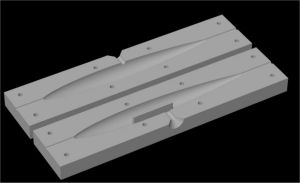

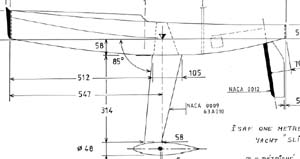
Desing your bulb with a CAD program. Our bulb has a round cross section with a NACA 0010-34 profile.
Length 355 mm
Max diameter 38 mm
supported by solid 5mm brass rod
Target weight 2400 g

See also: Simple Bulb Design and IOM Bulb Mould Plans
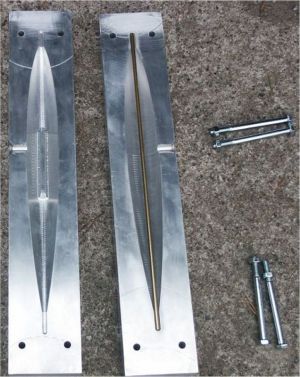

Find someone who owns or has access to a suitable CNC Mill and talk very nicely with him/her(commercial alternatives are likely to be very expensive, estimate ca 1000 EUR or USD). Hopefully the end product will look something like this. Molds are from solid aluminium and the final milling pass was made using a 5 mm ball nose mill.
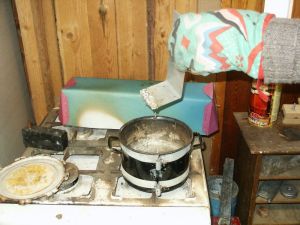

Go outside. Heat up a suitable amount of lead using a gas-stove (old, not in kitchen use !). The temperature of the flame is just enough to melt the lead so the temp. outside needs to be at least 15 C or so. Put the mold on the stove also, the lead will pour in and fill the mold much better if it is warm.
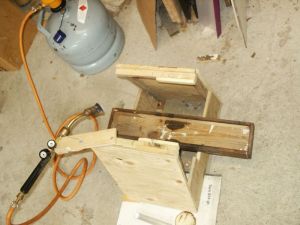

Build yourself a stand for the mold and figure out how you're going to be pouring the lead etc...
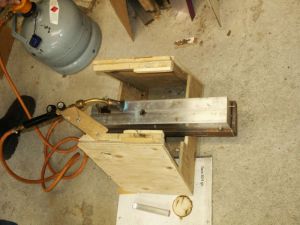

We use a gas flame to keep the input hole to the mold warm.
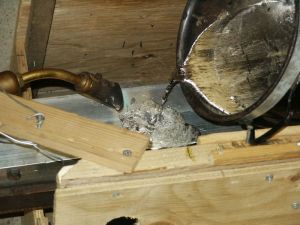

Now it's time to pour in the lead. Be very careful... pour until the mold is full. Leave the gas flame on and you will notice that as the lead cools it contracts and after a while you can pour some more.
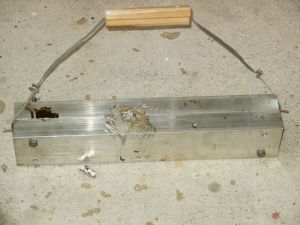

Let the mold cool down for at least 30 minutes or so. A metal handle system helps when moving the mold around.
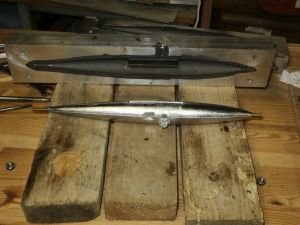

Loosen the bolts, open the mold and carefully tap with a small hammer and the bulb will come out.
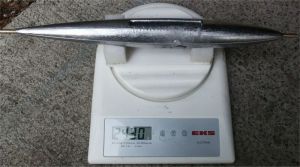

The IOM class rules limit the weight of the keel (fin+bulb) to 2500g. A typical fin weighs maybe around 100-130 g so the target weight of a bulb should be around 2400g. This individual seems to weigh around 2430g which is OK.

If everything went well the final product should look something like this. We have had some problems with the lead not filling the mold perfectly but this has been solved by properly heating the mold before pouring and by adjusting the tilt angle of the stand/jig. The color is quite shiny in the beginning but as the lead oxidizes it will go back to the more familiar dark gray. Some have suggested coating the bulb with clear epoxy to keep this shiny look.

Update 2005 October:
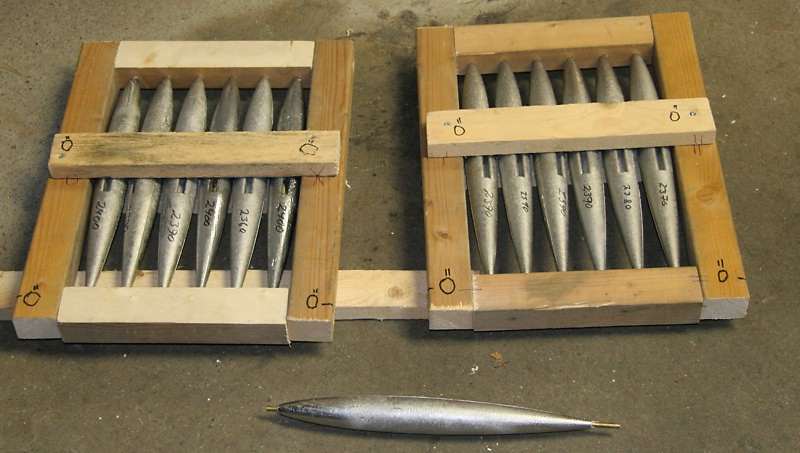
Our largest bulb order to date ! 12 bulbs in one go. Had to build some wooden frames to ease the transportation. The overlong brass rods make the bulbs easier to tranport.
IOM Sail Measurements

Update 2015-03-01: some source-files for this drawing:

  • rigs1_2_3.ai, dated 2001-12-30. Adobe Illustrator format. Inkscape seems to open this - tested on Ubuntu 14.04LTS.
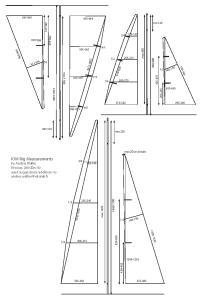
  • rigs123_individual Individual files with rigs 1, 2, 3. Adobe Illustrator.
  • rigs123_freehand dated 1999-05-XX. Freehand (Mac OS 9 version). Let me know if some modern free program opens these!

See also update from 2004: IOM Mainsail geometry.


The various sail measurements from the IOM class rule illustrated in a drawing. Prints all three rigs on one A4 paper.

IOM Rig comparison


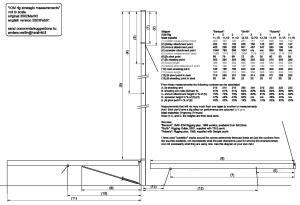
A diagram showing the measurements needed when building a set of IOM rigs. The table shows measurements taken from rigging guides and plans by world champions in the class: Craig Smith (New Zealand 1997), Graham Bantock (France 1994 and Malta 1999) and Martin Roberts (Croatia 2001).