
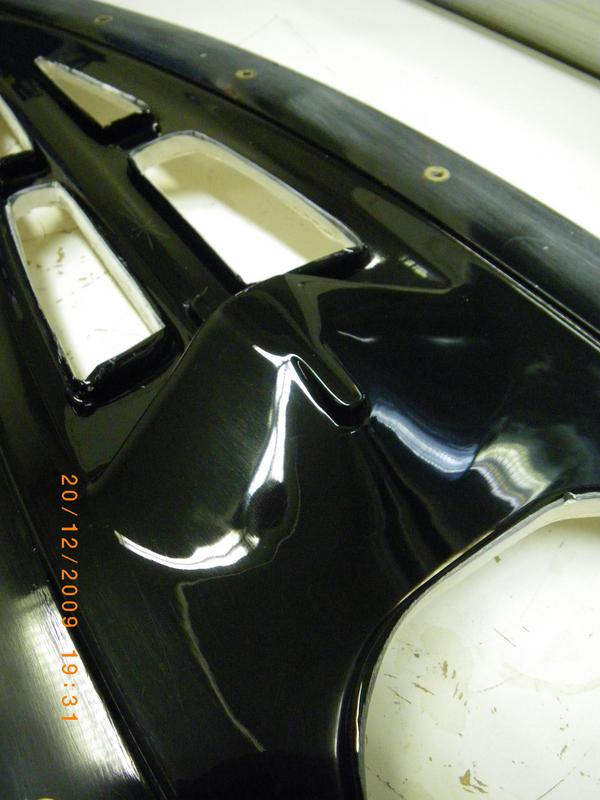
The PIKANTO moulds were polished first with "Oskar’s buffing and polishing compund M-50" and then with "Norpol Rubbing R-10", both from Terpol (www.terpol.fi) in Turku.
The PIKANTO moulds were polished first with "Oskar’s buffing and polishing compund M-50" and then with "Norpol Rubbing R-10", both from Terpol (www.terpol.fi) in Turku.
Comments are closed.
Wow, the mould look fantastic! Look forward to seeing the first hull.
Regards,
Pat
hello is what you will sell your hulls pikanto?
cheaper than Bantock?
Hello Charles,
We haven't decided on any prices yet. We hope that the three-piece mould will let us mould a hull which has the deck, the mast/finbox, and the rudder-tube attached to the hull when it comes out of the mould. This should keep the cost of the hull reasonable (500euros?).
We are working on some moulds for a rudder and a fin, and later in the spring also a bulb.
Anders
Price is a very correct and you have an idea for the price of the keel and rudder?
I don't know what the fin and rudder will cost, but my guess is 100-130 euros for the fin and 50 euros for the rudder.
It will of course be possible to use a SAILSetc fin and rudder on our PIKANTO also.
Anders
ok
but when will the first hull of the mold?
Hi Charles,
We hope to make the first hull this week! I will post pictures when we have the first hull.
Anders
Anders,
I am really interested in how you have moulded this interms of laying it up with this clever moulding system. I have only ever used half moulds and traditional deck and hull moulds. Is there any chance of a discription or some pics about this as you only have picture of the mould and the final product. Great website by the way and good luck with this project.
Hello Henry,
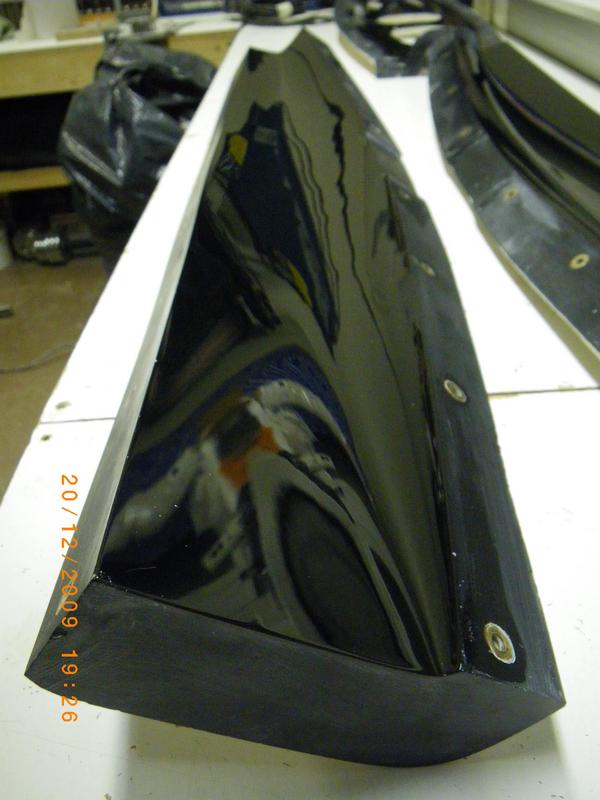
I have some pictures of when we moulded hull nr 2. When we have finished the deck-openings and sanded down the deck- and hull-join on this hull I will post some more pictures. The hard work is producing the moulds, once they are done moulding is fairly straightforward:
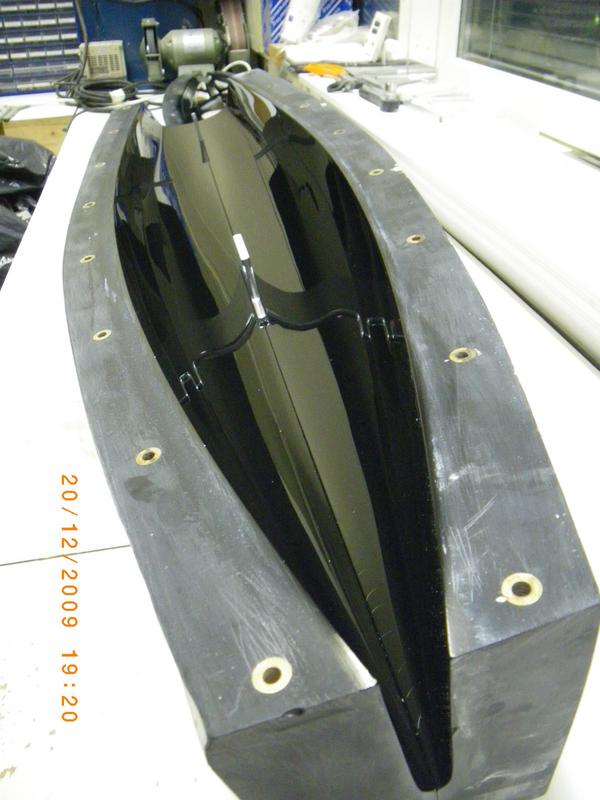
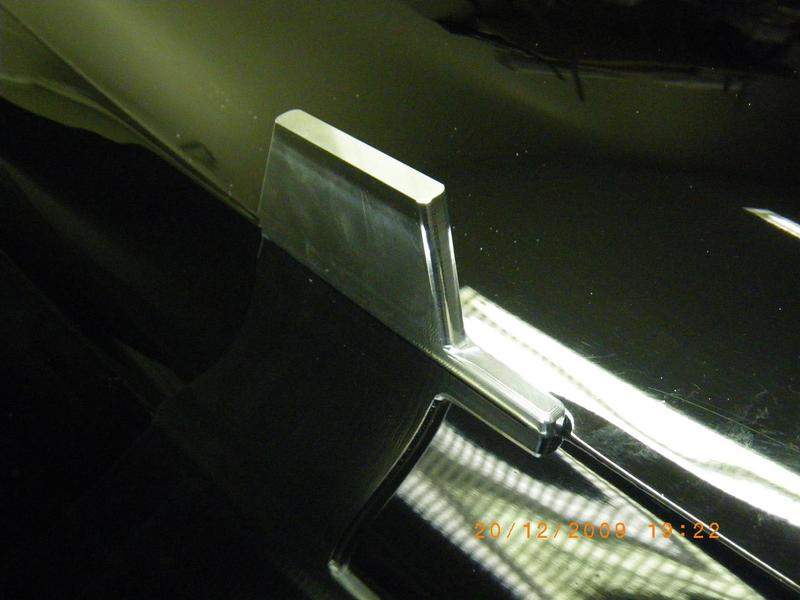
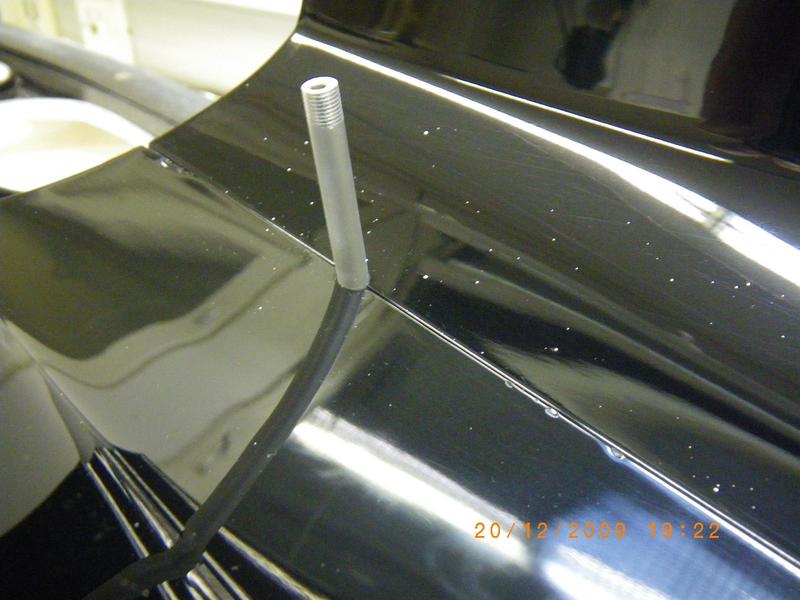
1. two hull-moulds joined together with alu-bit for finbox attached and with rudder-tube attached. Deck mould separate.
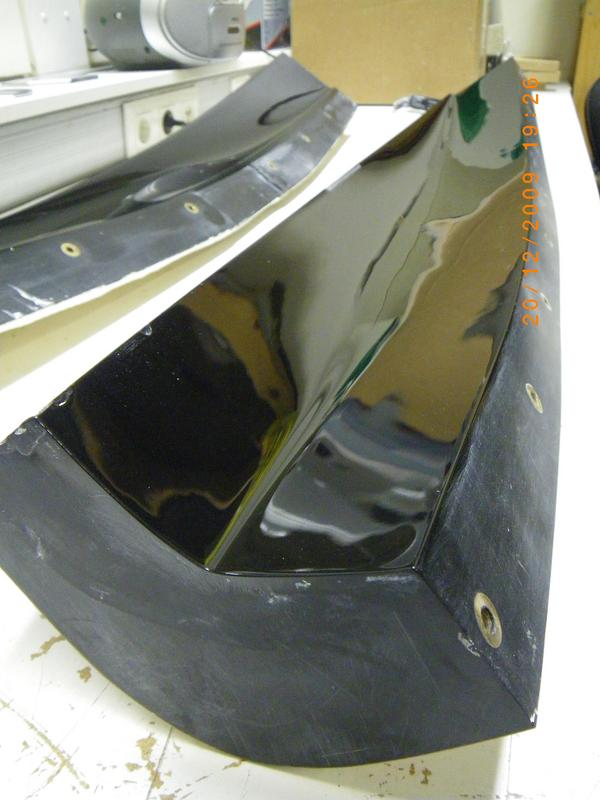
2. Paint gelcoat into moulds and let it set for 1-2h
3. add glassfiber cloth and epoxy to both moulds. we use 2 layers of 165g/m2 twill-weave cloth.
3b: add finbox and epoxy/microfibers to secure finbox to hull.
4. Cut the cloth along the edges of both hull and deck moulds
5. Add a 40mm wide glassfiber band to the hull mould. This will make the join between the hull and the deck, so position it so that it is 20mm on the hull and 20mm in the air.
5b add epoxy/microfiber mix to contact points between finbox/deck and hull/deck. On the finbox we add glue around the mast opening and the top of the finbox, and in the transom of the boat we add glue along the rounded join between hull and deck.
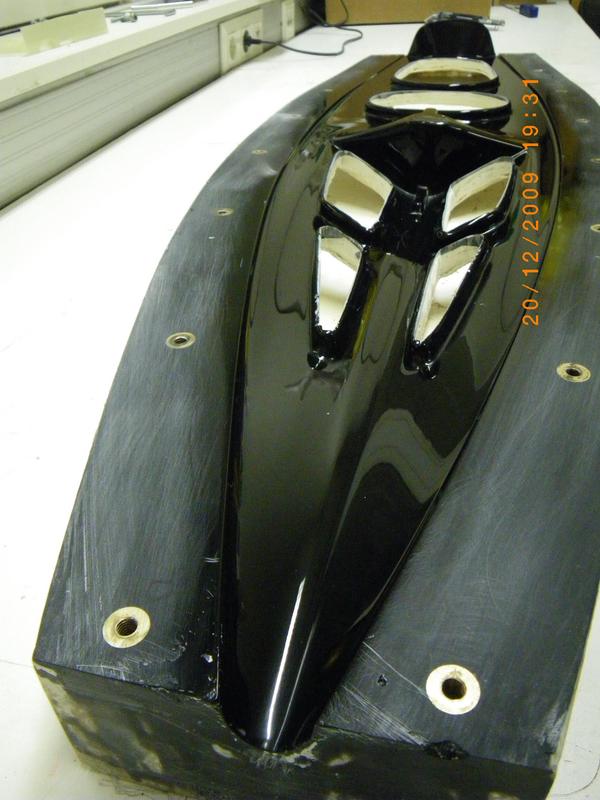
6. bolt the deck-mould to the hull mould. Wetting out the 40mm glassfiber band along the seam is very simple for the transom and up to around the beginning of the foredeck. From there on you need a paint-brush on a long stick or similar to wet out the cloth and push it against the seam.
We've only made two hulls so far, but it does look like this way of moulding the hull works quite well. And I think neither Jari nor myself will ever go back to moulding a separate hull and a separate deck and then joining the two - this new way just saves so much time and effort. It does require that you have access to the hull/deck seam after closing the mould. So the deck-openings in the aft- and fore-decks are essential. You also get a visible seam along the hull/deck join, and we'll see how well it can be sanded down and polished - or perhaps hidden behind a decorative tape.
An advanced version of this would use an inflatable balloon or something similar inside the boat to push the final bit of glassfiber for the deck/hull seam towards the joined mould. This way you could build the boat without deck-openings for access, but it would require a new set of moulds and some careful planning.
We now made these moulds in a very traditional manner: a wooden positive plug was cnc-cut, sanded, painted, and negative moudls were moulded on top of this and the sanded and polished. To really develop the boat-building technique these steps would need to be simplified - ideally to a point where a hull or deck mould could be directly cut on a cnc-machine (would require 1000mm X-axis). We don't have such a big machine (yet!?), and the raw-material(aluminium, or an epoxy-based board, or similar) for such a mould would be quite expensive.
Anders
Anders,
Thanks for the description on how you are doing this it sounds like you are effectively laying the boat up as a deck and a hull. And then using the mould as a jig to join the two halfs together with the 40mm strip this makes sense as the thing that was making me think was todo with access. In manyways it isn't such a change on the centreline split except probably less fiddly and you should have a better bond because the join is done before the laminate is cured.
On your other point, producing tooling direct from the CNC cutter is getting more and more common without the production of a plug. I have seen a number of raceboat projects done this way. Thanks for the info and keep up posting on the site it a great resource.