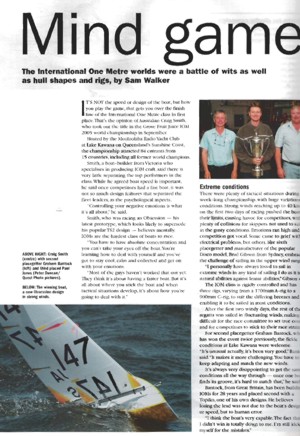
This is the shape and placement I finally settled on. Above is the mould, cnc milled from two 15mm thick pieces of aluminium bolted together. Very similarly to Craig Smiths Obsession I am going to mount the RMG winch on one side, and have a compartment for the battery on the other side. This is not the conventional way to do vacuum moulding, here I'm using only a bag, normally the laminate is followed by a release film, and the a breather (white fabric above), but I find all of this too complicated for small parts. Using just the bag works almost as well, an improvement is to use more of the breather around the laminate so the pressure spreads a bit more evenly. Vacuum bagging need not be high tech: the bag is a plastic bag used for selling fruit in a supremarket, and our pump is an old refridgerator compressor I got second-hand from a repair shop for about 5 eur...
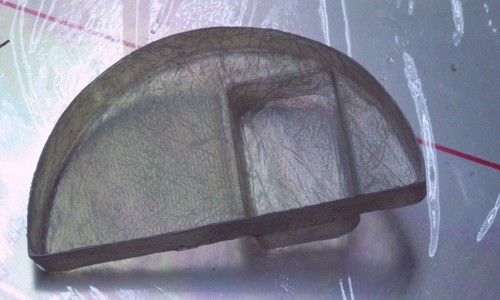
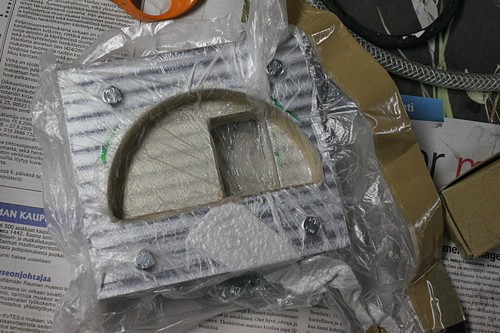
Here's the finished part. Surprisingly stiff with three layers of 165g twill weave glassfiber - it must be all the shapes and angles that does it. Moulded with a vacuum bag (above) to ensure that the fibers follow all the 90-degree bends a bit better. In the picture the bottom of the battery compartment is still in place - the bottom will obviosly have to come off and I will fit some other support for the battery which is about 50mm deep. I didn't want to mould something that was a 50mm deep hole in one go, this part is hard enough to release from the mould as it is.
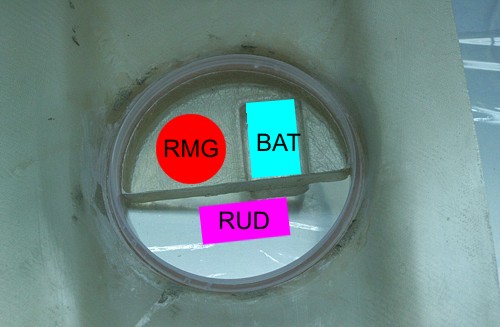
This is what the RC-tray looks like when mounted in the boat. Here we have first the pot-recess which is moulded into the aft-deck. Into that recess the rim of the rc-pot is pressed, and the rc-tray laminate fits into the pot-rim. I've indicated using colors and text approximately how the components are going to be installed. The tray will be fixed to the rim and deck using three M3 screws, which will thread into rivet-nuts that are epoxied to the aft-deck. The rudder servo will require its own mounting bracket - that's next on the design/build to-do list.